I Made My Own Leather Sandals with Rachel Sees Snail Shoes and The Crafter's Box
I never thought I'd make my own shoes... yet here we are!

I've known the work of artist and shoemaker Rachel Cory for years.
I first got a pair of her sandals at her Portland studio (check out my "made in PDX outfit") and later even had the honor of hosting a Zero Waste PDX Meet-Up there in 2019.
I've always dreamed of taking one of her workshops, but life eventually pulled us in different directions. Rachel is now based in Santa Barbara, CA, and I'm in Central Oregon.
Luckily, I won an Instagram giveaway that Rachel organized in collaboration with The Crafter's Box and finally had the opportunity to take Rachel's class, from the comfort of my home!
The prize consisted of Rachel's Leather Sandal Making Premium Workshop (supplies + video tutorial) and an extra $200 to spend on the Crafter's Box website (which I used to learn more crafts, blog posts coming your way soon!)
The kit
When ordering the kit, I simply had to choose a leather color (natural, chestnut, medium brown or black) and my shoe size.
It seemed natural would be an easy choice to make and, if I remember correctly, Rachel mentions that the chestnut leather is firmer than the natural and medium brown leathers, which are easier to cut through and a great choice for beginner sandal makers. I already owned a pair of Rachel's buttery soft natural sandals, so I opted for black, which turned out to be quite easy to work with.
After purchasing the kit and before you even receive it in the mail, you can already access the online tutorial. I made a promise to myself to be very patient and take each step one day at a time. So I decided to watch the entirety of the three videos (2 hours and 20 minutes total) before even grabbing a tool.
Once I received the kit. I familiarized myself with the tools and supplies and was surprised to realize there were indeed 2 weights of black leather: one for the insoles, one for the straps.
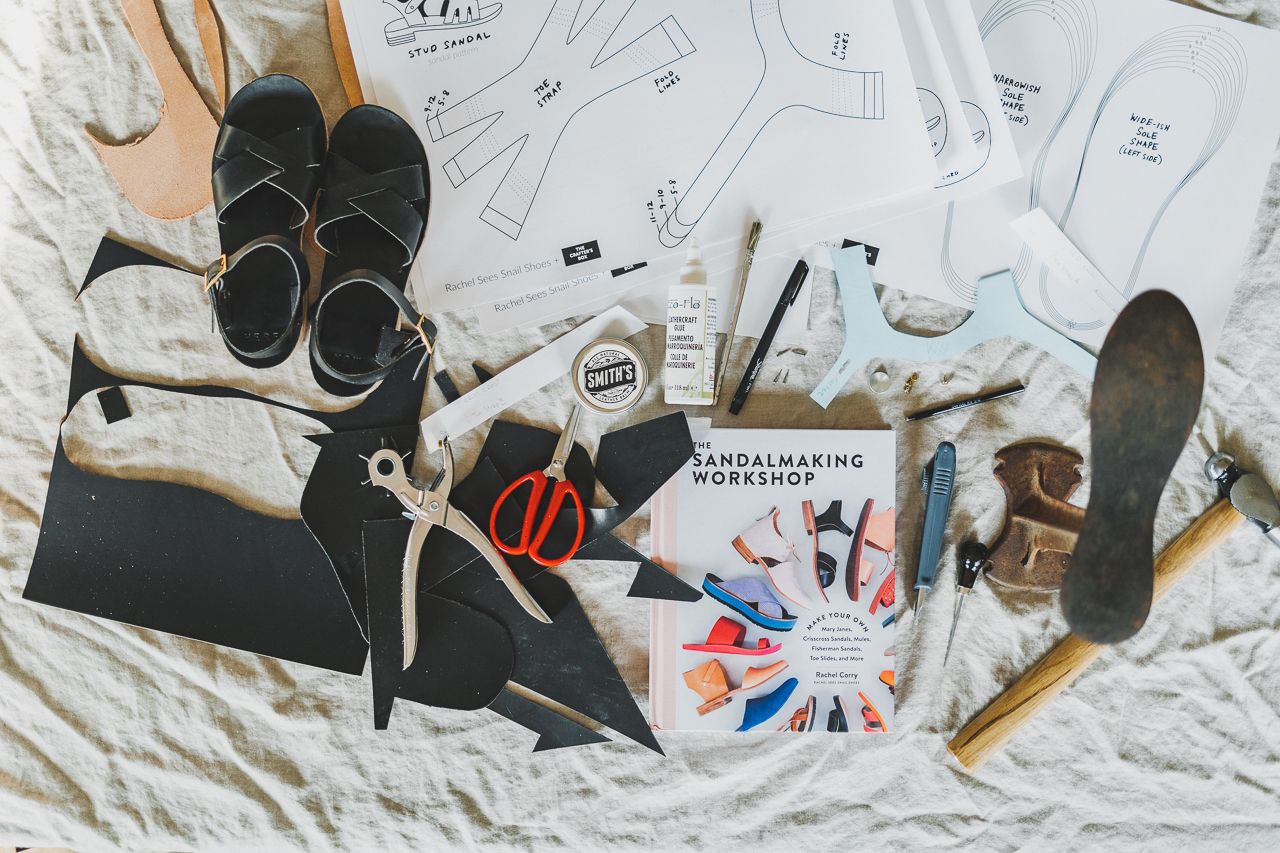
The kit contains everything you need to make your sandals:
- Leather of your choice (natural, medium brown, or chestnut), in two weights
- Pair of Soles
- Pair Heel Bases, in your choice of size
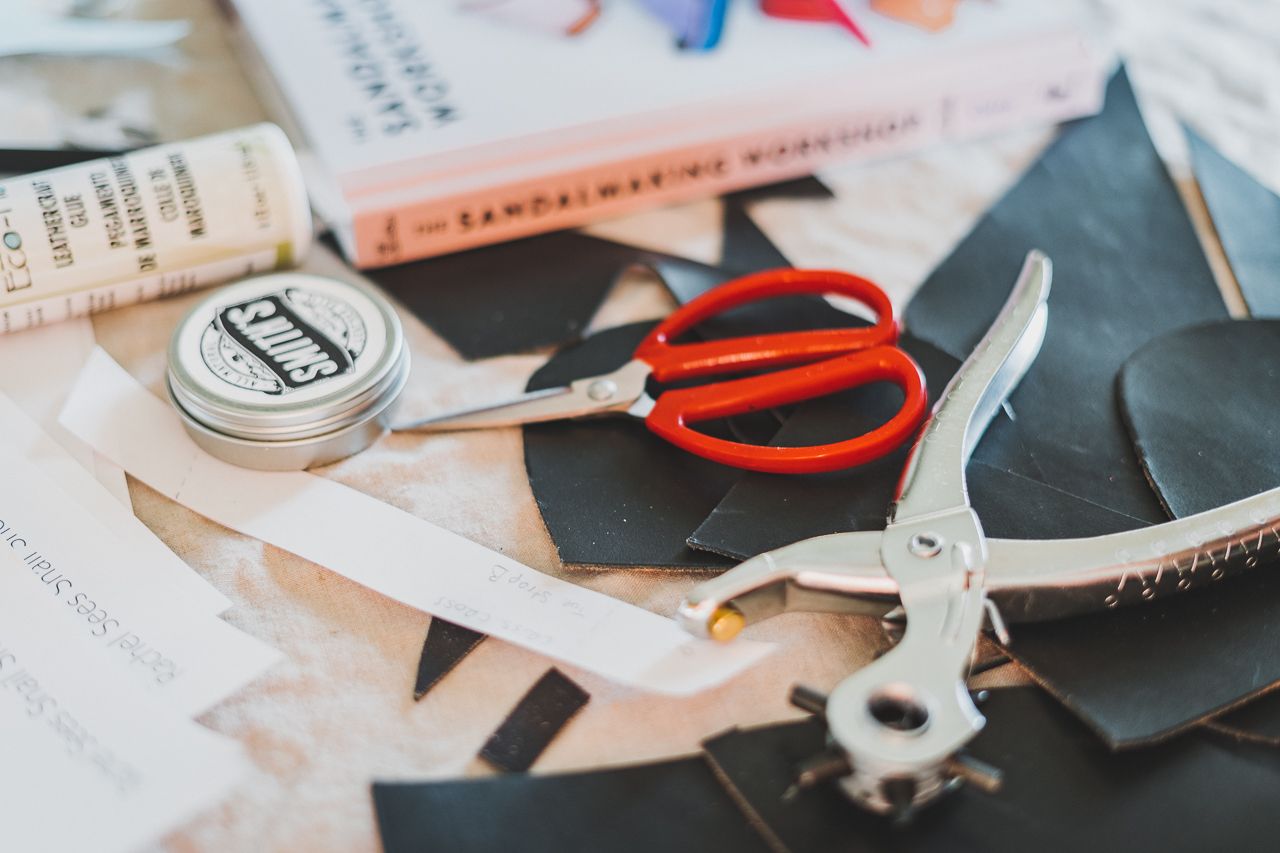
- Heavy-Duty Cutting Tool
- Rotary Hole Punch
- Awl
- Ball-Peen Hammer
- Leather Adhesive
- Brass Collar Buttons
- Iron Clinching Nails
- Pencil
- Black Fine Tip Sharpie
- Printer Paper
- Masking Tape
- Scissors
- Smith's All Natural Leather Balm
- Horsehair Shop Brush
- Antique Brass Double Cap Rivets
- Shoe Lace
- Natural Brass Center Bar Buckle
- Patterns
It does not include:
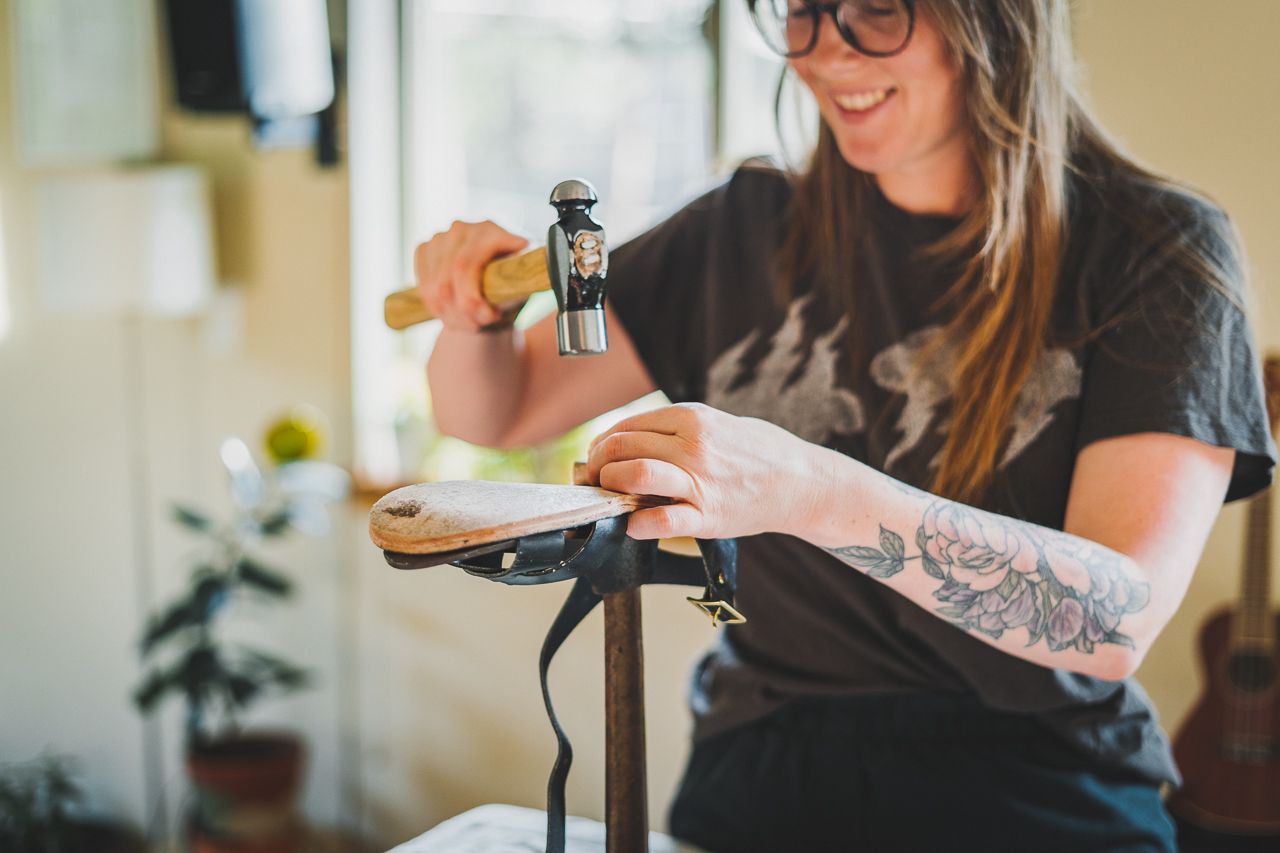
- A cobbler's anvil, to hammer the sole and heel evenly - I considered ordering one online, but then decided to pop into an antique store in town. When I couldn't find one in the shop, I asked the owner, who just happened to have one in the back! This tool is not an absolute necessity as you will learn during the workshop (the corner of a table works just fine), but since I'm planning on making more sandals (and maybe mules), and considering how affordable my antique find was, I decided to invest in an extra tool.
- A tabletop sander, to finish your sandals - You will need to use a tabletop sander or work with a local cobbler in order to finish your sandals. The reason for this is to sand and trim down the edges for a more smooth sandal. Be sure to plan your project with this in mind. I'm lucky to have a friend who's got an insane workshop and allowed me to use it for my project. I ended up using his spindle sander, which was perfect for the curves of the sole.
The process
I'm gonna say this right now. Sandalmaking was way easier than I thought it would be!
Rachel is an amazing teacher, answering all the questions I had right when they popped into my head as I was watching the video. The kit takes the guesswork out so you know you have everything you need on hand when you start your project, no surprises.
Watching the videos once before starting the project also helped, as I knew which steps were next and when I would be able to - or have to - take a break. I'm so glad I took the time to do this as certain steps of the workshop require wetting the leather soles, forming them to the arch of your feet and letting them dry overnight. Impatient me would have been disappointed to realize that after starting the process.
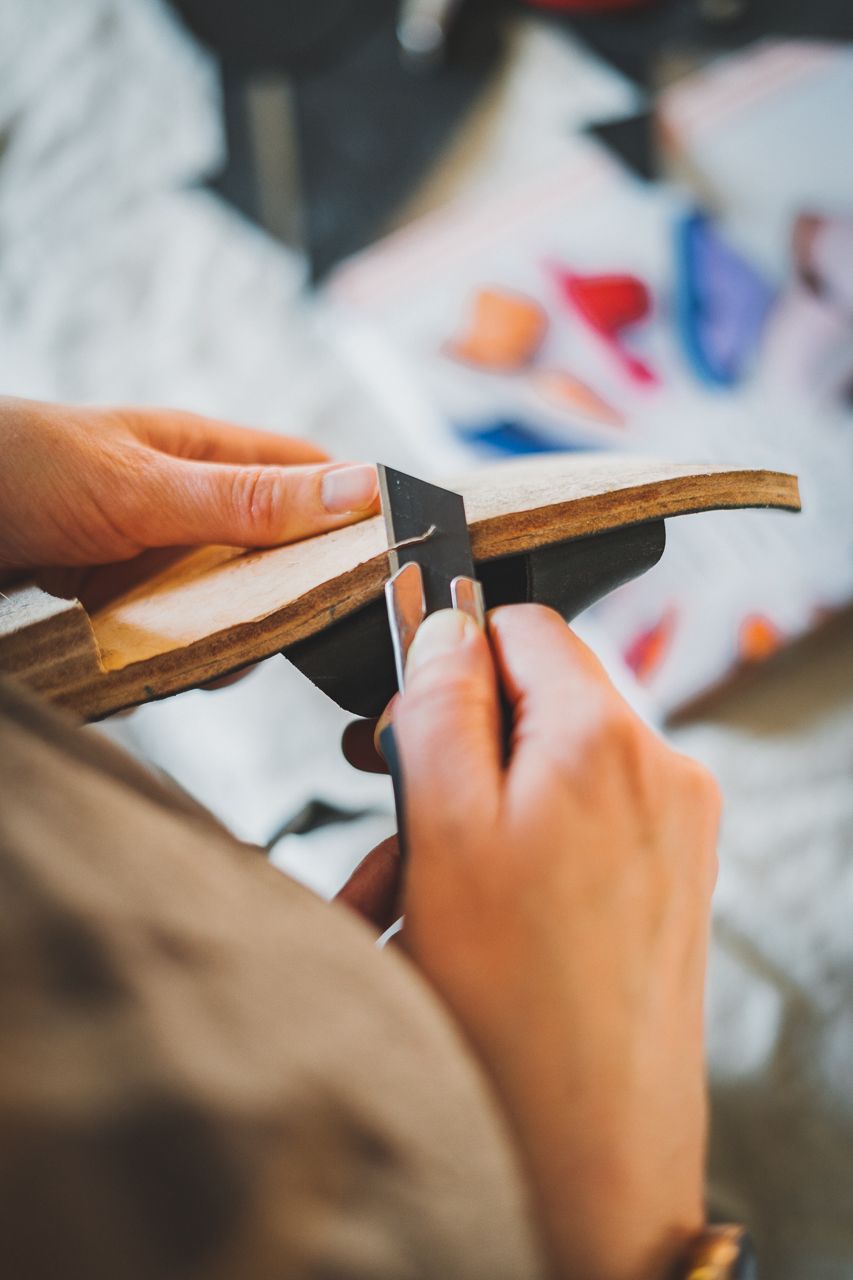
Working with a very sharp knife can be intimidating at first but Rachel's super cautious, explains the movements in much detail, and gives you the confidence to jump in safely. I ended up finding skiving and trimming to be quite therapeutic activities!
Honestly, the hardest part for me was to choose a pattern. Knowing I would like to make more shoes in the future and wanting to read more about Rachel's work, I had also ordered her book. And, of course, I ended up choosing a pattern from the book rather than from the kit :)
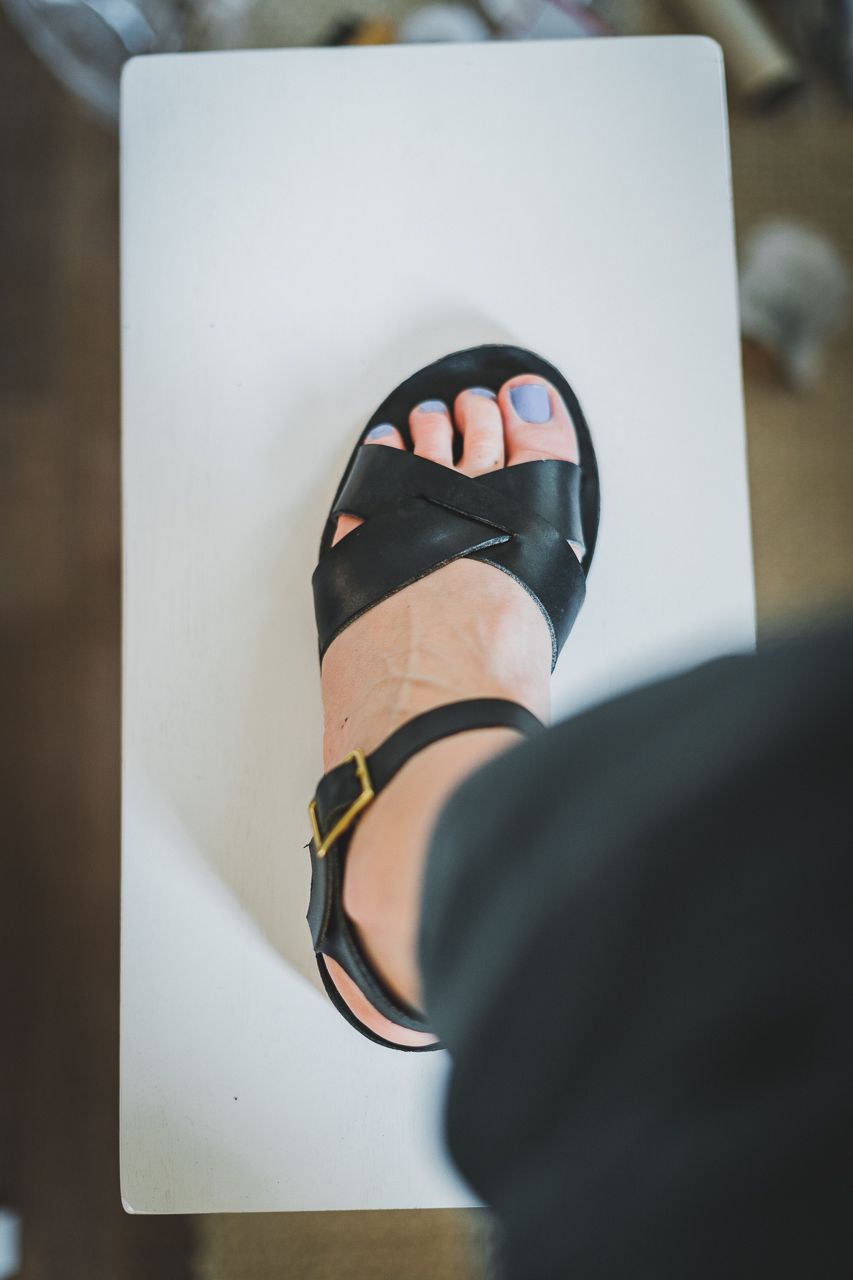
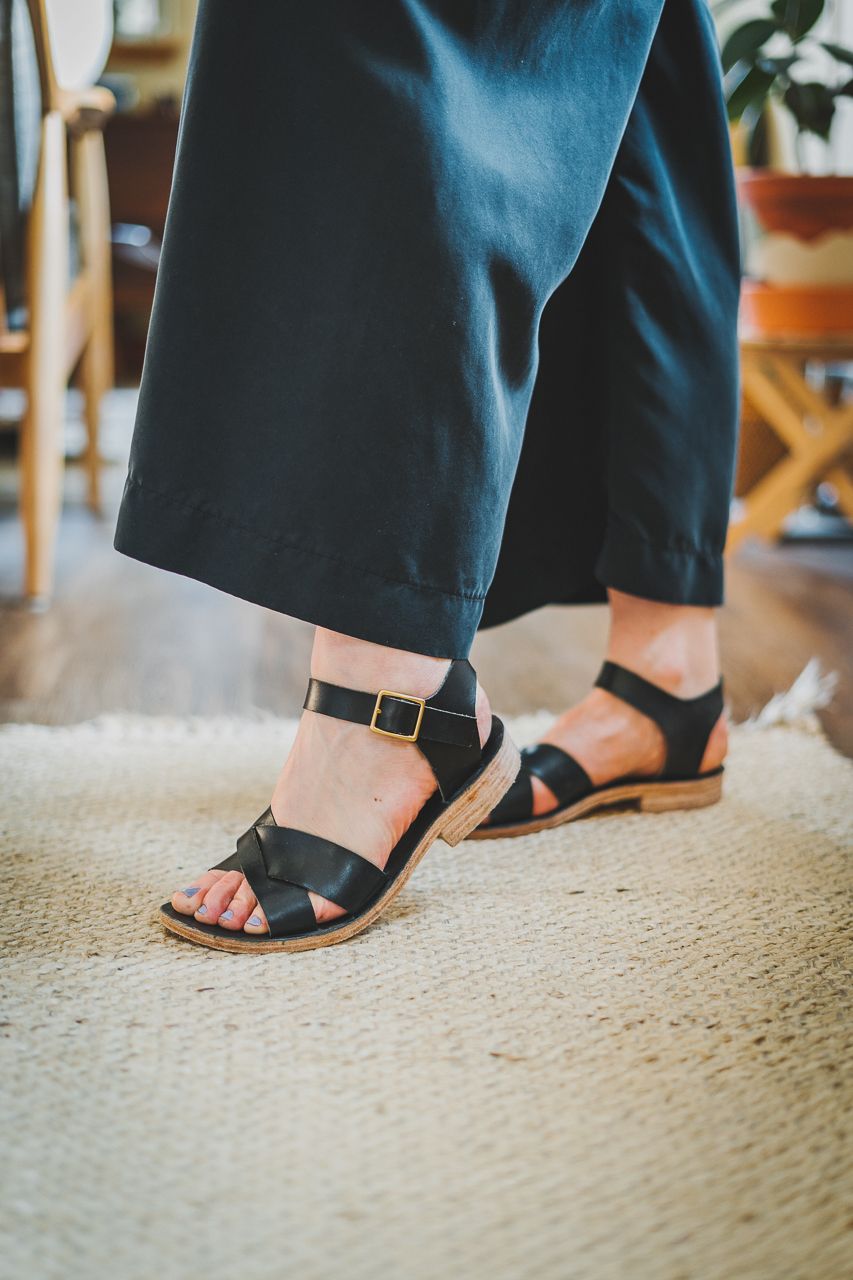
I made the classic Crisscross sandals!
The book explains all the steps just like the video would, so you could also get a kit from Rachel's website and choose a pattern from the book (the last pages of the book contain all the patterns, you simply have to transfer them to a piece of paper so you can cut them and preserve the state of your book).
But I have to recommend either taking a class with Rachel or following the video tutorials (use code REF6QG3FFU87C for a discount). Seeing someone go through the motions is a big help!
In the meantime, you can listen to this podcast interview to learn more about the workshop and Rachel's philosophy and background.
I even added a small personal touch to really make these sandals my own with an extra tool I had meant to get for a while.
If you were to make a pair of shoes, which color (neutral, brown, black) or style (slides, sandals, mary janes, mules) would you choose?
This article is not sponsored but I won an Instagram giveaway that Rachel Sees Snail Shoes organized in collaboration with The Crafter's Box. The prize consisted of Rachel's Leather Sandal Making Premium Workshop (supplies + video tutorial) and an extra $200 to spend on the Crafter's Box website. A big thank you to Rachel and The Crafter's Box for organizing this Instagram giveaway, I'm still pinching myself I got to win it! This post also contains affiliate links, meaning if you make a purchase via one of my links, I may make a commission at no additional cost to you. Thank you for your support!