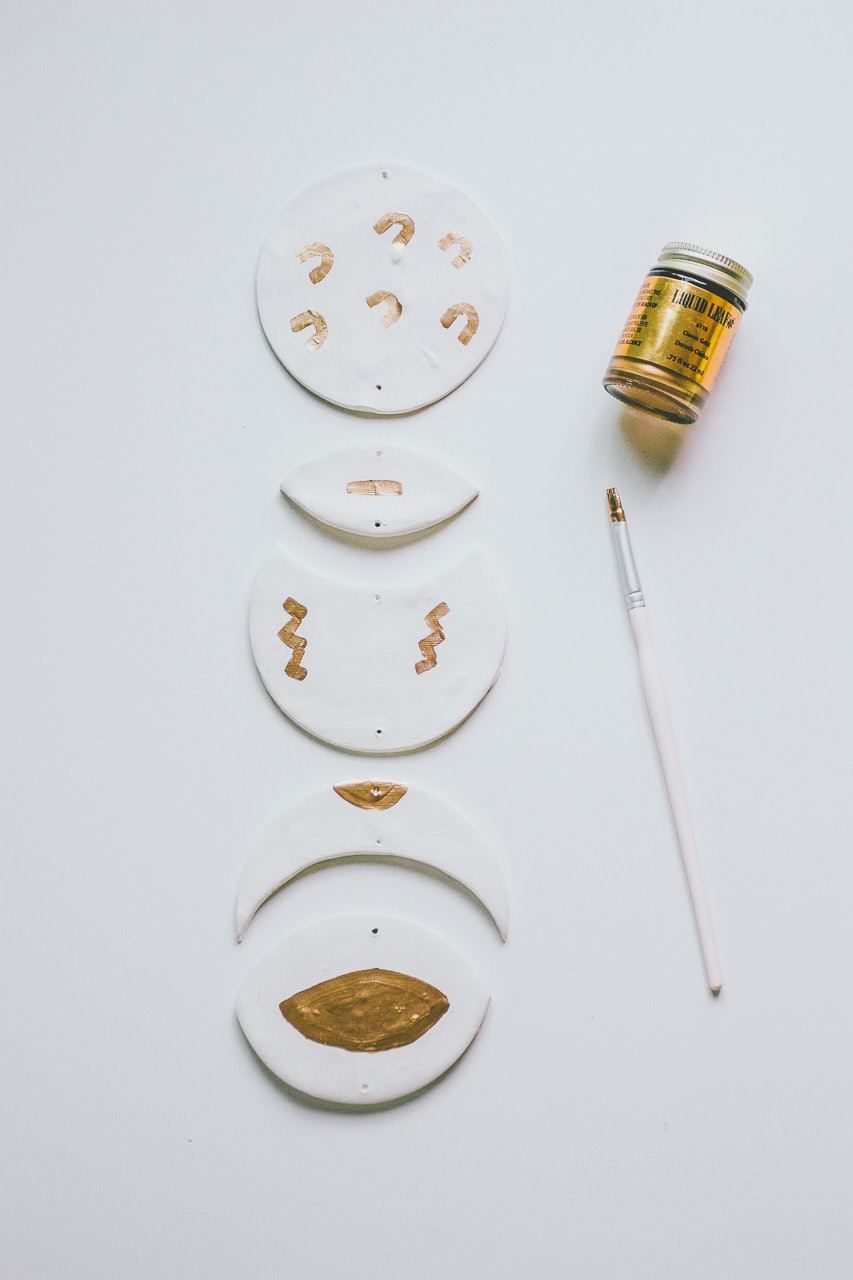
As some you may know, next Monday, the "Event of the Century" will pass through Oregon.
By then, I should be road tripping in the Washington State wilderness, mainly because the timing's right for both Octave and I to take a break, and also because we're not fans of big crowds.
But still, the solar eclipse frenzy got ahold of us.
Our neighbors already gave us extra sunglasses (we should sell them on the black market!), our friends took days off to drive to the coast, and "eclipse observation campsites" keep popping up on our Hipcamp radar.
I've also been meaning to work with clay for a little while and had actually gathered supplies before leaving for Florida.
You'll see where I'm going with this...
So, as I had a slow Monday after a week-end at work, I finally dove into it.
I had no design in mind, but still had a slight memory of the moon phases wall-hangings that were all the rage last year.
Now you see where I'm going...
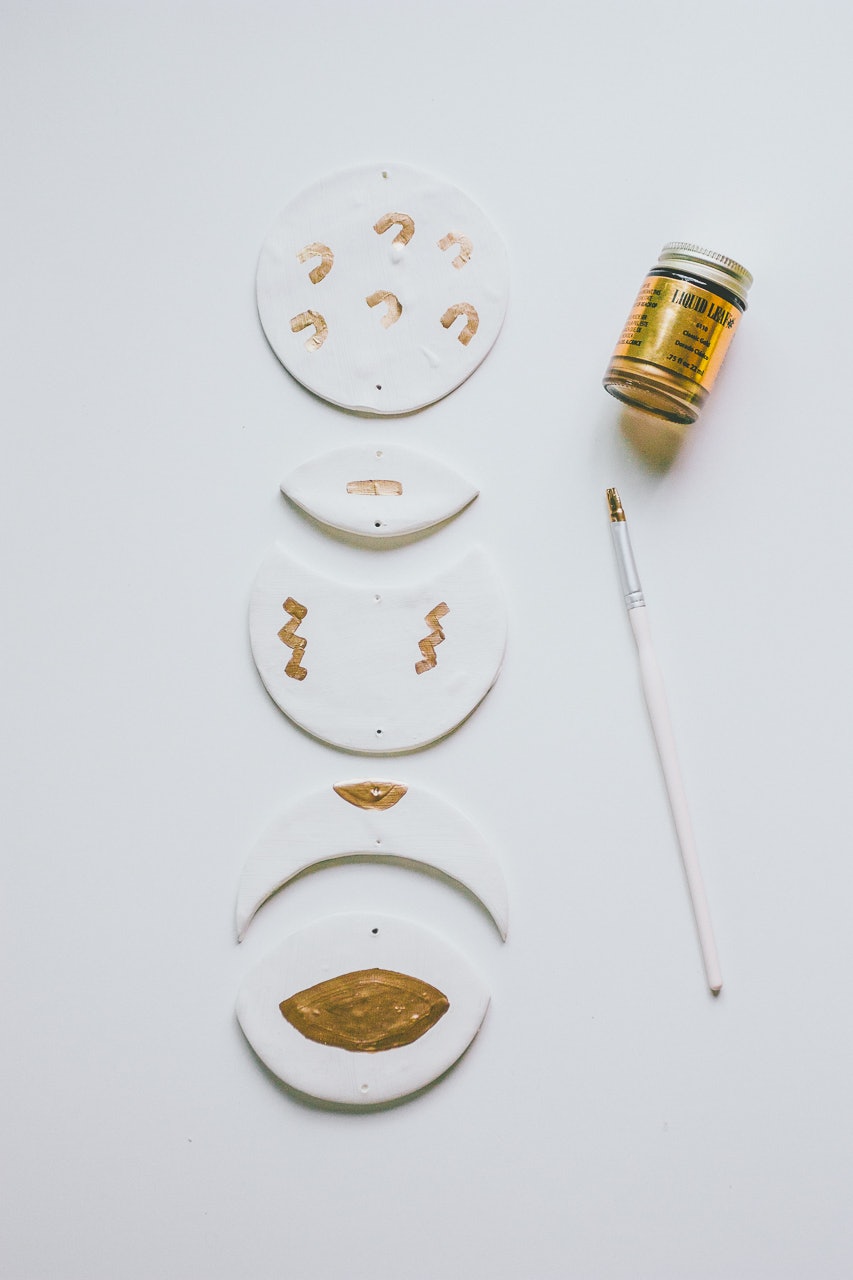
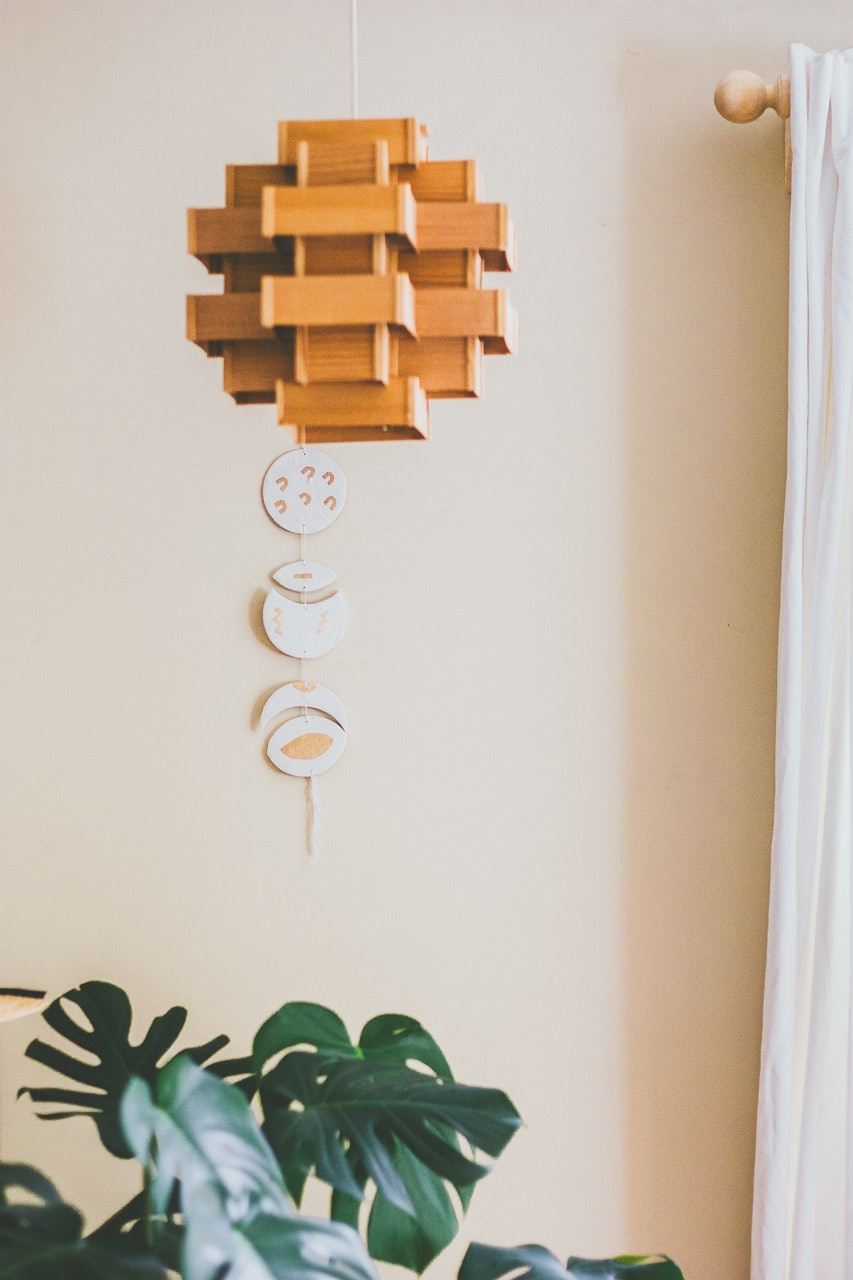
What if I made a solar eclipse wall hanging?!
The project took me less than an hour (with a couple breaks for clay baking and paint drying) and I'm very happy with the result (considering my lack of patience and drawing skills).
SOLAR ECLIPSE WALL HANGING DIY
This is a quick and satisfying DIY to commemorate the August 2017 solar eclipse or any other non-cosmic event.
Active time: 1 hr
Total time: 2 hrs
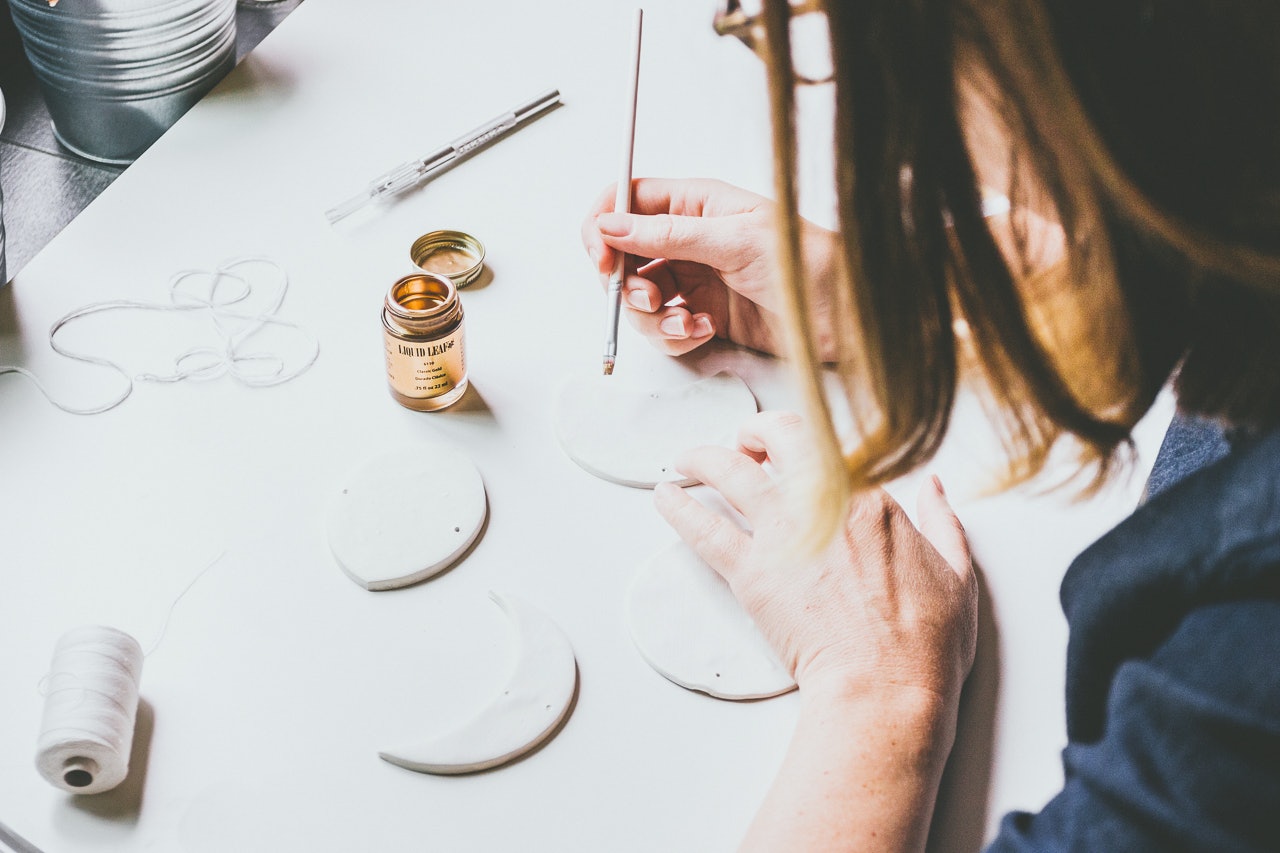
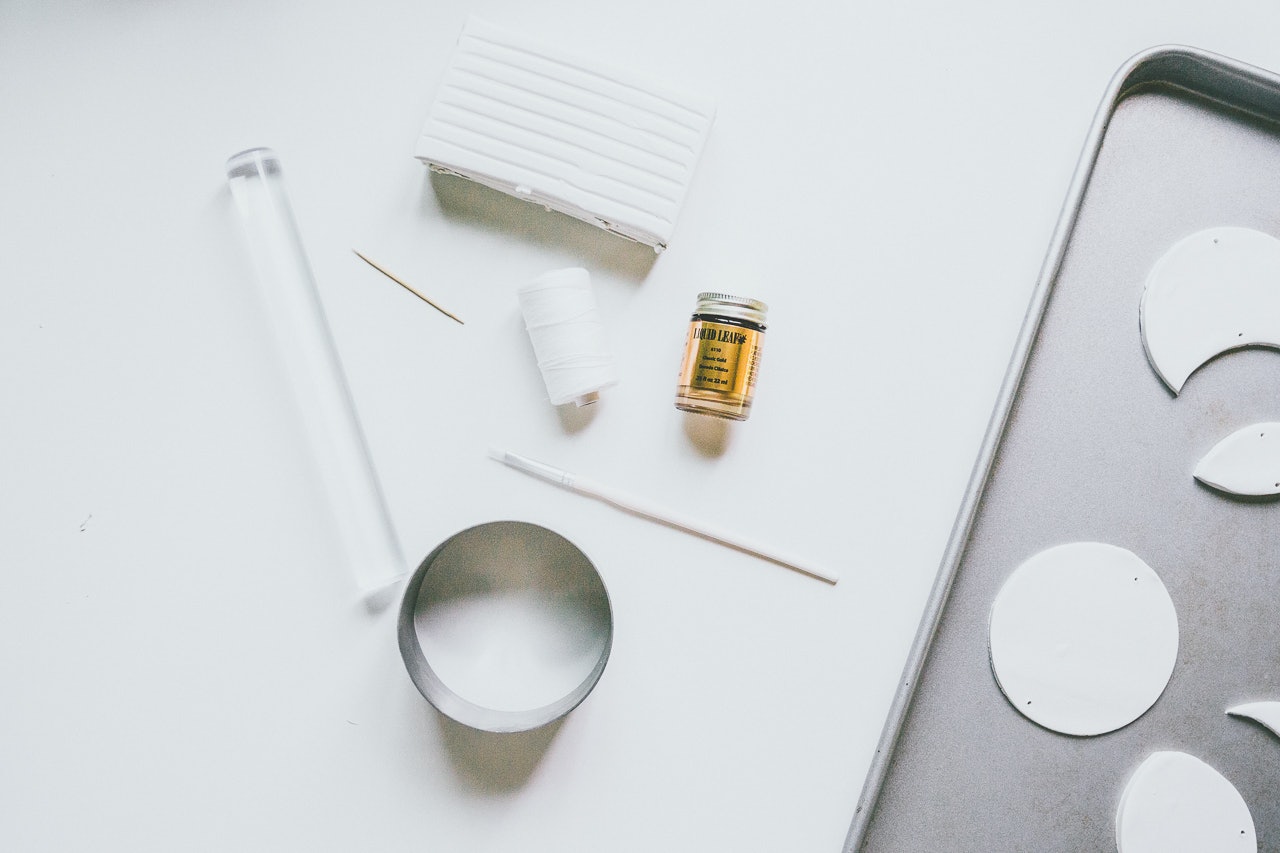
Supplies
- Oven-Bake Clay
- Sand Paper (optional)
- White Paint
- Liquid Gold
- Thread
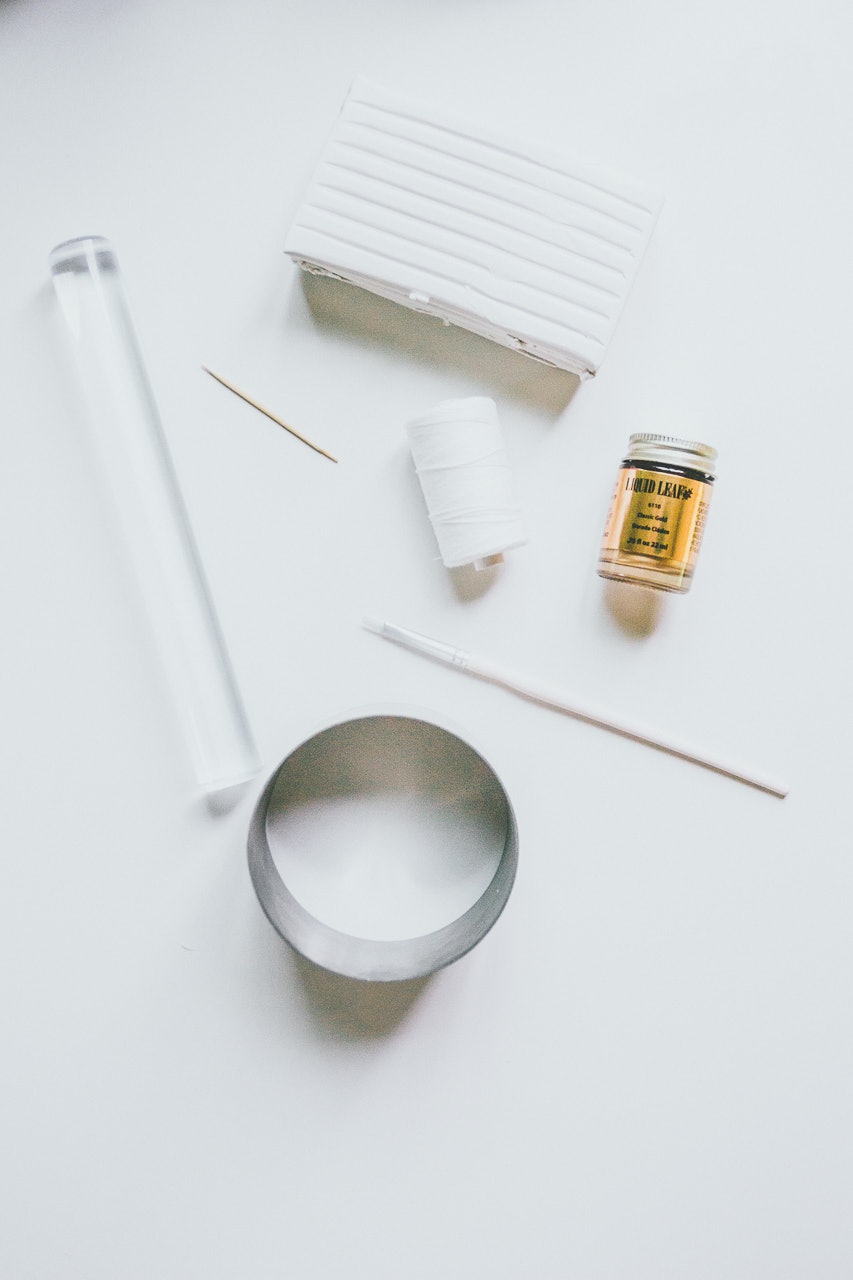
Tools
- Rolling pin
- Cookie Cutter
- Brush
- Needle
- Toothpick
- Baking Tray
Instructions
-
Knead you clay until it is soft and smooth.
-
Roll it out. I hear that certain rollers have depth rings, which would be super convenient. I eye-balled it, so some pieces are thicker than others, but I'm totally fine with it. Consider working directly in your baking tray, so your pieces won't get wobbly when you transfer them from your working area to the baking tray.
-
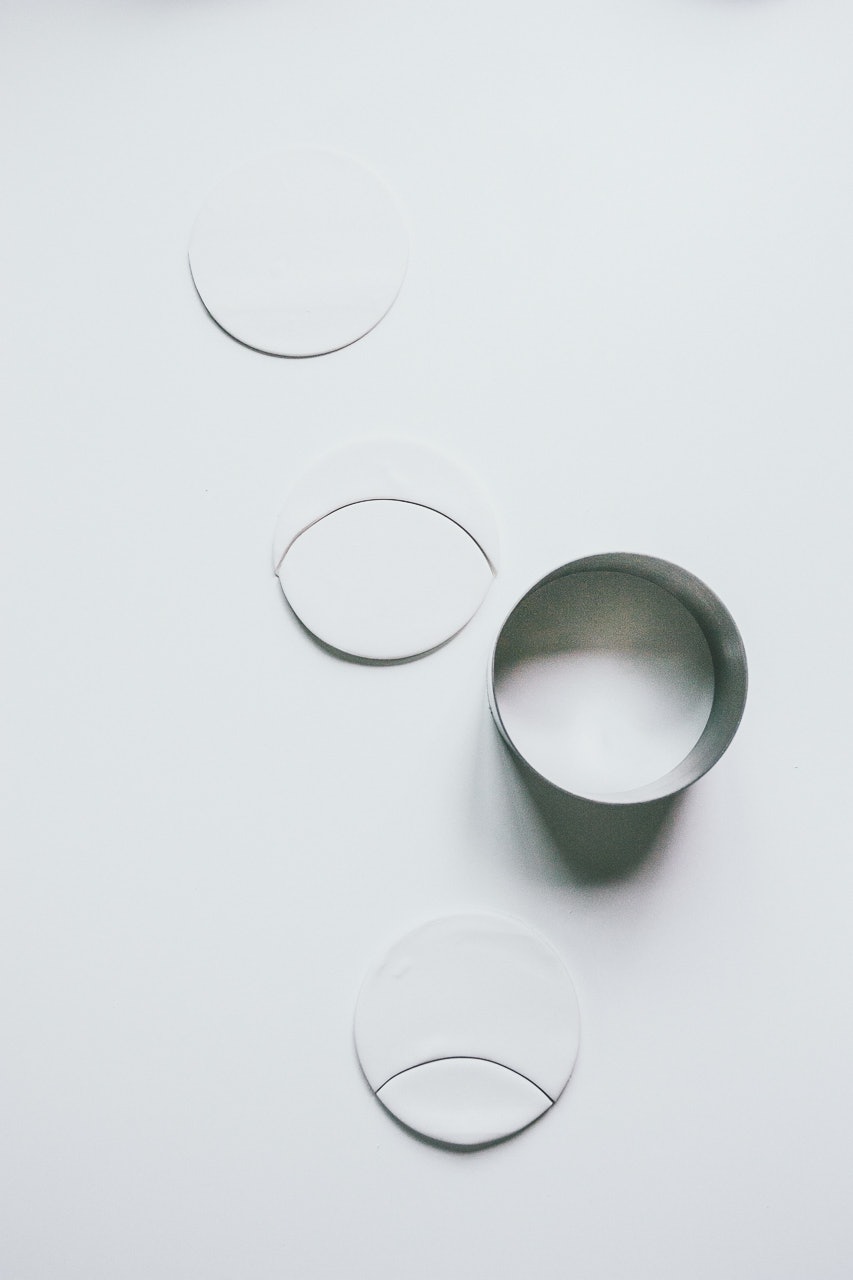
Cut into the desired shapes. I used a food plating mold, but cookie-cutter will do the trick, or you can also freehand-cut your shapes with an x-acto knife if you're feeling confident.
-
Preheat your oven following the packaging instructions.
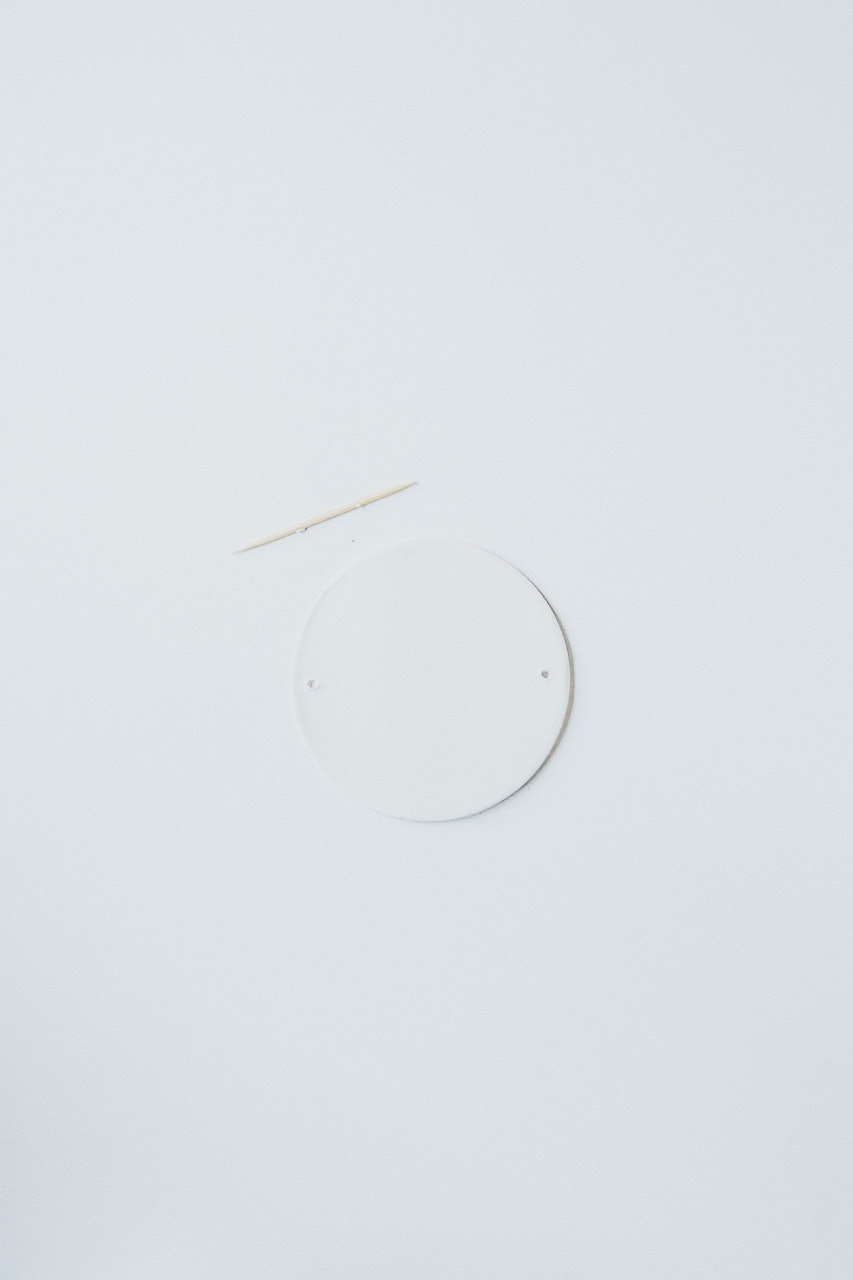
- Use a toothpick to pierce holes in your pieces. Make them wide enough so your needle and thread will pass though them.
-
Bake the pieces following the packaging instructions.
-
Let the pieces cool down.
-
Soften the edges with your sandpaper (optional).
-
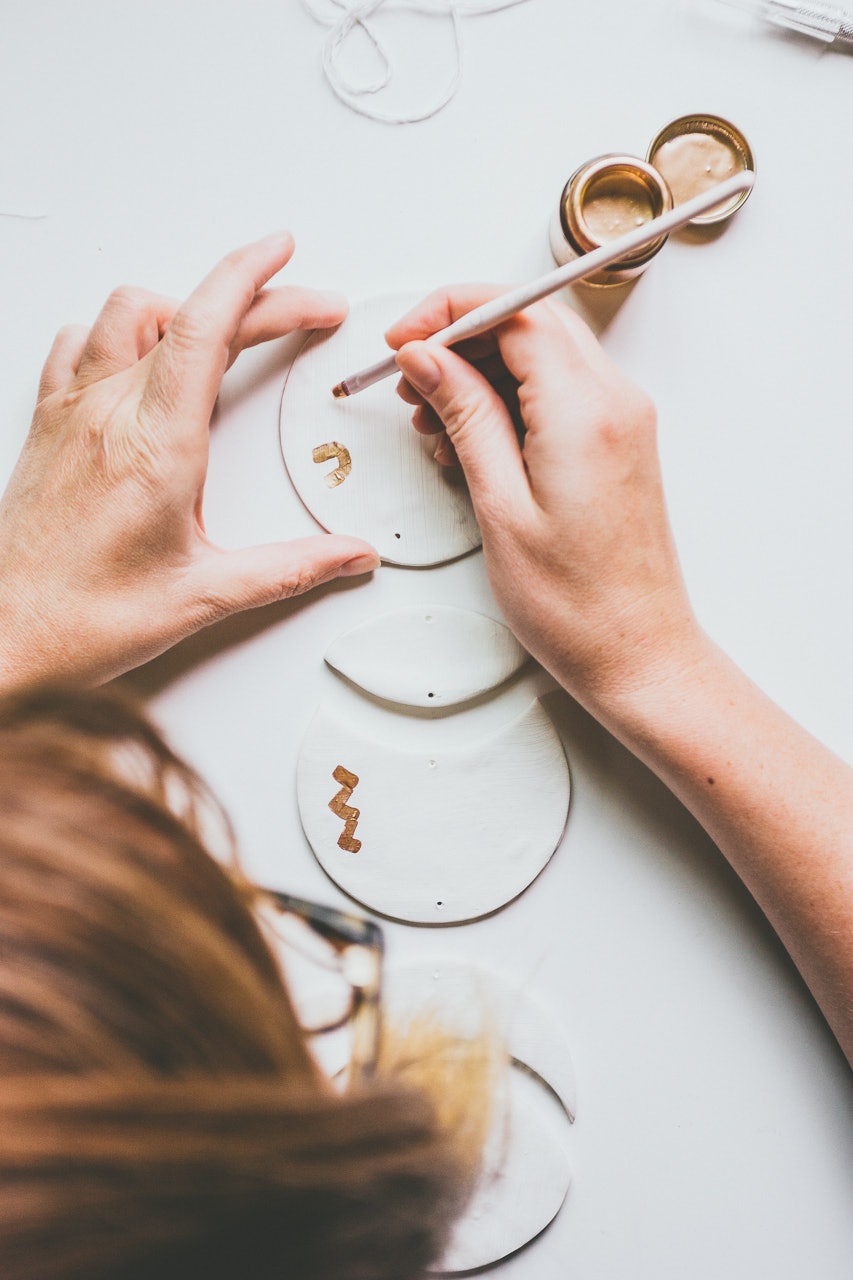
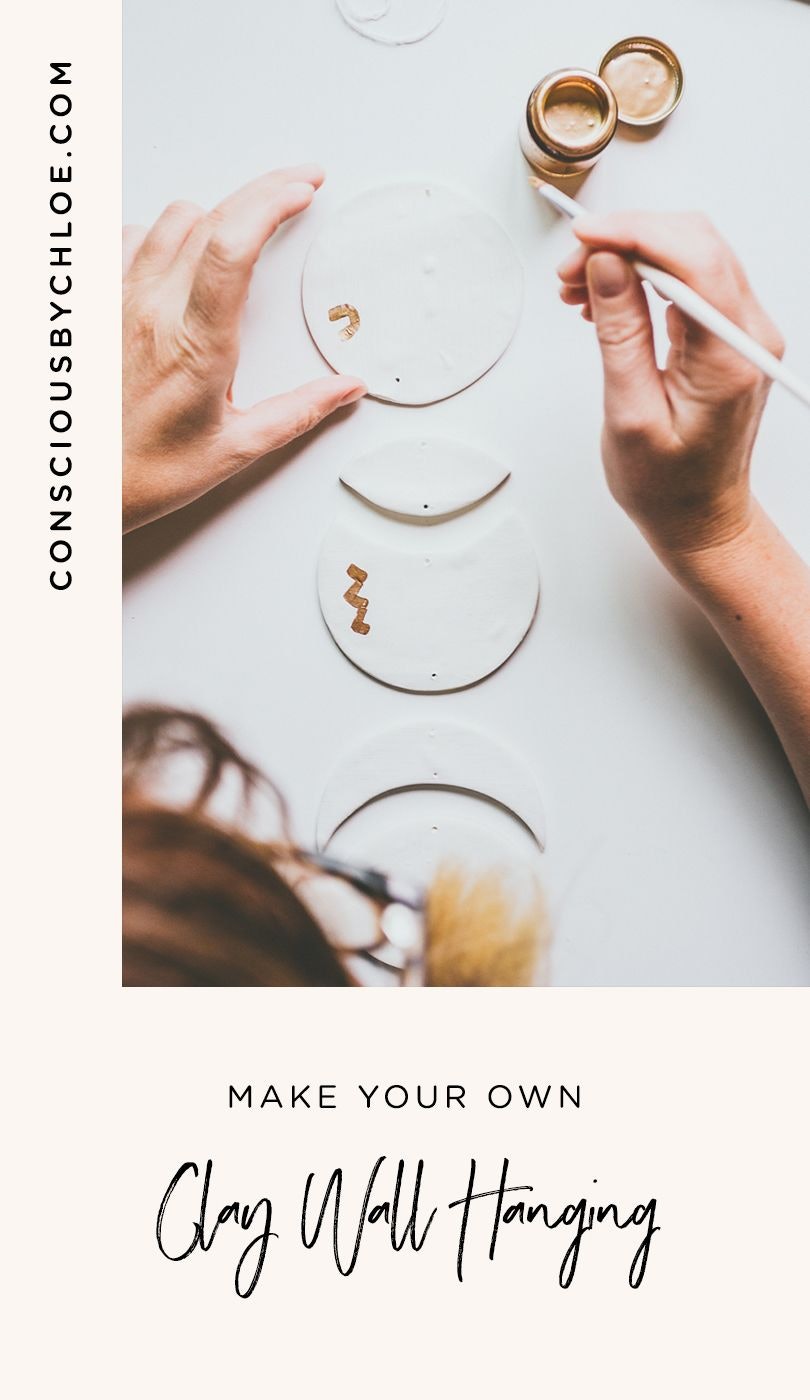
Use your brushes and paint to decorate your pieces (I used some paint that the owners left in our garage to paint my pieces white before adding the gold accents).
-
Let the paint dry.
-
Use your thread and needle to string your pieces together, knotting them along the way to have the spacing you aimed for.
-
Tie a loop at the top to hang your new creation.
Now you have your own solar eclipse at home!
Notes
You can order your supplies online, get them at your local craft store. I love SCRAP in Portland. It's a nonprofit creative reuse center where you can buy inexpensive (and donated) art and craft materials!
Note: If you buy something through my links, I may earn an affiliate commission, at no cost to you. I recommend only products I genuinely like. Thank you so much for supporting my work.
Photographs by Octave Zangs for Conscious by Chloé.
I hope you'll have a wonderful week. And don't hesitate to tag me in your creations so I can admire them!


