As a lover of clothes and a sustainability advocate, I try to do my best to “Buy less, Choose well, Make it last” - in the words of visionary fashion designer Vivienne Westwood.
This means asking myself whether I really need something new, shopping second-hand or supporting brands whose values I share (ethics, environmental practices, quality), and taking great care of the things I allow into my life.
Today, I’d like to focus on that last part.
Slow Living
In today's fast-paced world, and in our throwaway society, where it ends up being cheaper to replace something broken by buying a new version, repairing, mending, and repurposing are pretty radical acts.
Over the past couple of years, I've honed skills that used to be passed from generation to generation (sewing, mending), learned that 90% of the carbon footprint of a garment happens at home - and subsequently replaced my laundry products with chemical-free and biodegradable ones (to protect our rivers and our wildlife), started spot cleaning (to space up laundry loads), favored the cold wash cycle (almost 90% of the energy consumed by a washing machine goes to heating water) and air-dried my laundry (to save energy and benefit from the whitening and antibacterial power of the sun).
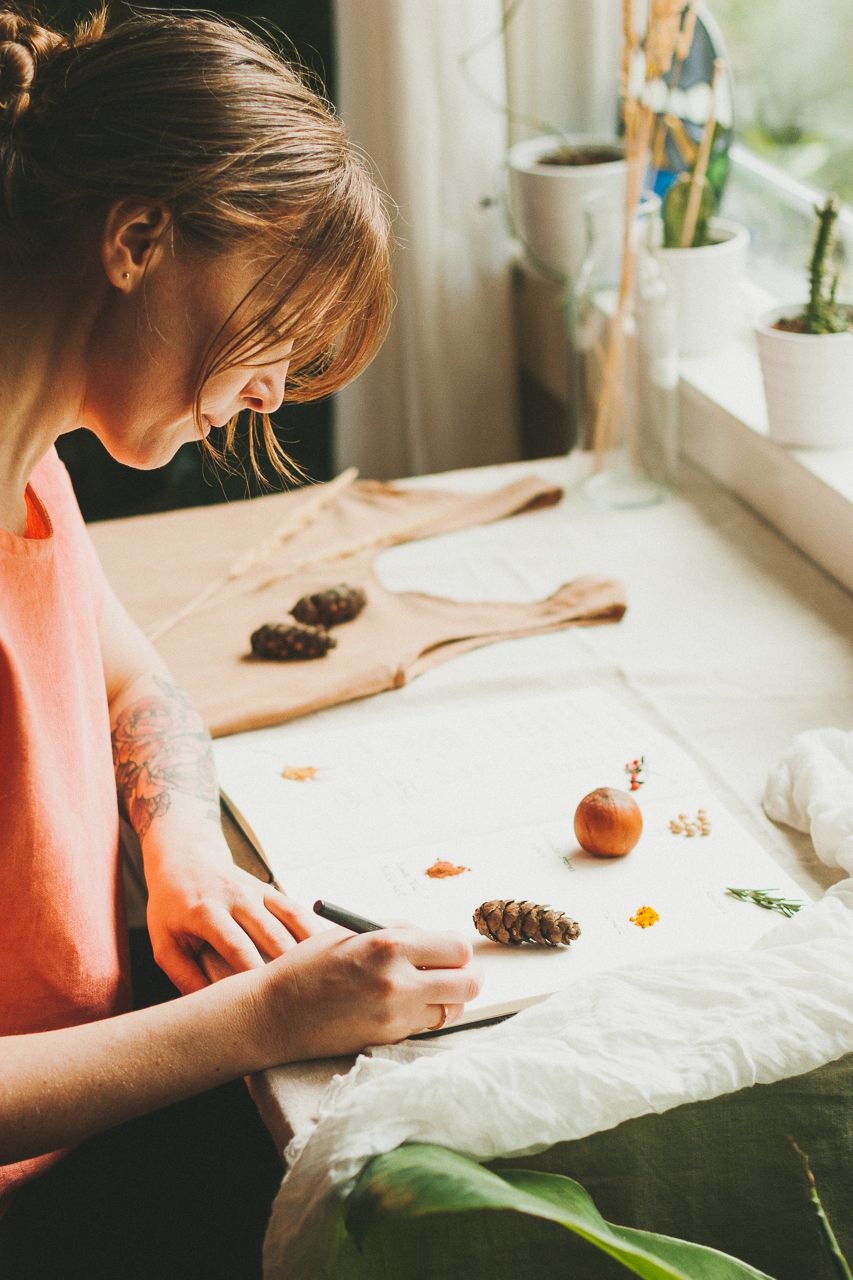
And ultimately, I started experimenting with natural dyes.
Mindful Living
What does natural dyeing have to do with caring for your clothes and the environment?
Besides the fact that, contrarily to the dyes used in fast fashion, natural dyes have no negative impact on the environment (once you're done dyeing a piece of clothing, you can literally dump the content of your dye bath into your garden), natural dyeing is an inexpensive way to extend the life of your clothes.
Whether you fell out of love with a dress, the color of a pair of pants faded, the white of a tee yellowed, or you stained a shirt to the point of no return, dyeing your clothes yourself is a great way to give a new life to a piece of clothing.
Skill Learning
Elizabeth Suzann pieces already come in a wide range of colors, from intense blacks to earthy terras.
But wouldn't it be great if you could create your own colors?
Whether you already own an ivory or flax piece or just wanna go crazy and order a new one, natural dyeing is a wonderful way to make ES pieces even more personal.
Natural dyeing is a slow process, a great occasion to reflect on the environment that surrounds you, and a game of patience. It forces you to pause for a moment, evaluate the resources you have within arm's reach and take the time to take care of your possessions.
It's also an inexact science. Your dye vat will react differently according to the material your pot is made of, the PH, and finally, the nature of your fabric.
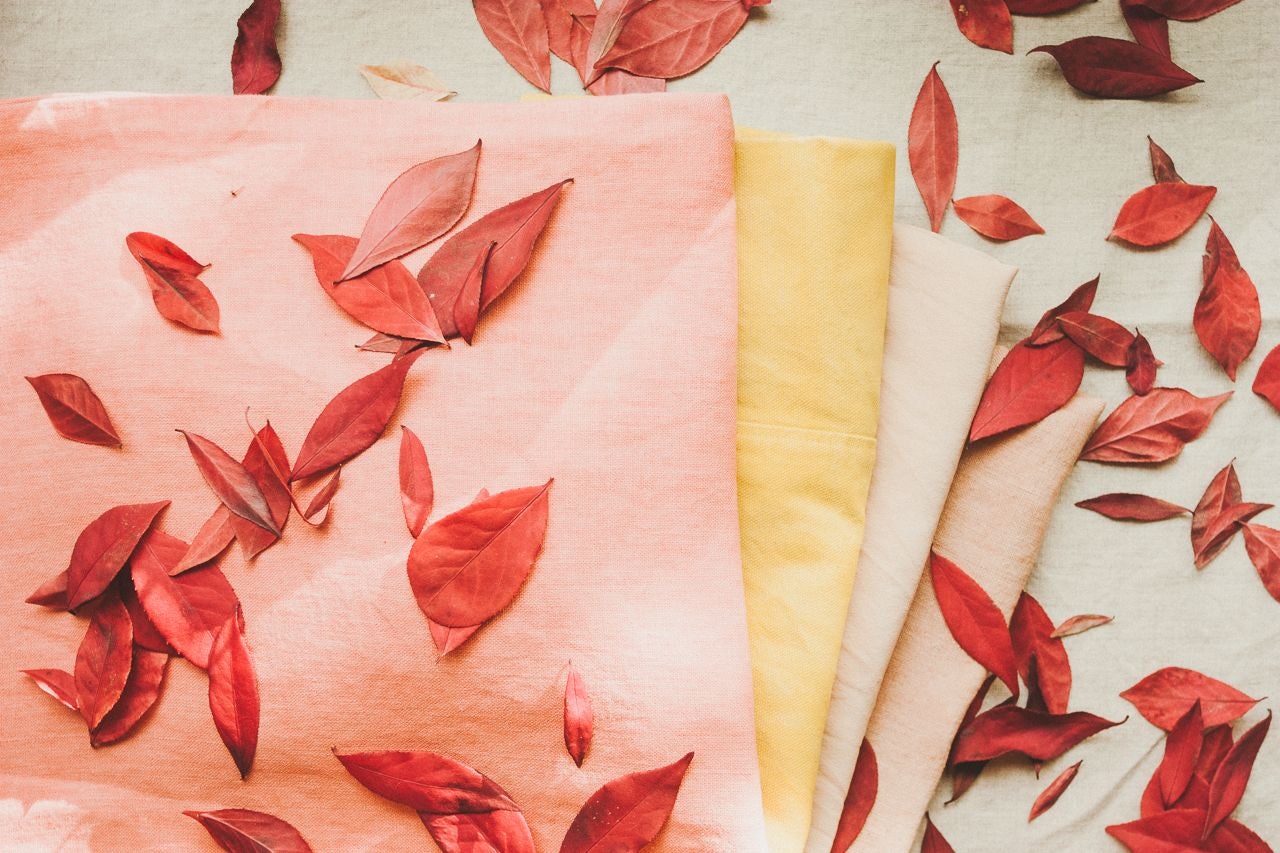
I had great expectations for this experiment, from vivid pinks to sage greens, but the elements decided otherwise.
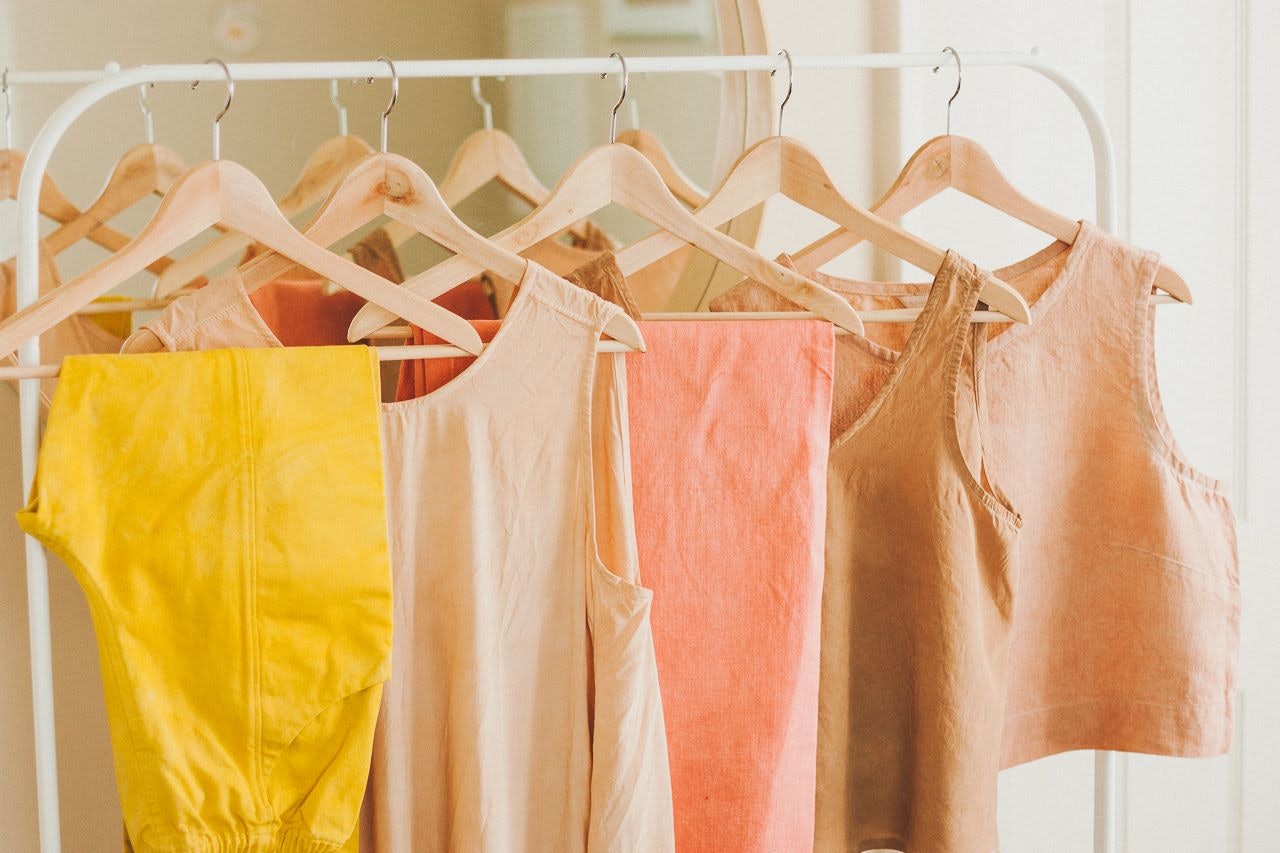
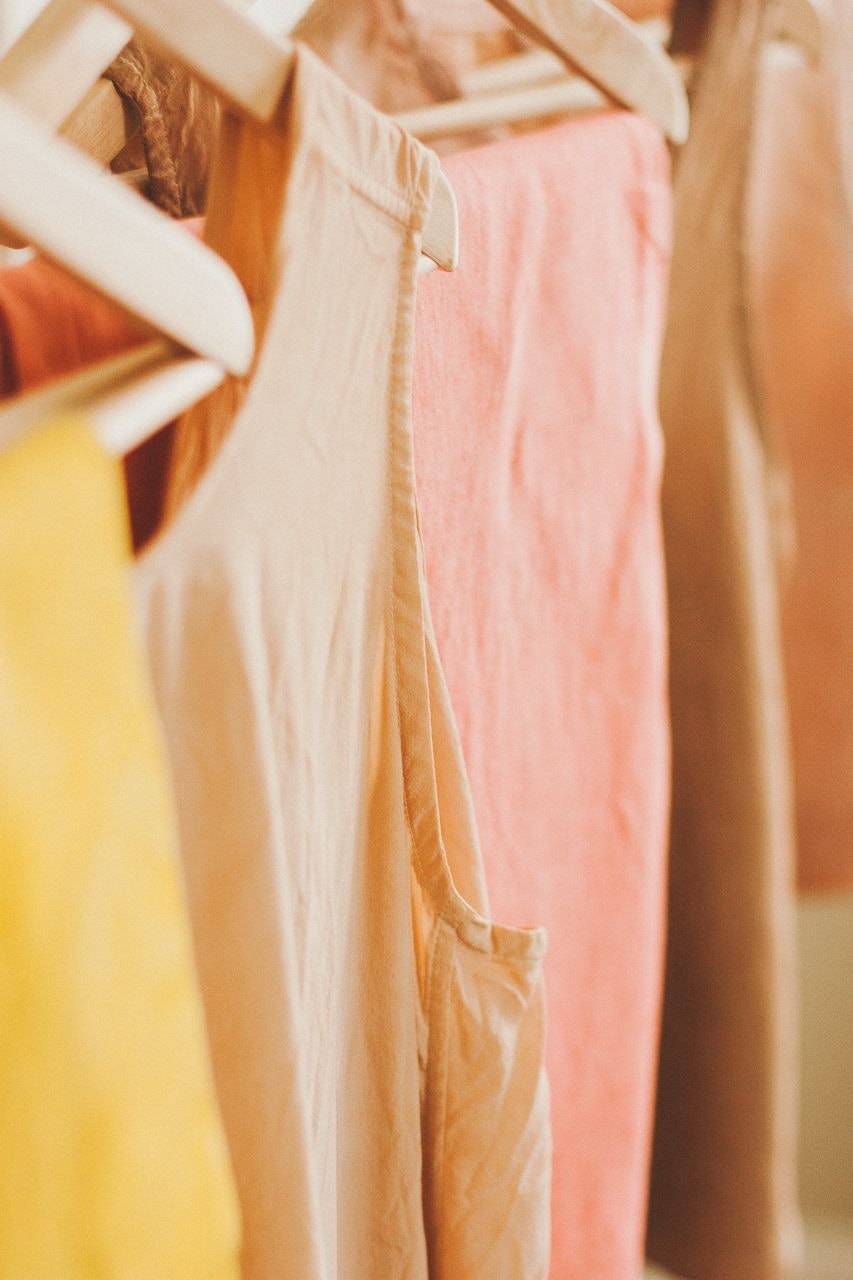
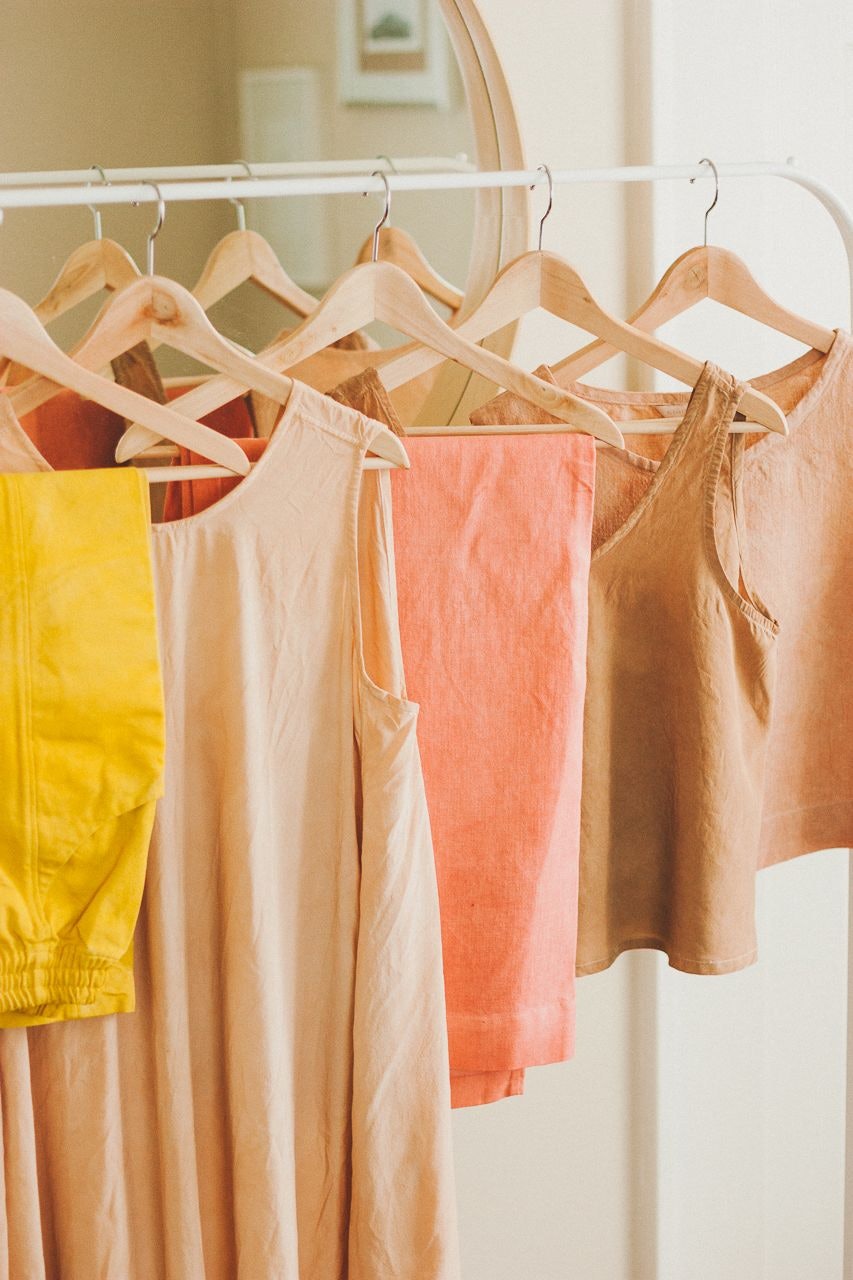
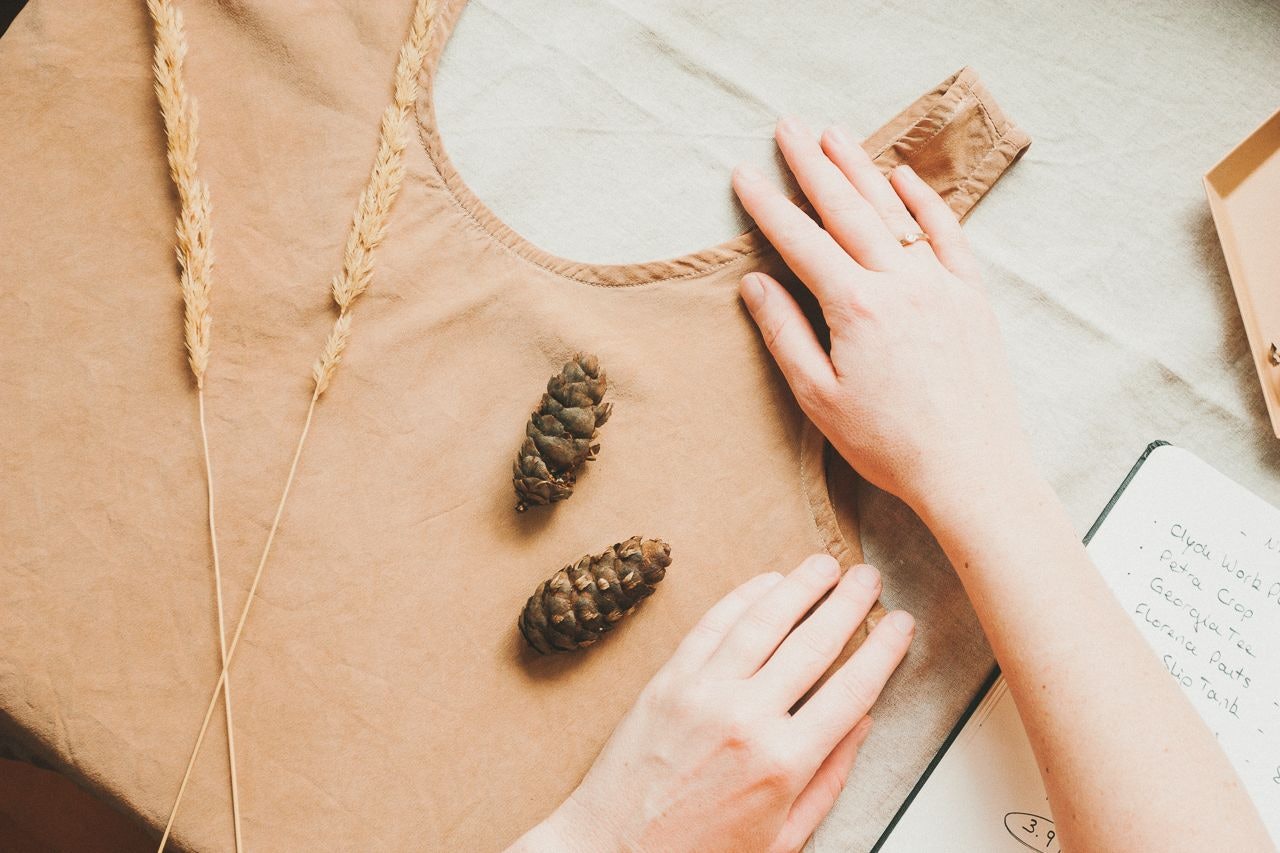
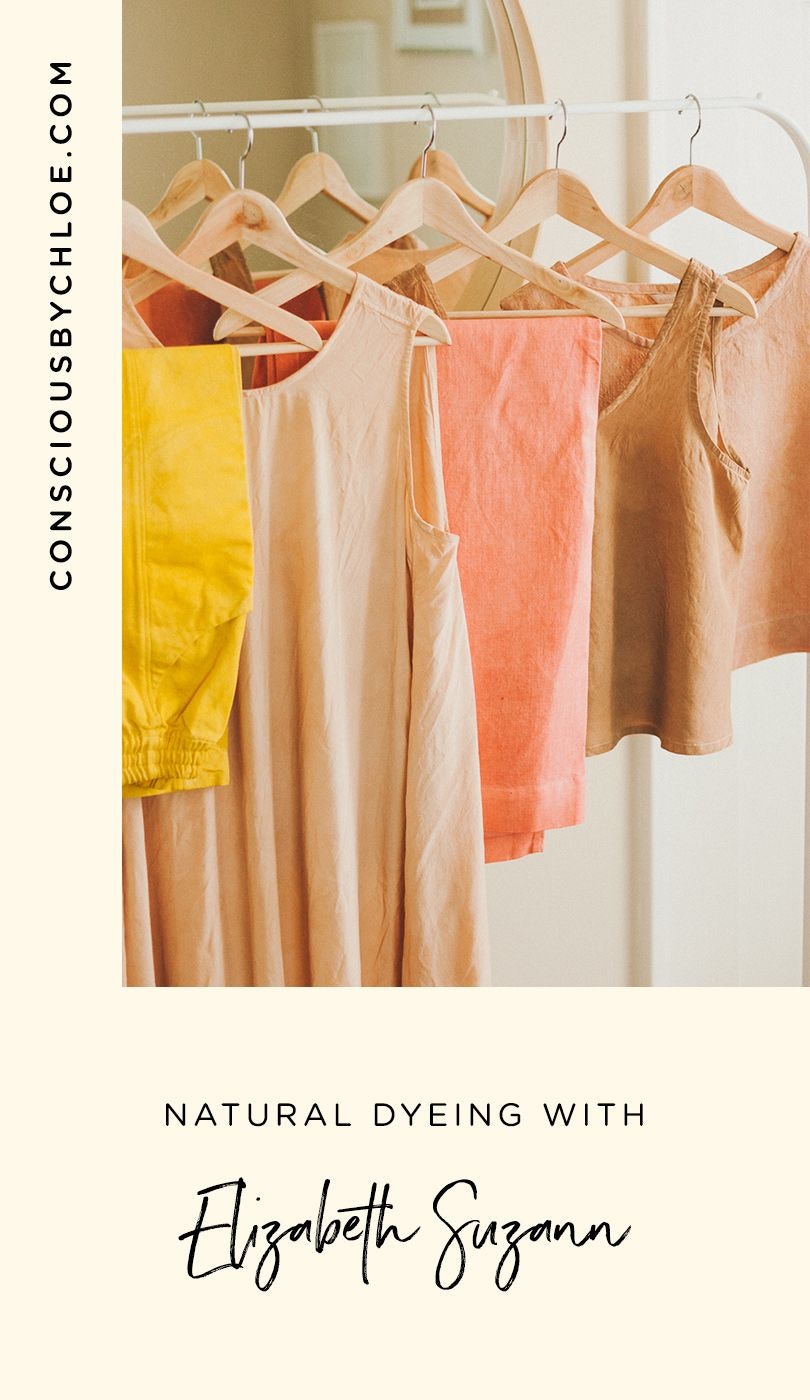
I ended up with a gradient of blush and rust, a palette I'm not mad about at all.
Process
For this experiment, Elizabeth Suzann sent me the following pieces, which had not gone through the brand's very strict quality control and were meant to be sold during a sample sale.
Fabrics
-
Cotton - Clyde Work Pant
-
Linen - Petra Crop, Georgia Tee, Florence Pant
-
Silk - Ella Slip Tank, Harlow Dress
Cotton and linen are cellulose fibers (they come from plants); silk is a protein fiber (which usually comes from animals).
You can read about the fabrics used at Elizabeth Suzann here.
Material
- Scale
- Aluminum Pot
- Extra pot or bucket
- Stirring Spoons
- Sieve
- Muslin Cloth or Nut Milk Bag
- Muslin Drawstring Bags
The same pots and utensils should not be used for dyeing and cooking. It is also recommended to use gloves when manipulating the dyes, as some might be irritating to the skin.
Fabric Washing
All ES garments are washed as a final step in the production process. But if you're dyeing a piece you already own, make sure you wash it with soap and do an extra rinse to remove natural oils and chemical residues, and ensure a more even dyed color.
Fabric Treating & Mordanting
While some fibers naturally contain tannins, which help bind the dye to the fabric, others, especially the cellulose kind, need some assistance in order to evenly absorb and ultimately hold the dye. Mordants serve that purpose. Soybean protein is a natural type of mordant and prevents the use of chemical ones, such as alum and other metallic salt mordants.
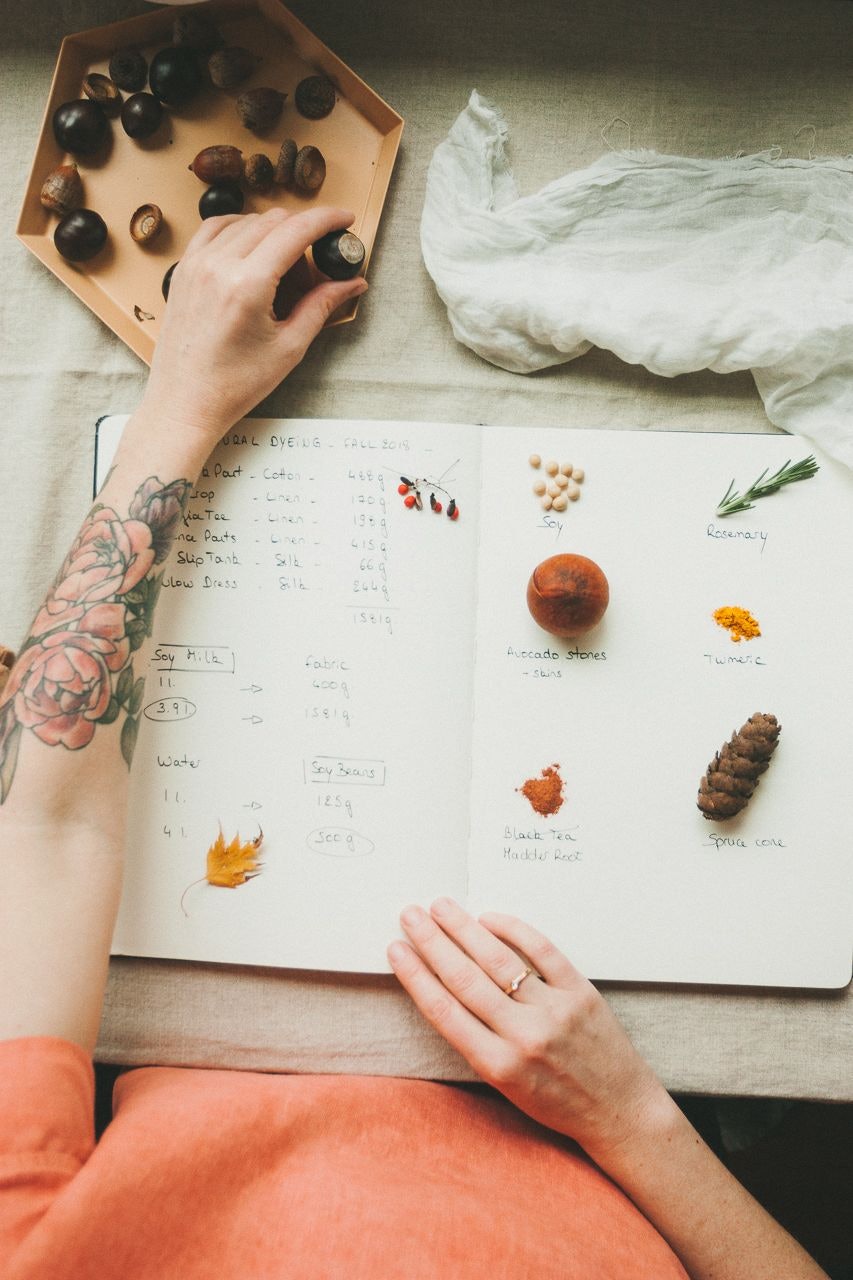
To make 1 liter of soy milk, you need 125 g of soybeans and 1 liter of water.
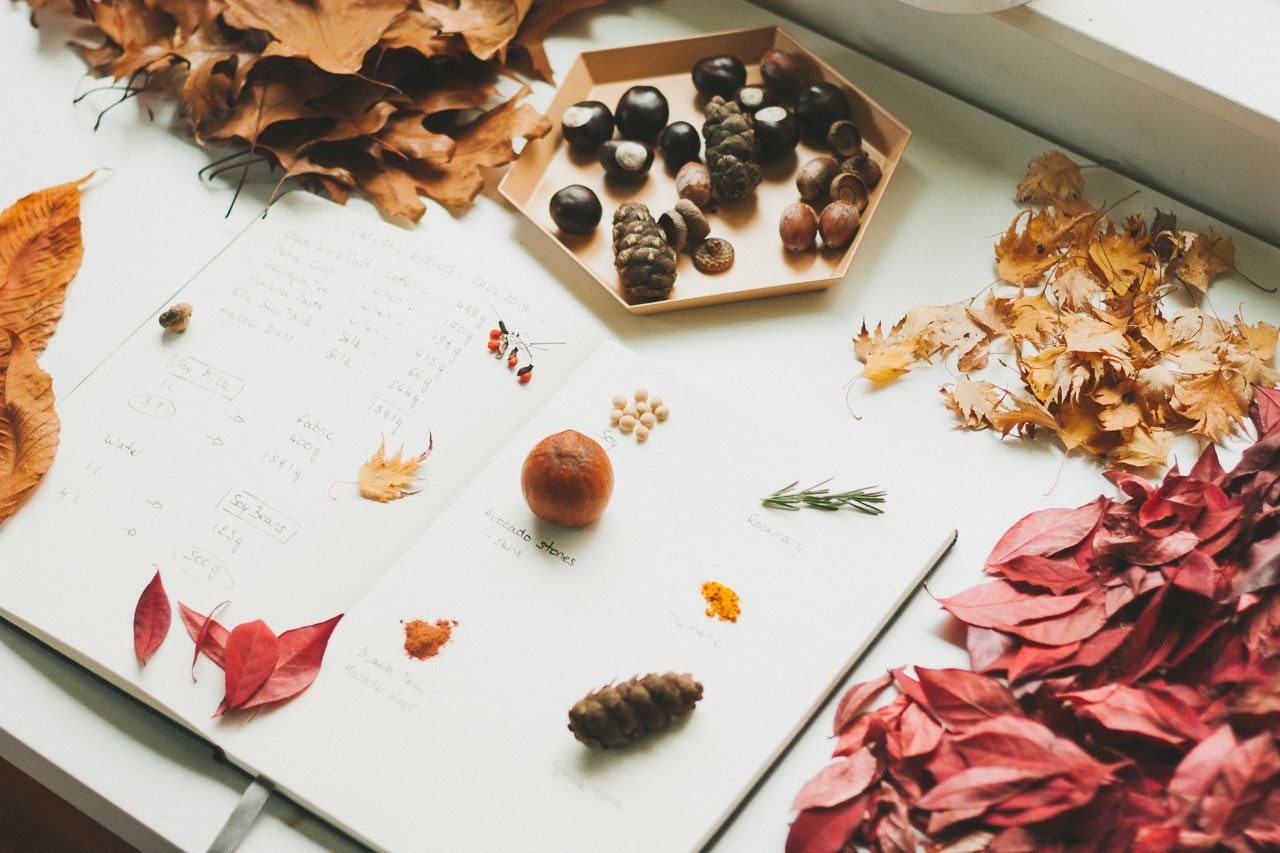
I had a total of 1581 g of fabric, so I needed approximately 4 l of soy milk, hence 500 g of soybeans.
Weigh your fabric to figure out how much soy milk you'll need to pretreat it.
Soy Milk Recipe
-
Soak the beans overnight
-
Put the beans and water in a blender and blend until smooth.
-
Strain the milk through the muslin cloth or milk bag
-
Add the pulp back into the blender with some fresh water and blend again
-
Strain the milk through the muslin cloth or milk bag and add it to the first batch.
Soy Milk Mordanting
-
To mordant 400 g of fabric, you need to dilute 1 l of soy milk with 5 l of water in a bucket.
-
After washing and rinsing the fabric, put it into the soy milk bath and make sure it's fully submerged.
-
Leave it for 12 hours. Stir it once during this period of time.
-
Remove the fabric from the bucket, squeeze the excess liquid, put the fabric on spin cycle in your washer, and hang it to dry. This step is very important as you want your fabric to have an even coat of milk.
-
Store your bucket of milk in a cool place so it stays fresh. Give it a stir before using it again.
-
Once the fabric is dry, dip it quickly into the milk a second time, spin it in the washer, and hang it to dry.
-
Repeat this last step one more time once the fabric is dry.
-
Wait one week before dying the fabric to allow the soybean protein to bond with the fibers.
Gathering Dyestuff
Pretty much any plant and event kitchen scraps cans be used to create a dye bath.
Collect dyeing material from local farmers' markets, grocery stores, save them from your kitchen (and keep them in your freezer until you've gathered enough) or forage them in your neighborhood.
For this experiment, I used the following dyestuff:
-
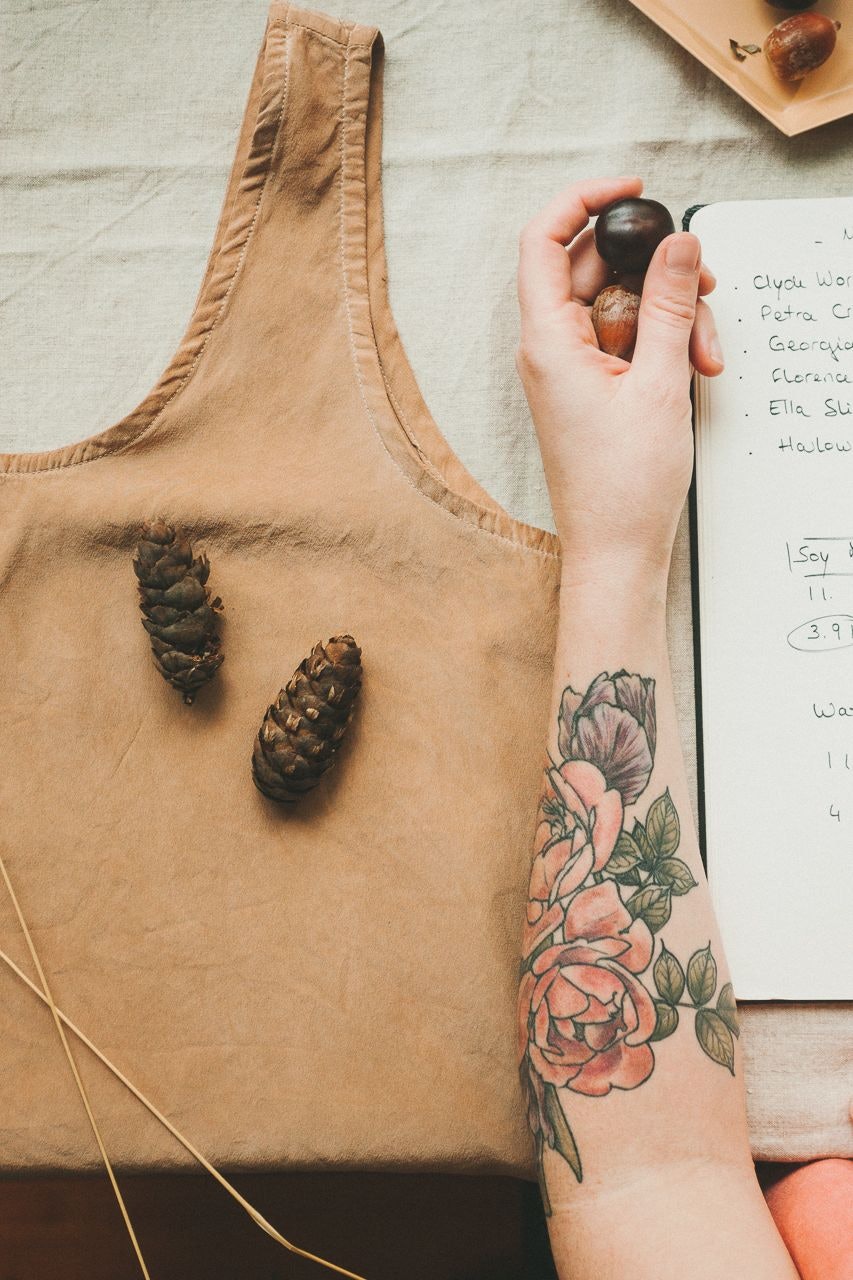
Spruce cones - foraged two streets down from my house
-
Rosemary - from my garden
-
Avocado skins and stones - saved from my kitchen
-
Turmeric - bought in bulk at my local co-op
-
Madder Root powder, which was given to me by a fellow natural dyer
Other favorites include dandelions, nettles, red onion skins, etc.
Extracting Dye
-
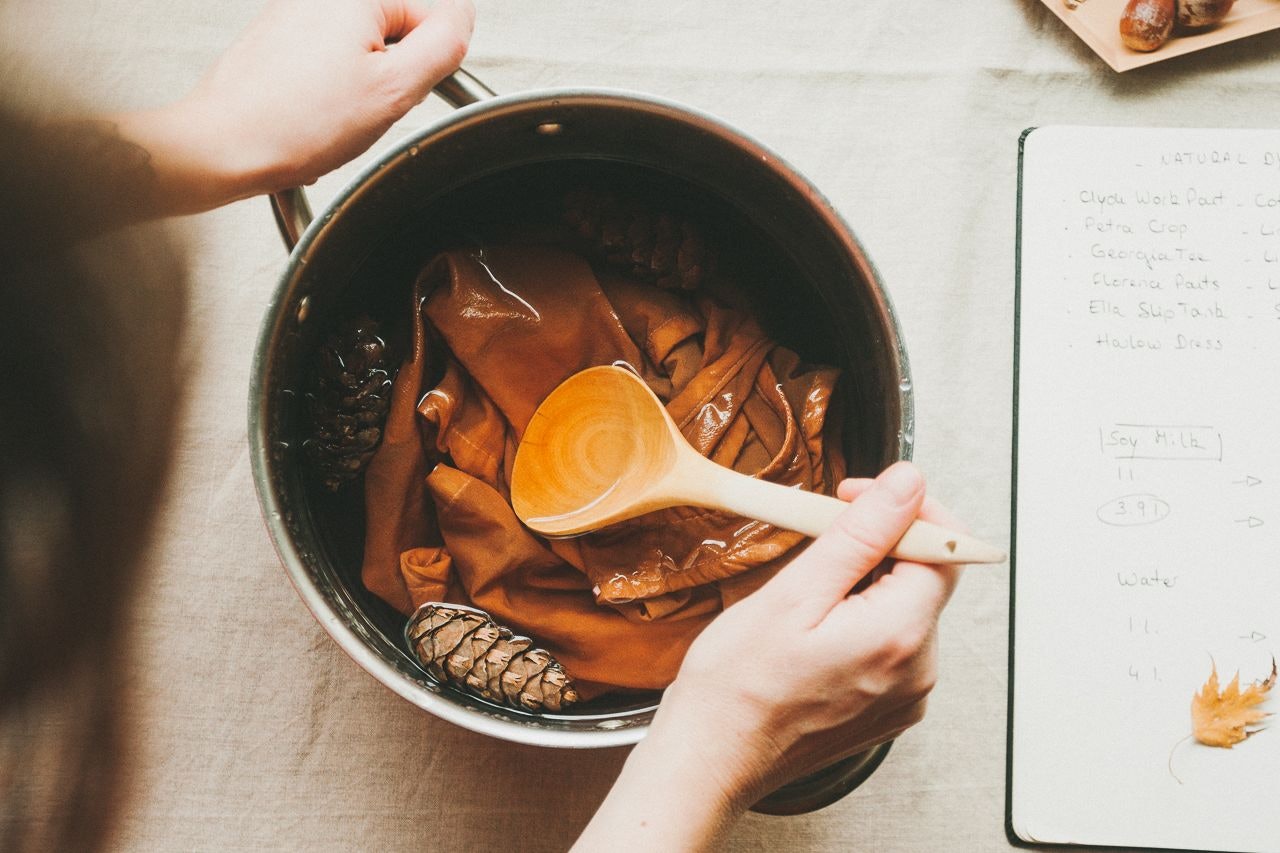
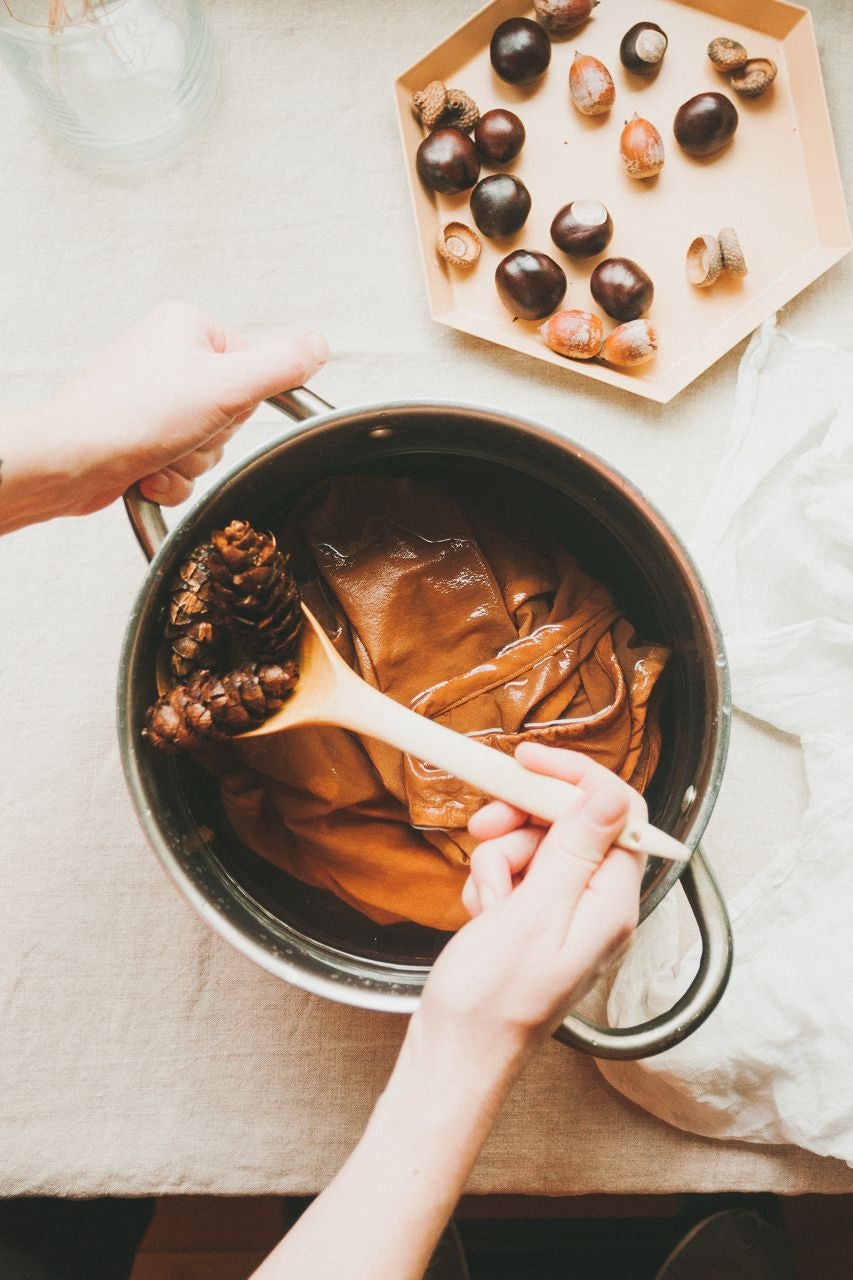
Place your dyestuff in an aluminum pot and cover with water. If you're using a powder dye, place it in a muslin drawstring bag first.
-
Let simmer on low heat for an hour. Add more water if it evaporates.
-
Experiment with heat and see if you can extract more color.
-
Turn the heat off and let the liquid cool.
-
Strain the liquid through a sieve or remove the muslin bag.
-
Repeat the process a second time with fresh water if you want to extract more dye and then combine the two batches.
-
Pour the dye back into the pot and heat for an hour to get the mordanting benefits from your aluminum pot.
-
Turn off the heat and leave the dye in the pot for 24 hours before dyeing.
Dyeing Fabrics
Before you do anything, know that Elisabeth Suzann sends fabric swatches and scraps if customers request them!
It's a great way to test dyes before you submerge your precious ES pieces into a concoction without knowing what the outcome will be!
As you'll notice different fabrics put into the same dye bath will produce drastically different results.
Or you can trust the process and, like me, simply go for it and embrace the unknown.
-
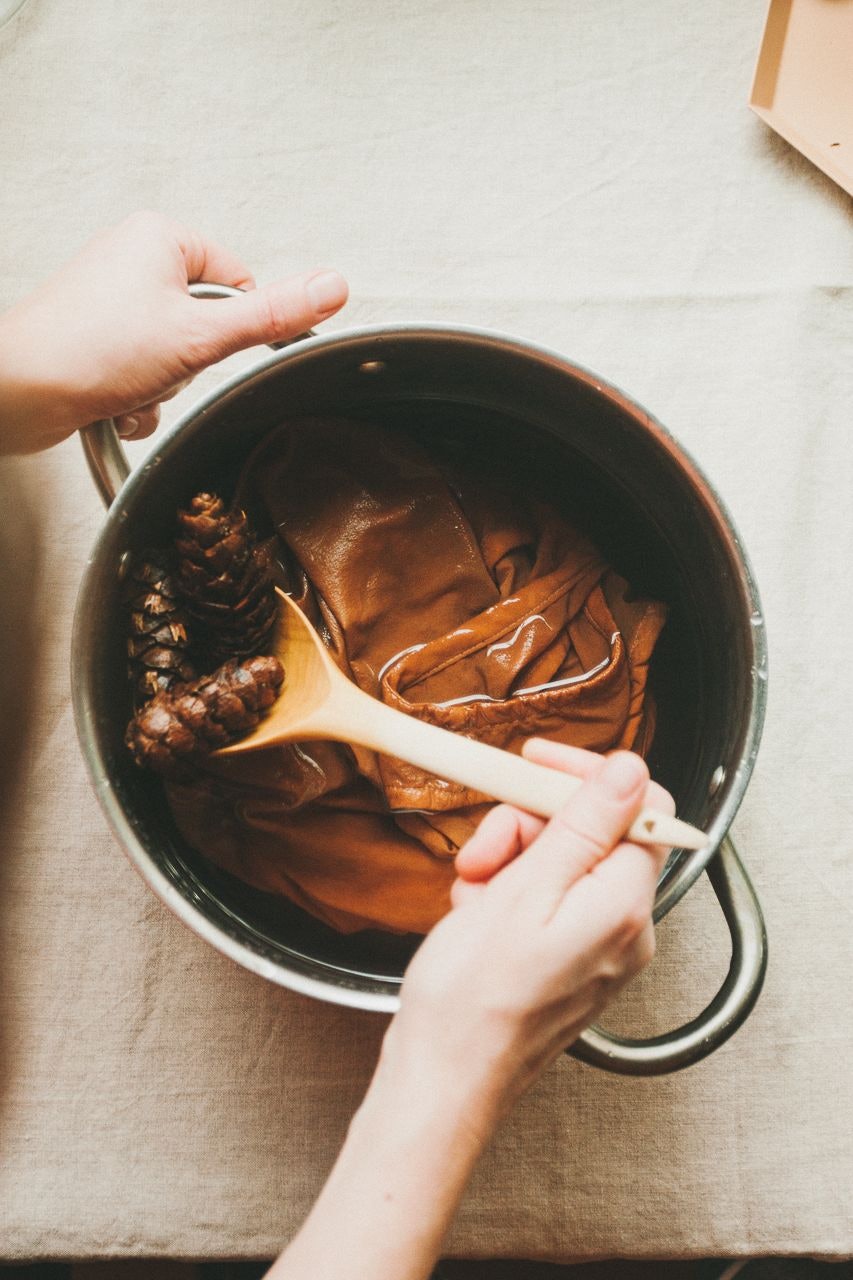
Dampen your fabric (to make sure it will absorb the dye evenly) and put it into the dye pot.
-
Heat very gently for an hour and stir frequently.
-
Turn the heat off and leave to cool.
-
If needed, turn the heat again to obtain a darker color.
-
Remove the fabric from the pot. Squeeze the excess dye and hang to dry in the shade. Colors should not be exposed to the sun to preserve their brightness.
-
Wait for at least one week before rinsing. The longer you wait, the longer the color will last.
-
Rinse in lukewarm water. Wash with natural soap and leave to dry.
Fastness & Care
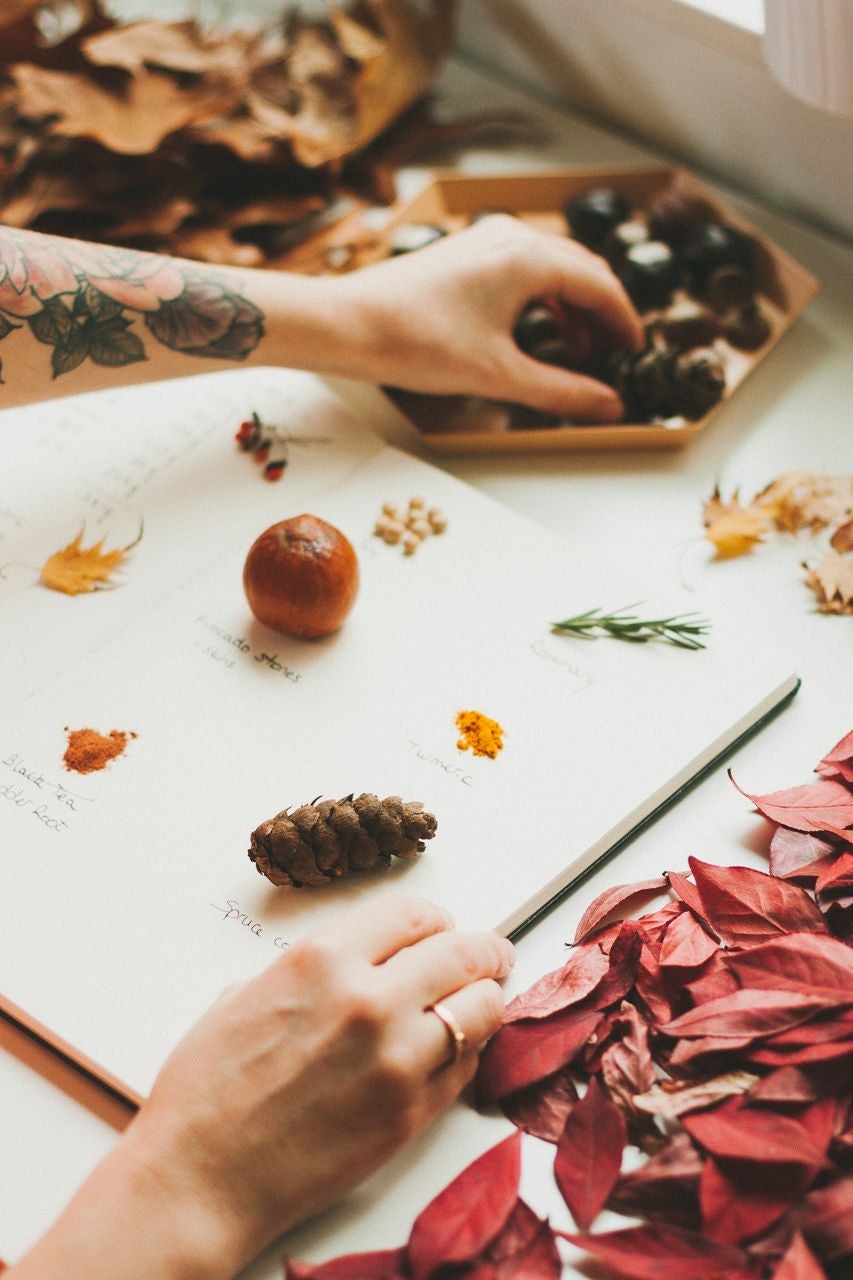
Without the use of chemical mordants or tannin-rich plants, naturally dyed fabrics are subject to fastness.
The best way to care for these is to spot clean, space out washes, and handwash them separately with natural soap.
Final Thoughts
As you've been able to tell, natural dyeing is a very slow process - about 3 weeks from soaking the milk to wearing your newly dyed garment.
It might seem overwhelming at first, but, should you want to make this a recurring activity, you'll quickly realize that you can have multiple dye baths going on at the same time. Soy milk and dyes can be stored in the fridge for a couple of days for further dyeing sessions.
You'll naturally start storing food scraps and foraging plants without even thinking about it.
The only risk is that you might want to dye everything around you. I am currently considering dyeing a whole bunch of napkins for the end of the year celebrations and may or may not have dyed all the white sheets in my house...
Natural dyeing resources
Technique & Inspiration
For this particular experiment, I followed the instructions featured in the following book (available in electronic format):
- Rebecca Desnos by Rebecca Desnos
Other favorites include:
-
The Modern Natural Dyer by Kristine Vejar
-
The Natural Colors Cookbook by Maggie Pate
Supplies
-
Your own kitchen
-
Nature all around you
This post was graciously sponsored by Elisabeth Suzann. Thanks for supporting the carefully selected brands that support Conscious by Chloé!
Pictures by Octave Zangs for Conscious by Chloé.


