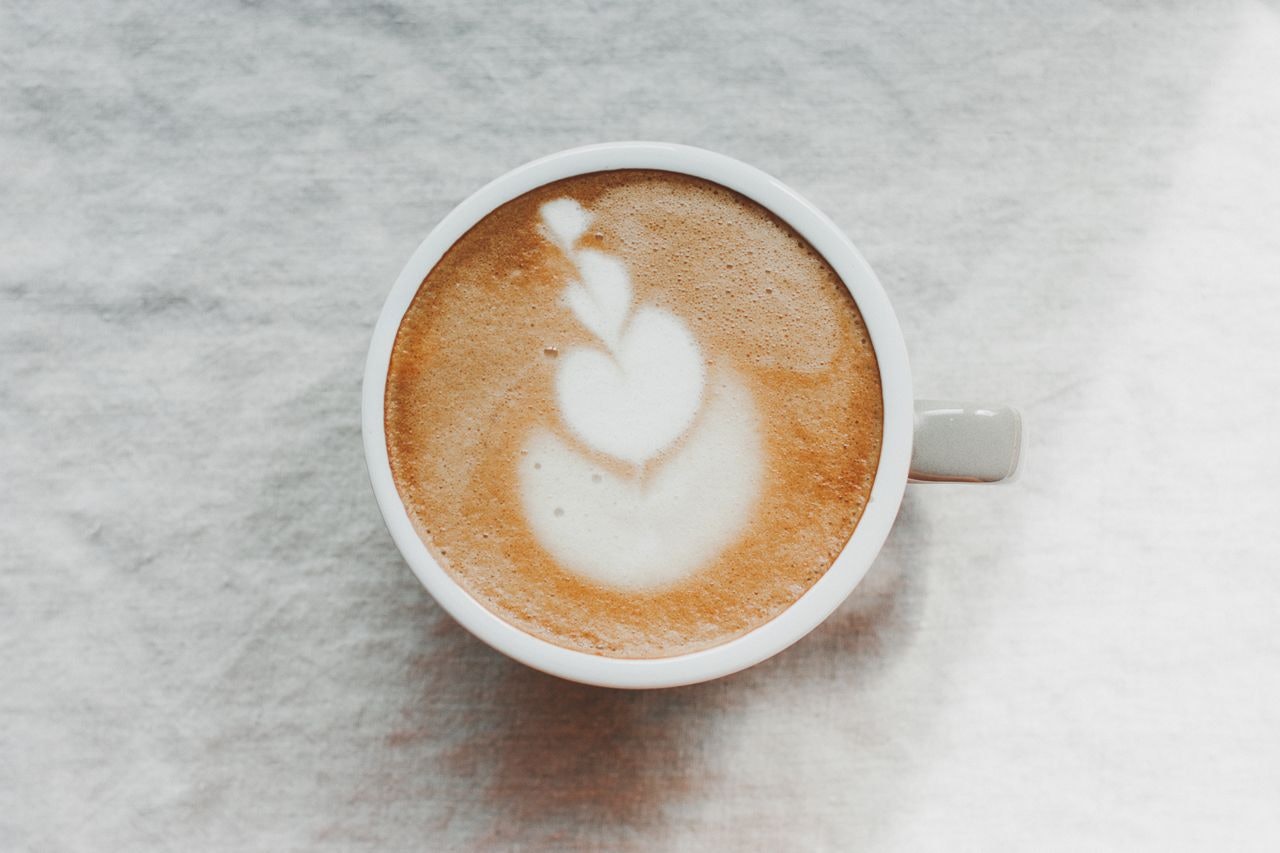
Over the past couple years, Octave has gotten really into coffee and it has made my gift giving really easy.
It all started with a Home Barista Class, which was followed by a Milk Steaming and Latte Art Class and ended with a Home Coffee Roasting workshop. The next step would be moving to a warmer climate and starting our own coffee plantation but I don't see this happening... ever!
Did I mention I don't drink coffee?
With new skills comes new material. Octave, like me, is a crazy researcher and came up with the following setup.
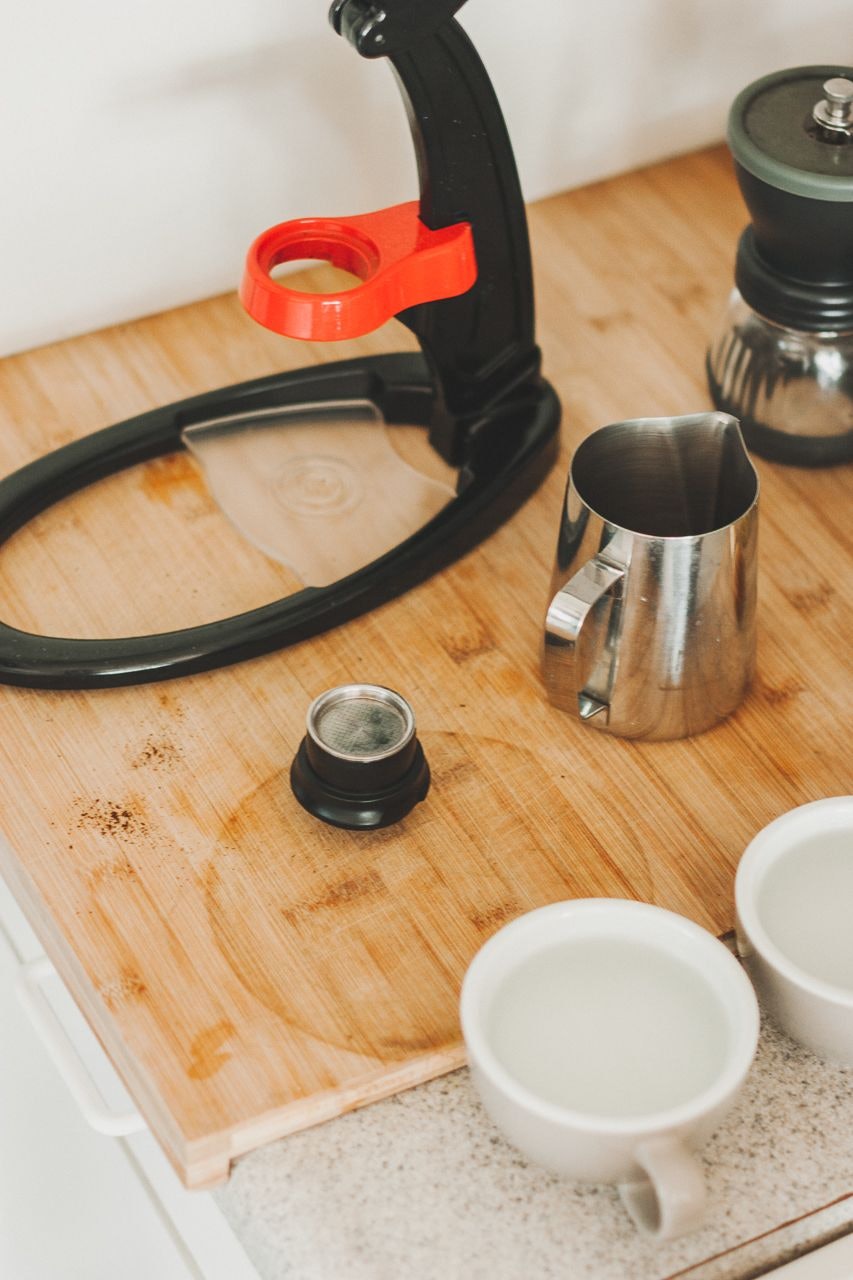
Equipment
- Scale
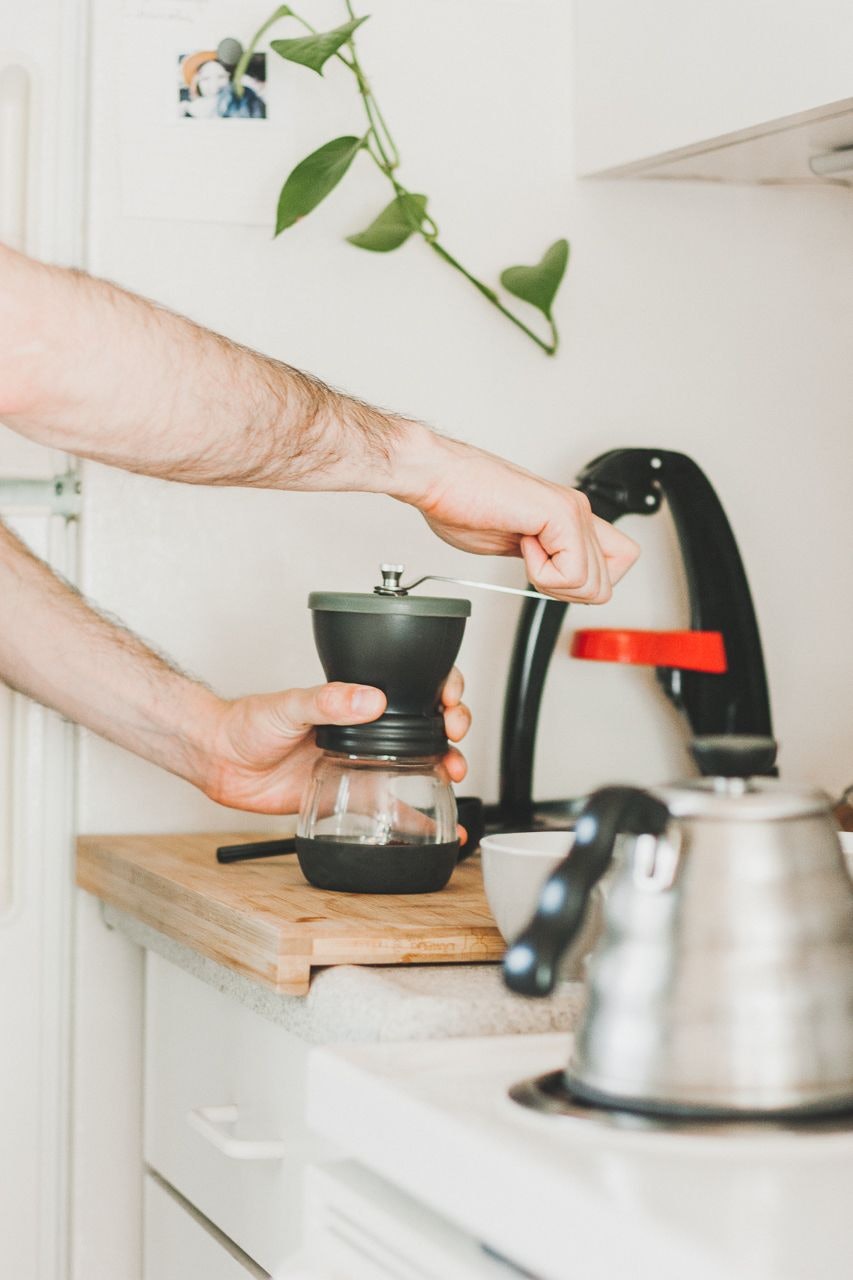
- Burr grinder or a blade grinder dialed to the appropriate settings
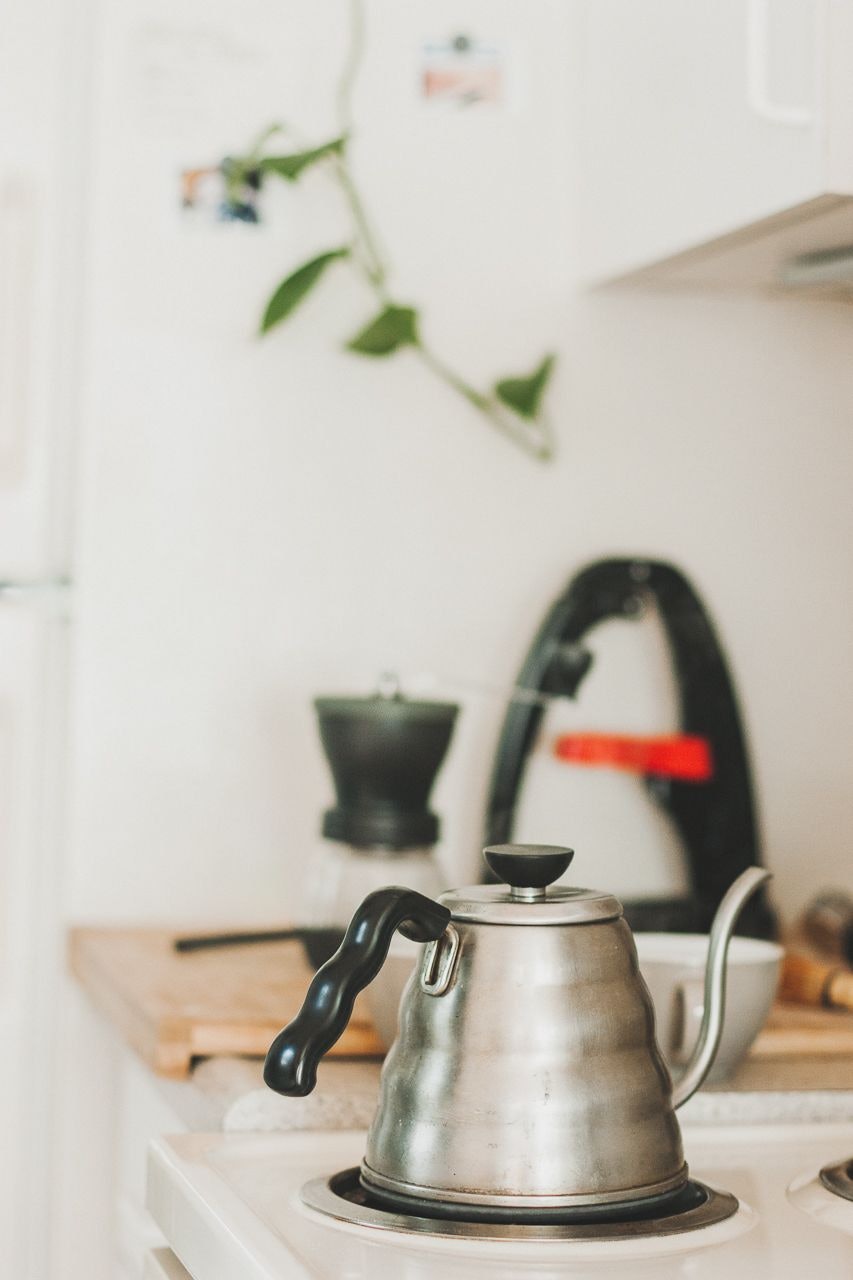
- Kettle
- Tongs
- Steamer
- Pitcher
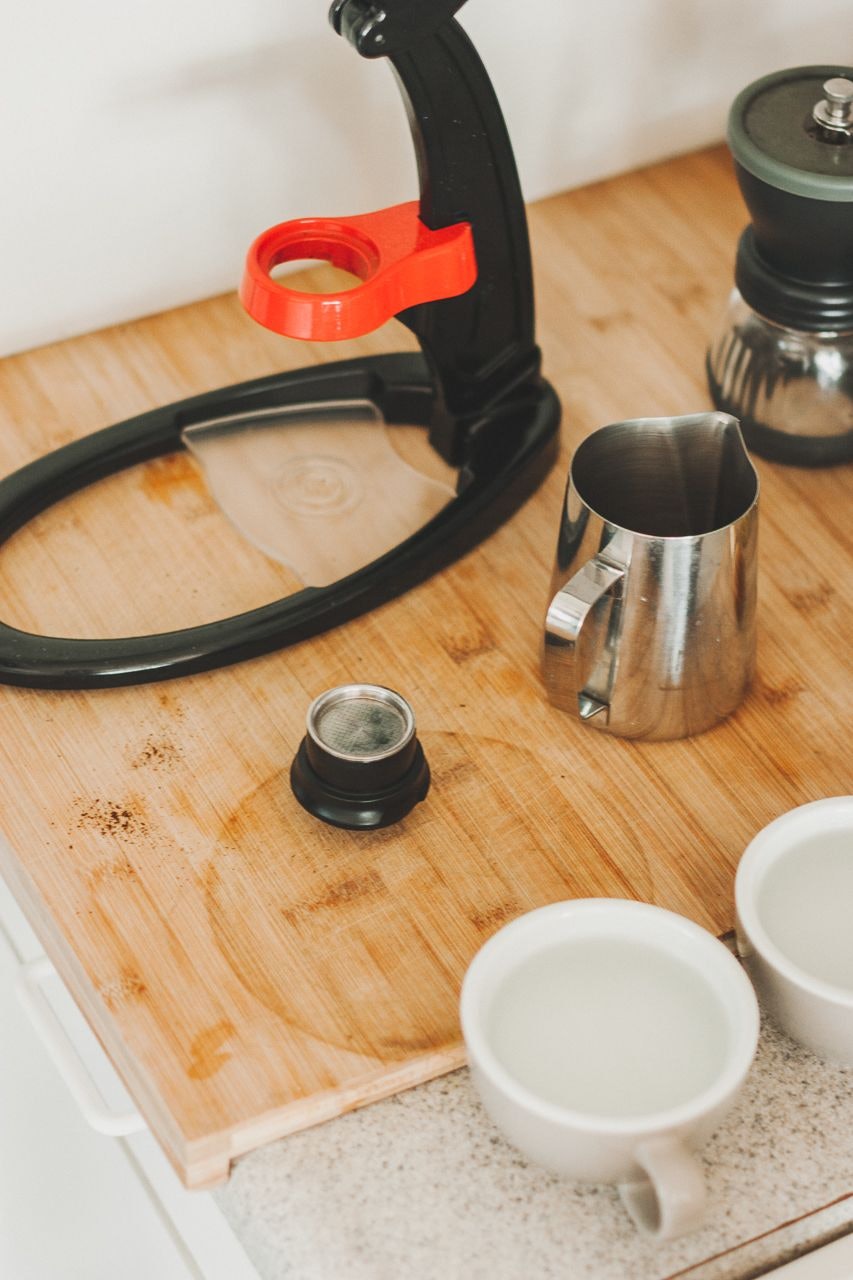
- Flair Espresso Maker - tamper + pressure gauge included in the "signature" edition
- Cups - rounded bowl-shaped cups are better for latte art
Find the whole list here.
As for ingredients, find what works for you, according to your diet and location.
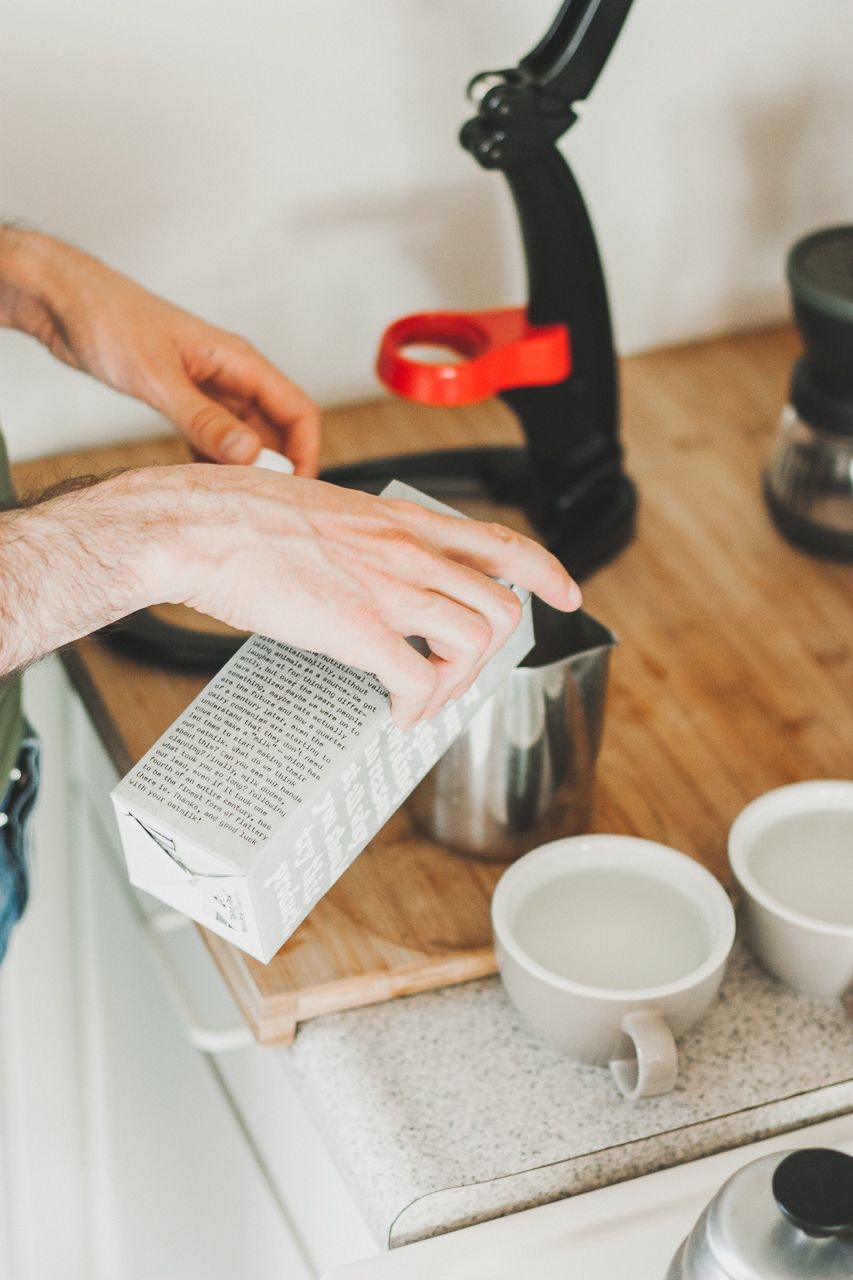
Ingredients
- Coffee
Octave roast his own coffee from local Mr. Green Beans' but he also recommends the one from our neighborhood coffee shop and roaster: Carnelian Coffee. - Oat milk
He tried to reverse engineer Oatly with amylase but without success. The Minimalist Baker has a great oil-free alternative.
And now, here's how Octave makes the best oat latte (according to himself and our closest friends).
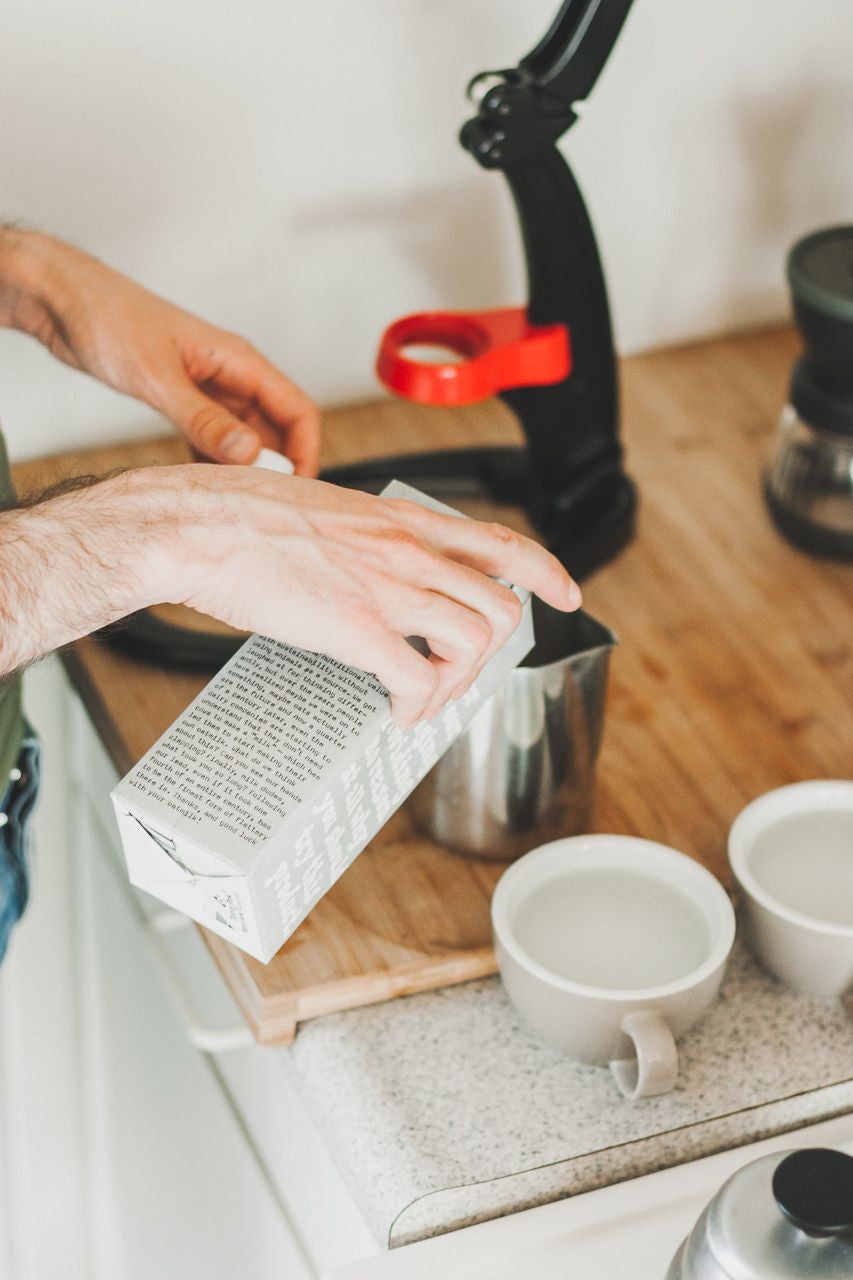
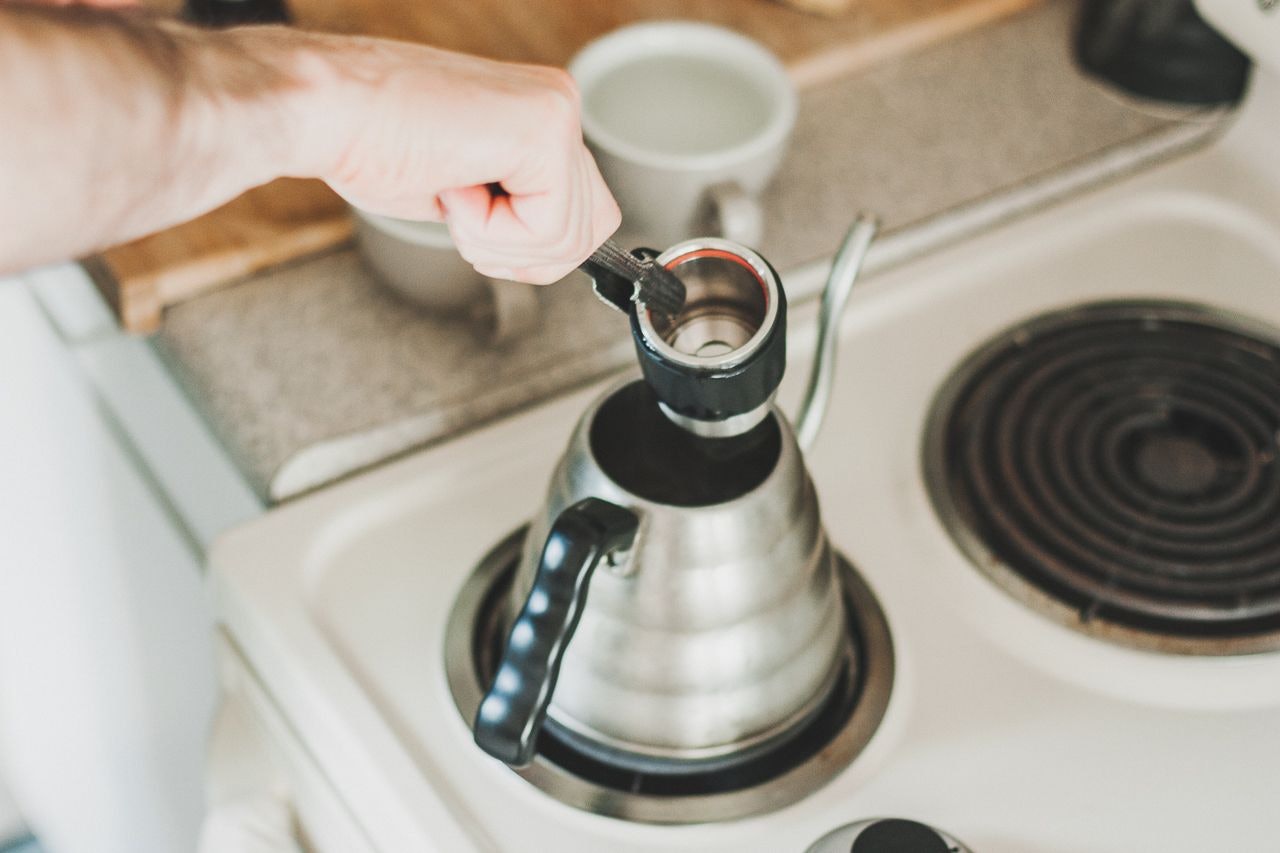
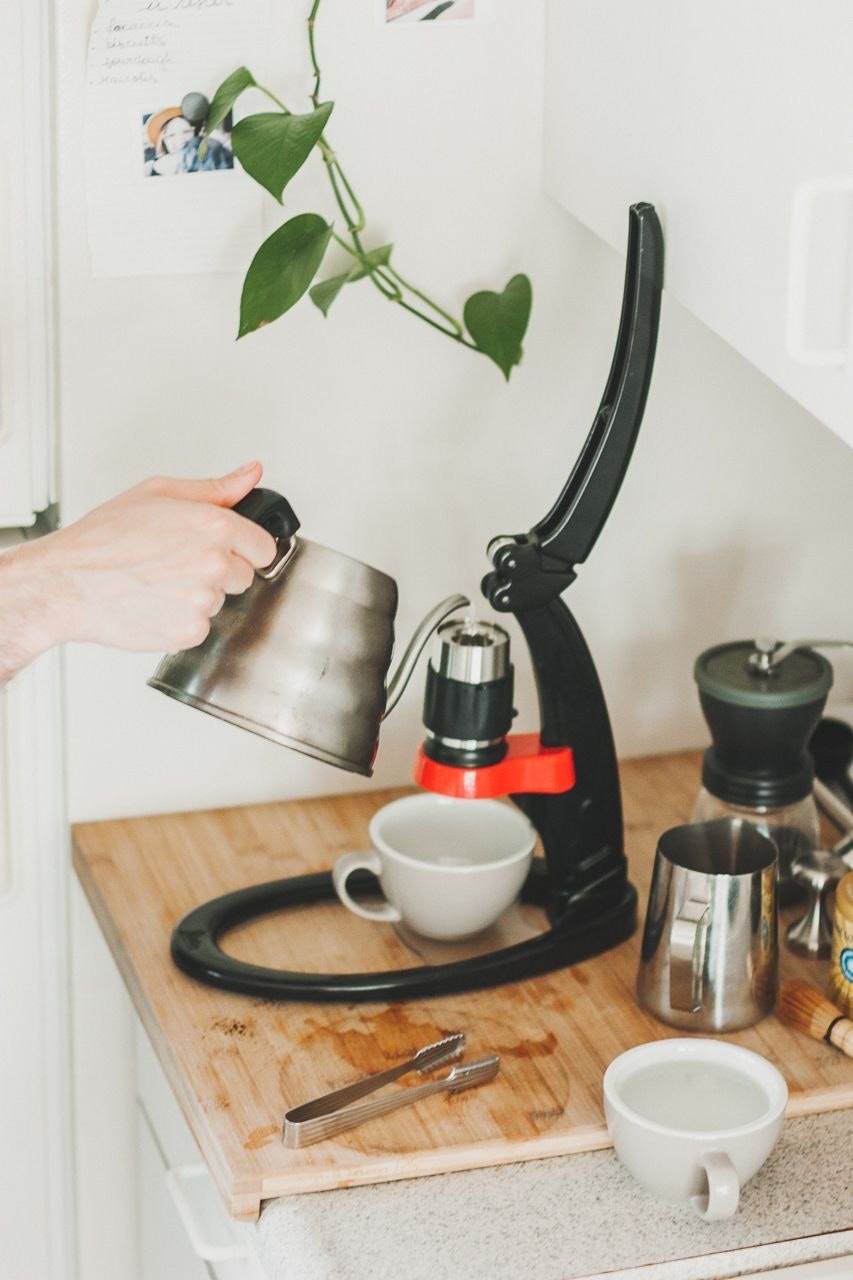
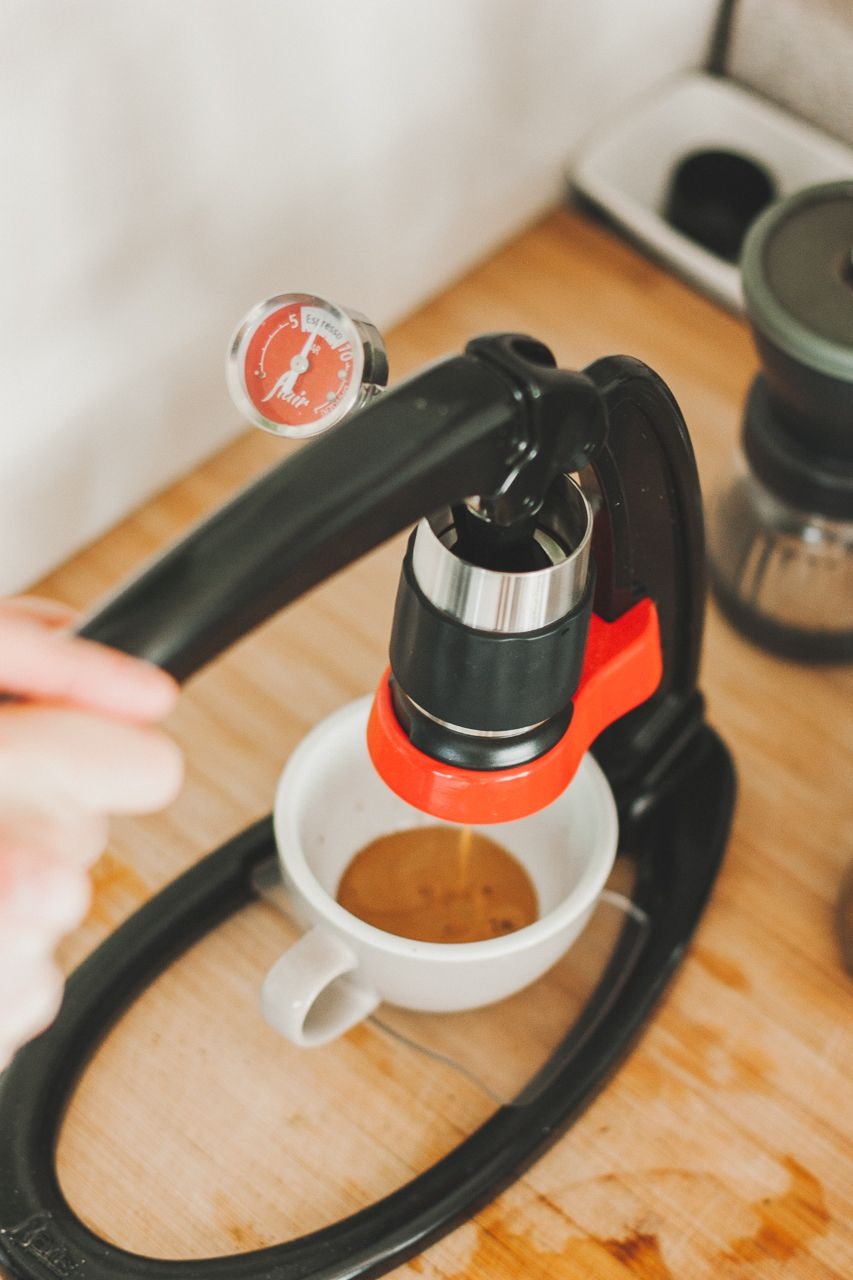
Brew the Espresso
(following instructions by Flair)
- Heat up the steamer.
- Weight 14 g of coffee beans.
- Grind the beans with a burr grinder or a blade grinder dialed to the appropriate settings.
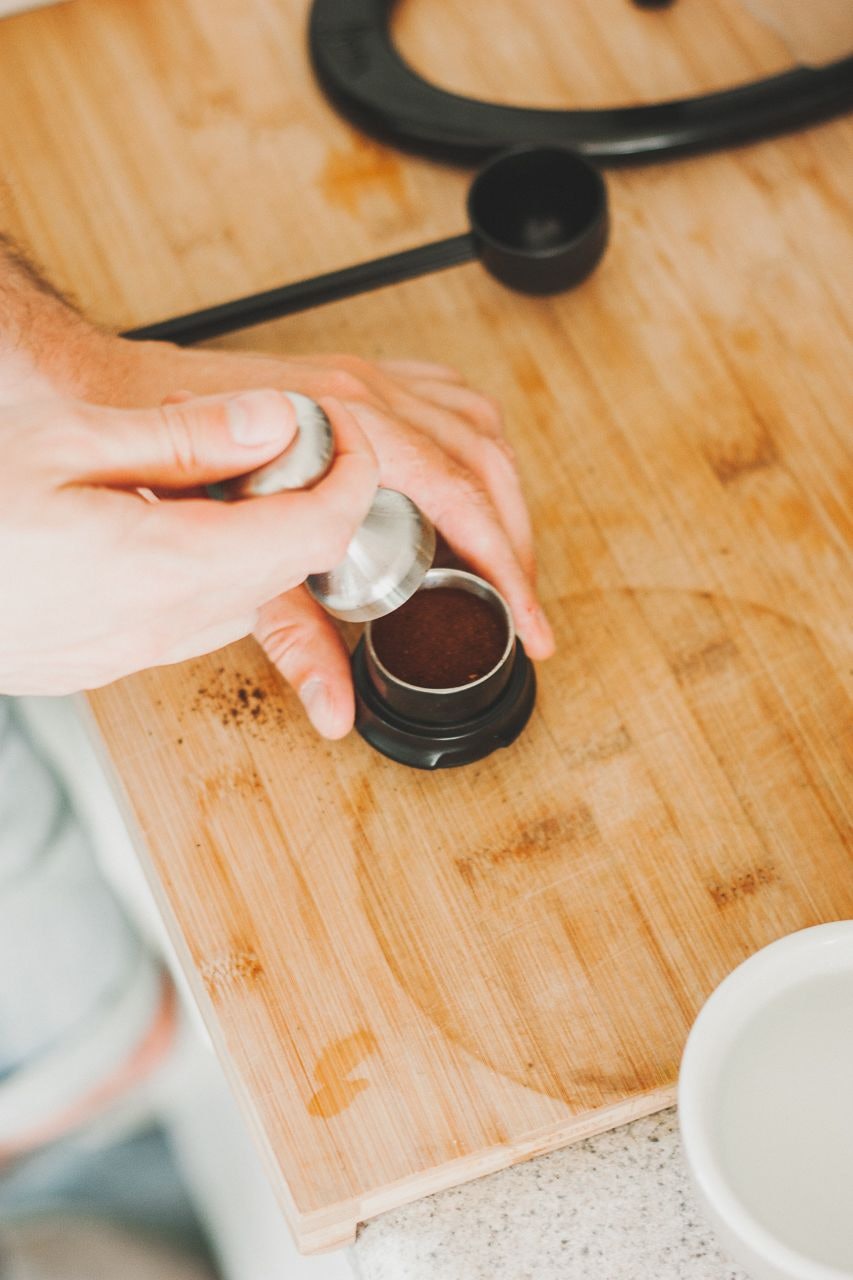
- Affix the funnel to the portafilter and fill it with grounds, tamp lightly.
- Remove the funnel and place the portafilter on the post and add the screen.
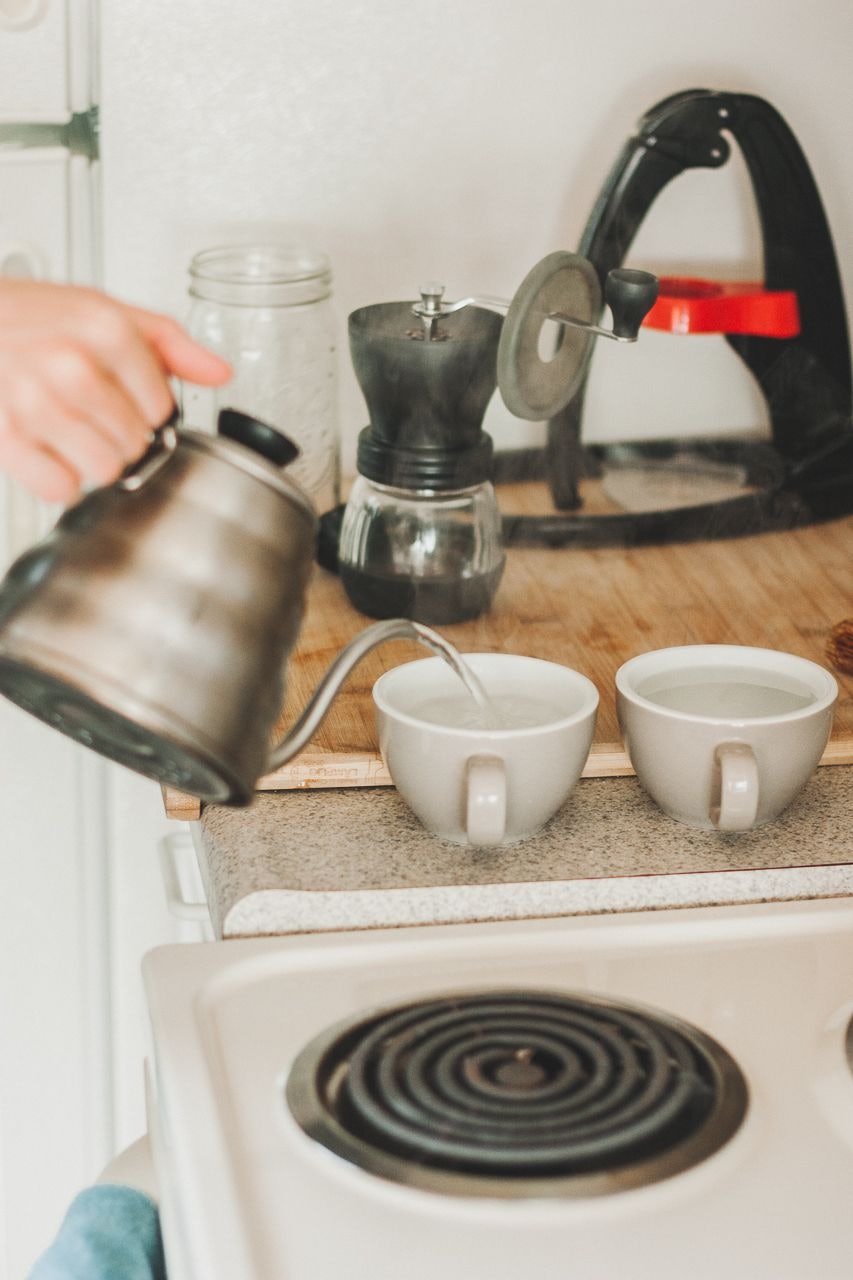
- Preheat the cylinder by inverting it and placing it in a bowl filled with boiling water for 30 seconds or do like Octave and place it straight into the kettle until the water boils.
- Pour some boiling water in a coffee cup to warm it up.
- Retrieve the cylinder and add it to the portafilter (a pair of tongs could be useful).
- Add brew water (198-208 ̊F, 92-97 ̊C) to the cylinder and fill it to the line.
- Add the piston and the gauge to the top of the cylinder.
- Lower the lever to brew. It should take between 35 to 45 seconds at 30 to 40 pounds force. If this is not the case, adjust your grind and dose.
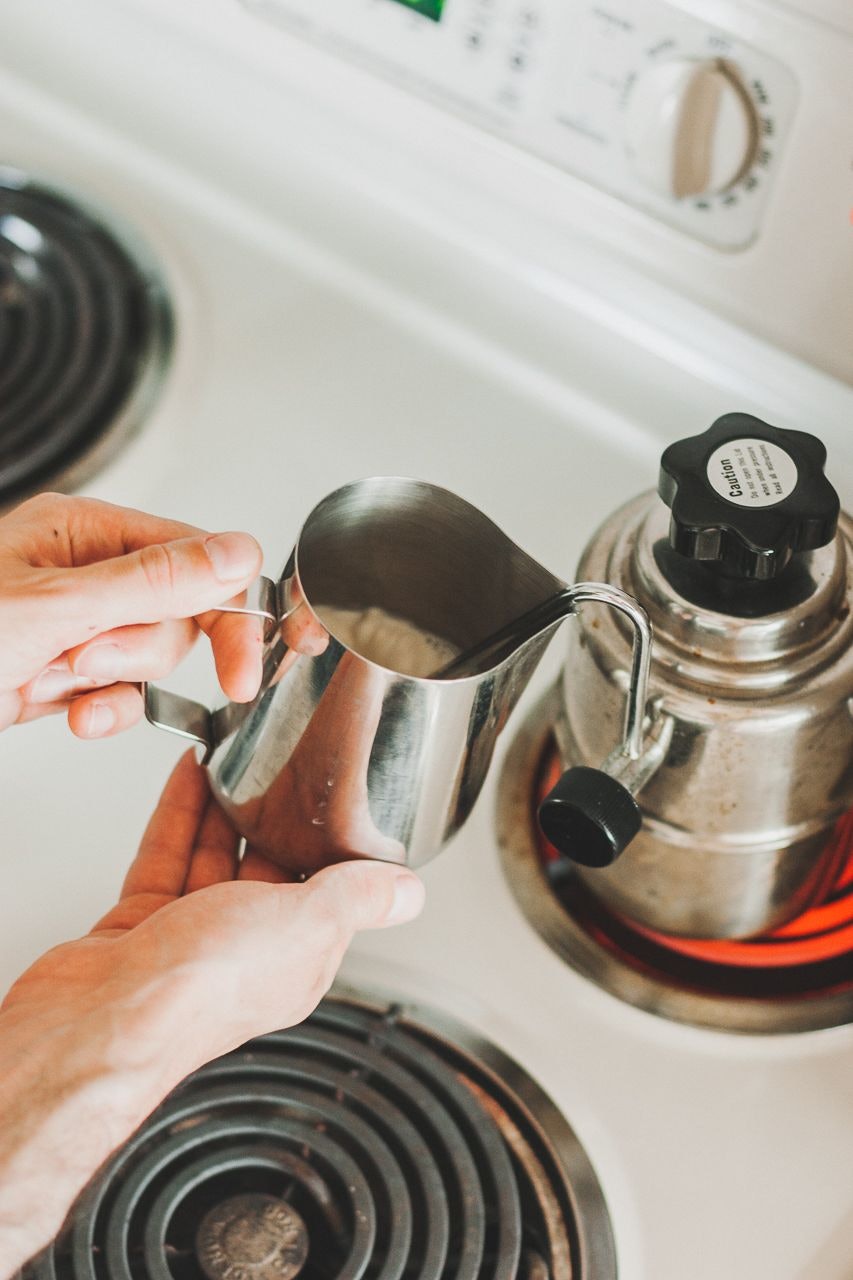
Froth the Milk
(following instructions byJ.L.Hufford)
- Fill your frothing pitcher just below the pour spout with cold milk.
- Place the steam wand just below the surface of the milk.
- Open the steam valve to full blast and begin frothing. During the frothing process, you need to keep the tip just below the surface of the milk so that you occasionally hear a ripping, sucking sound. You will need to have the tip off-center and at an angle to swirl the milk. Your milk will then create a vortex that incorporates larger air bubbles into the milk until a velvety smooth microfoam is achieved.
- As you incorporate more air into the milk, you will notice its volume increase. Take note of the type of bubbles you see; if they are big and stay big, move the wand tip a little lower into the milk. Remember to keep that vortex whirling around as you go. Continue to stretch the milk until the sides of the pitcher start to get warm.
- Lower the steam wand and emulsify. At this point, you can lower the wand tip below the surface of your milk. Make sure the angle and position of the wand stay the same to keep the milk rolling in a vortex. Heat the milk all the way up until the pitcher starts to become uncomfortable to touch but not scalding hot.
- Close the steam valve and wipe down your steam wand with a damp cloth. Purge the wand one last time to ensure all milk residue is purged.
- If you notice any larger bubbles in your milk, give it a tap on the countertop and swirl the milk around.
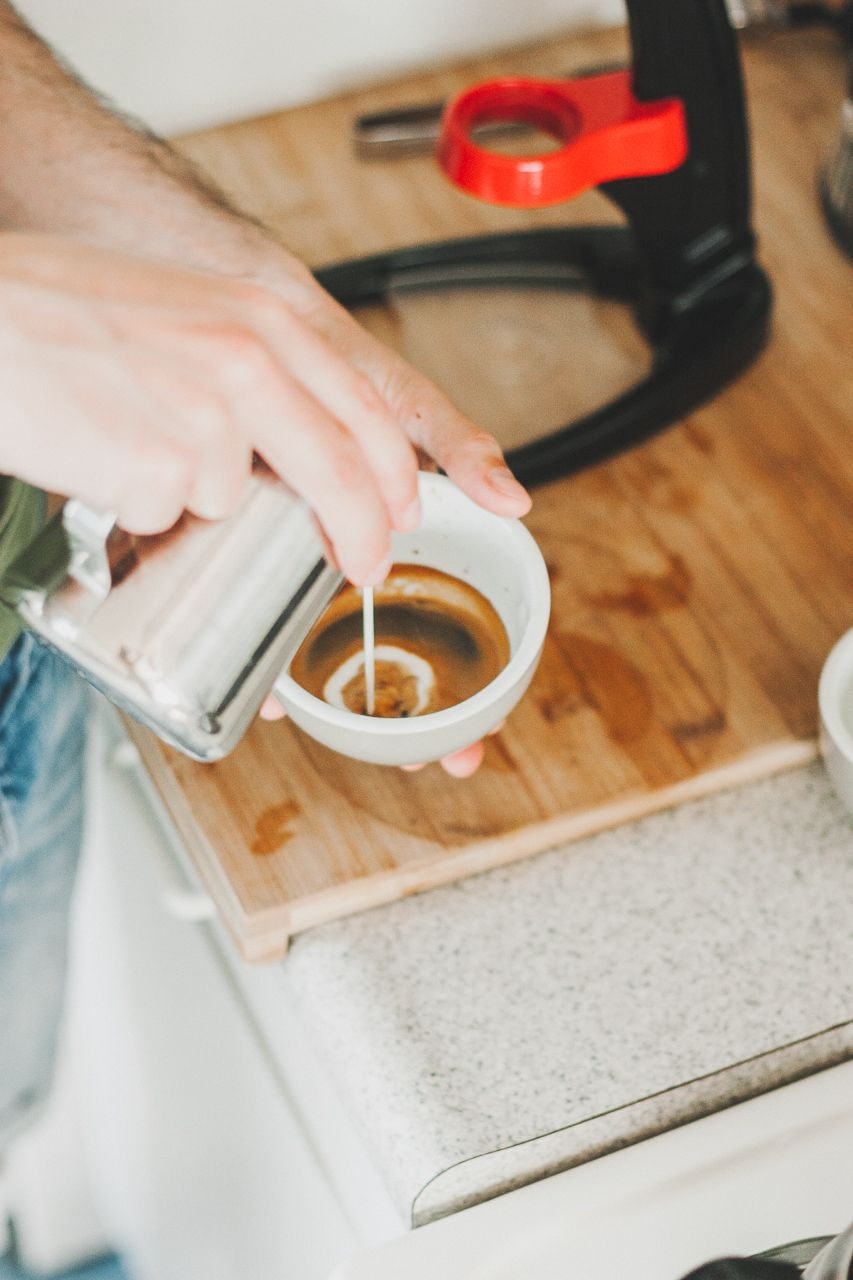
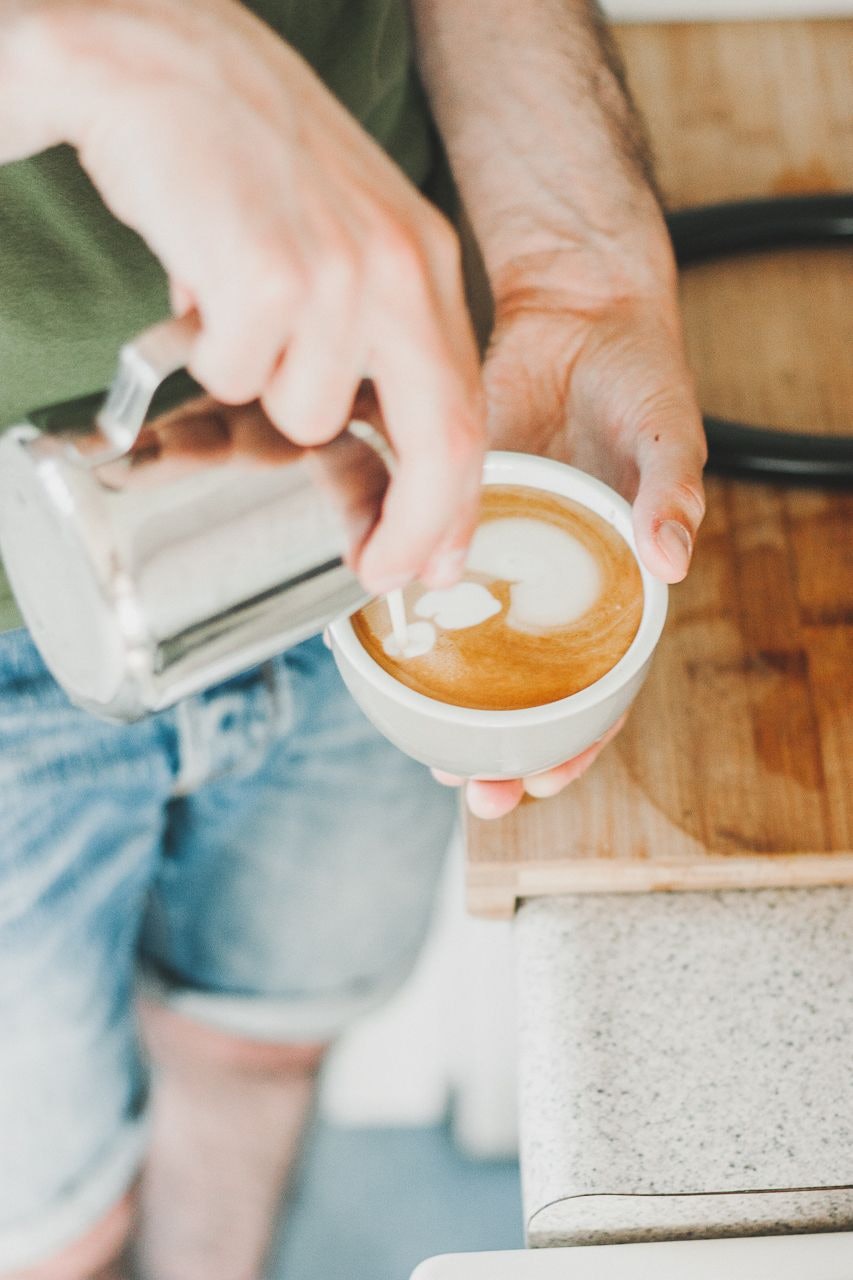
Pour & Create Latte Art
(following instructions by Sophia Smith)
- Latte art is easiest in a rounded bowl-shaped cup.
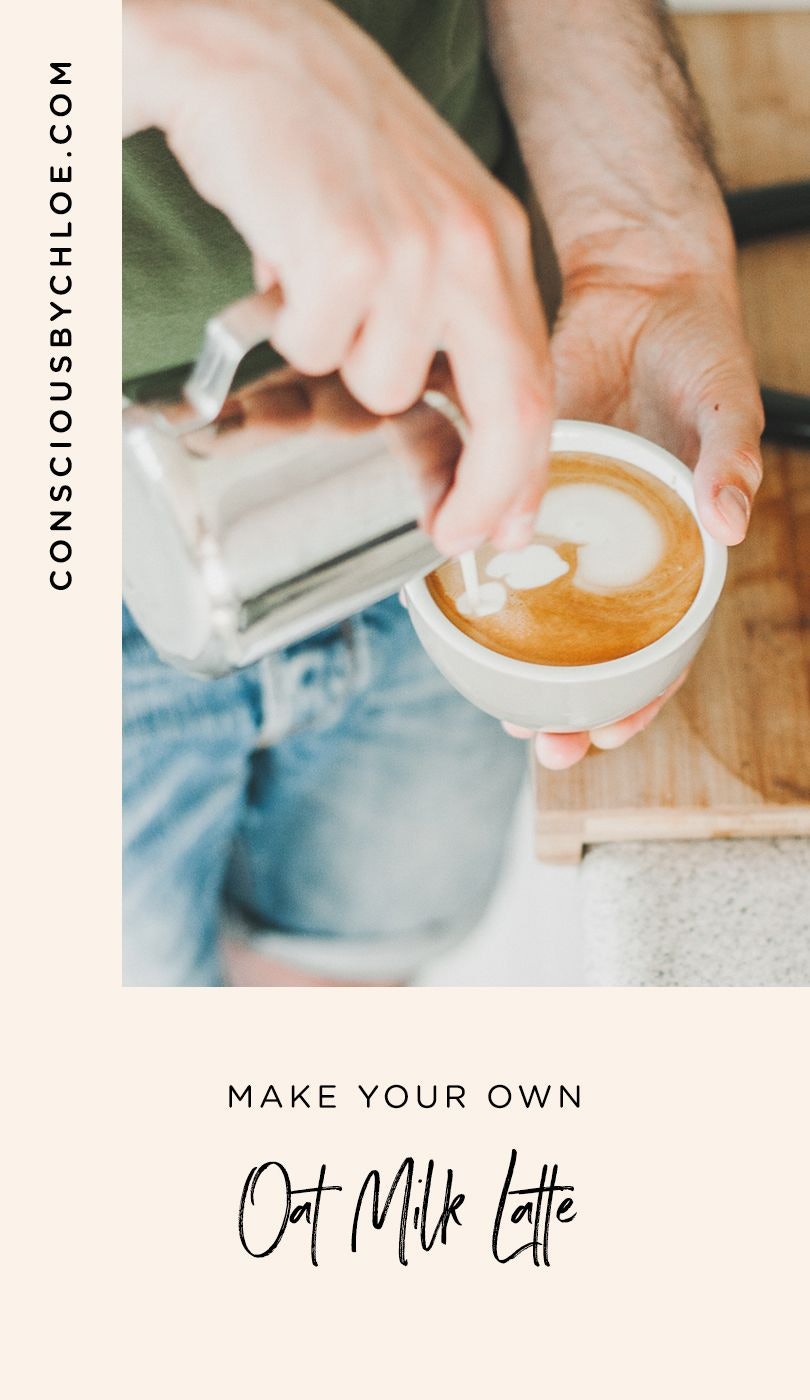
- Pour your espresso into the bottom of the cup and then add a small amount of your steamed milk and swirl to incorporate it. The main aspects of the pouring technique are speed and height above the bowl. Pour slowly and evenly at a fairly high distance. This allows the milk and espresso to continue incorporating. You can pour in a circular motion to ensure it mixes well.
- As you reach the second half of the cup, bring the pitcher closer to the surface. This layer will not incorporate, creating a distinction between the white foam and the body of the latte.
- Starting on the side farthest from you, pour the foam into the cup and draw the pitcher towards you, creating a white circle.
- Once you reach the other side of the cup, quickly drag the pitcher back across the cup, “cutting” the circle into a heart. A leaf can be made in the same way, except that instead of creating a circle, you move the pitcher in a zig-zag motion before “cutting” it with the stem of the leaf.
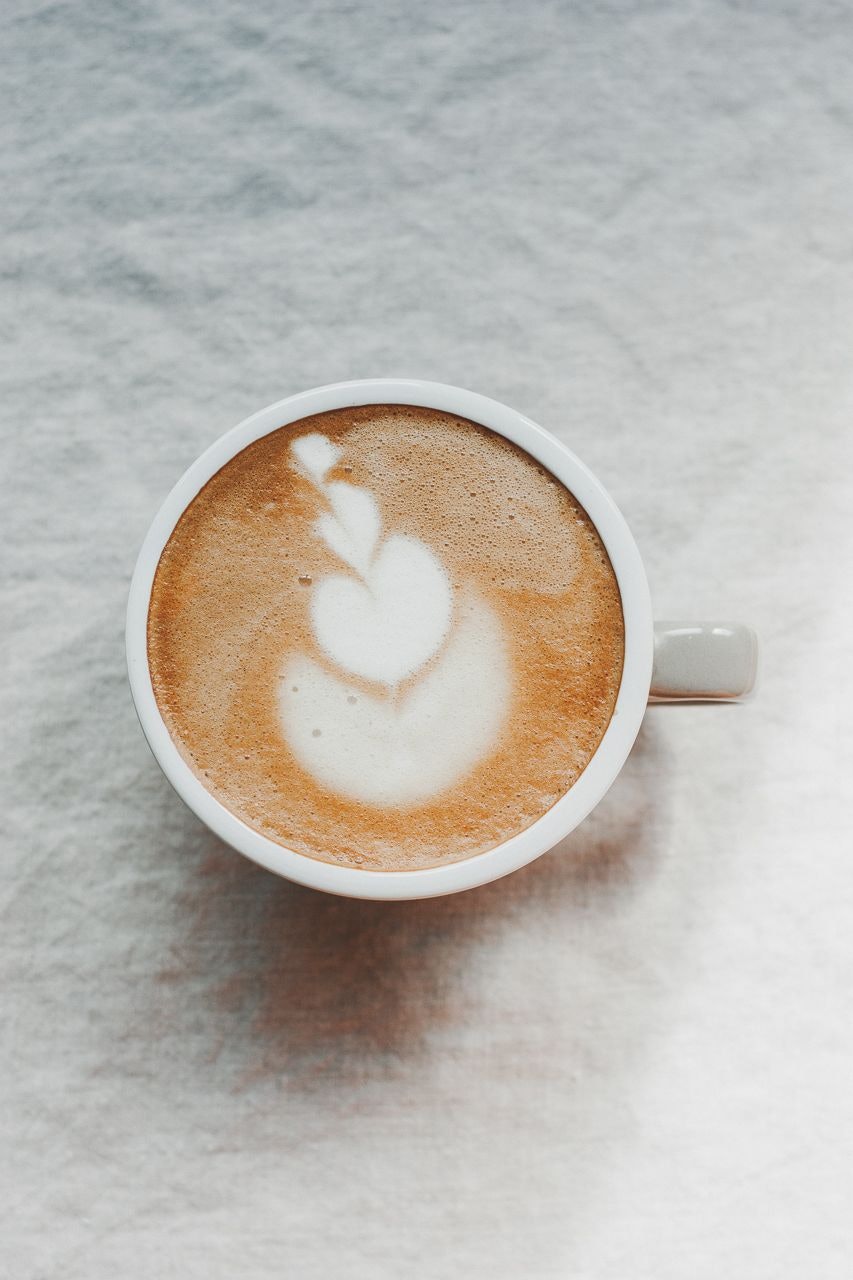
There you go. It's a lot of work, but it seems to be giving him so much joy! With physical distancing, he's been longing to make coffee for friends and neighbors and we considered opening a home coffee shop named "Coffee on the Floor" where people show up, put their cup on the floor in front of our house, back up, then Octave pours them a latte, back up and voilà! (we might have done that a couple times already). Our friend Sarah suggested we name it "Café par terre" because French always sounds better - we didn't say it, she did :)
Note: He also makes the best chai, matcha and turmeric lattes... Watch a little video I made of our Sunday routine here.
So, should Octave open a coffee shop?


