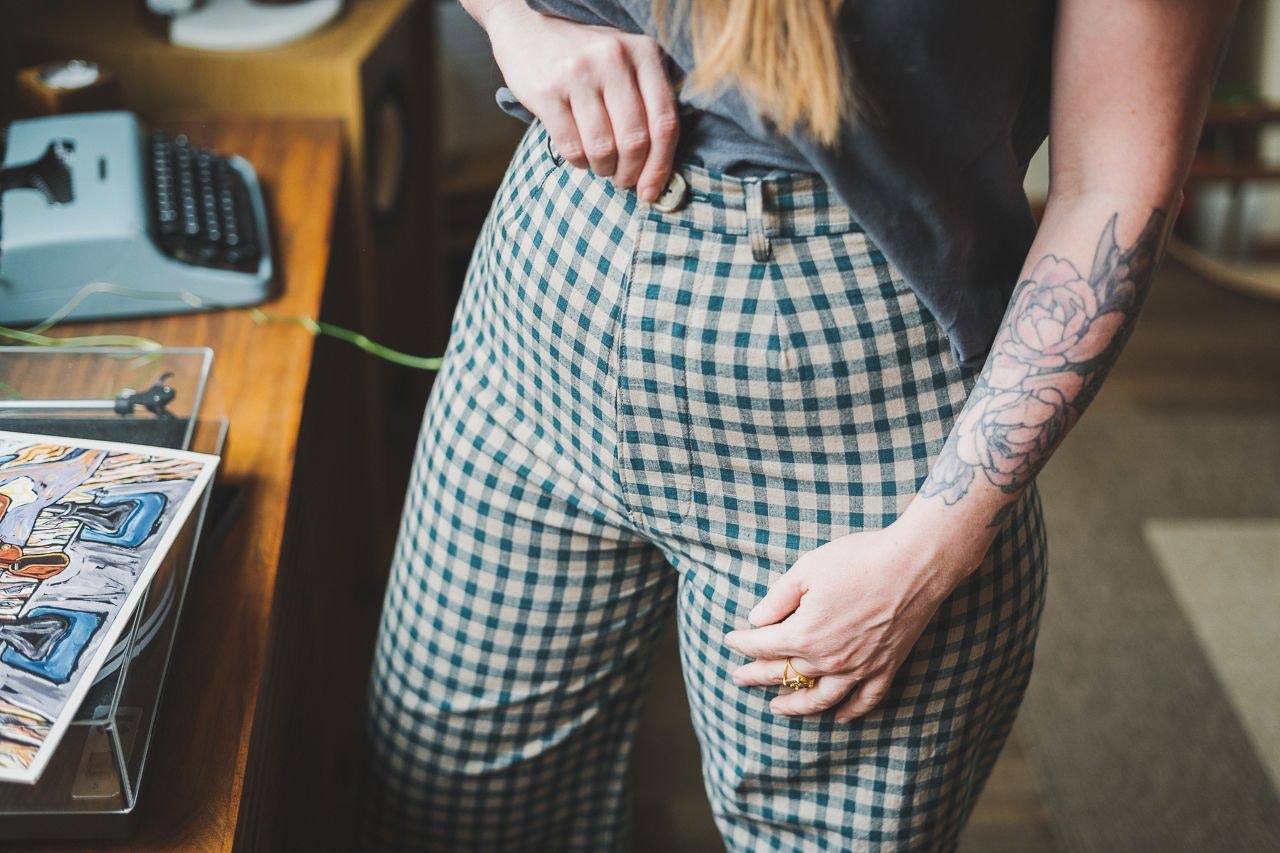
... and here's how it went:
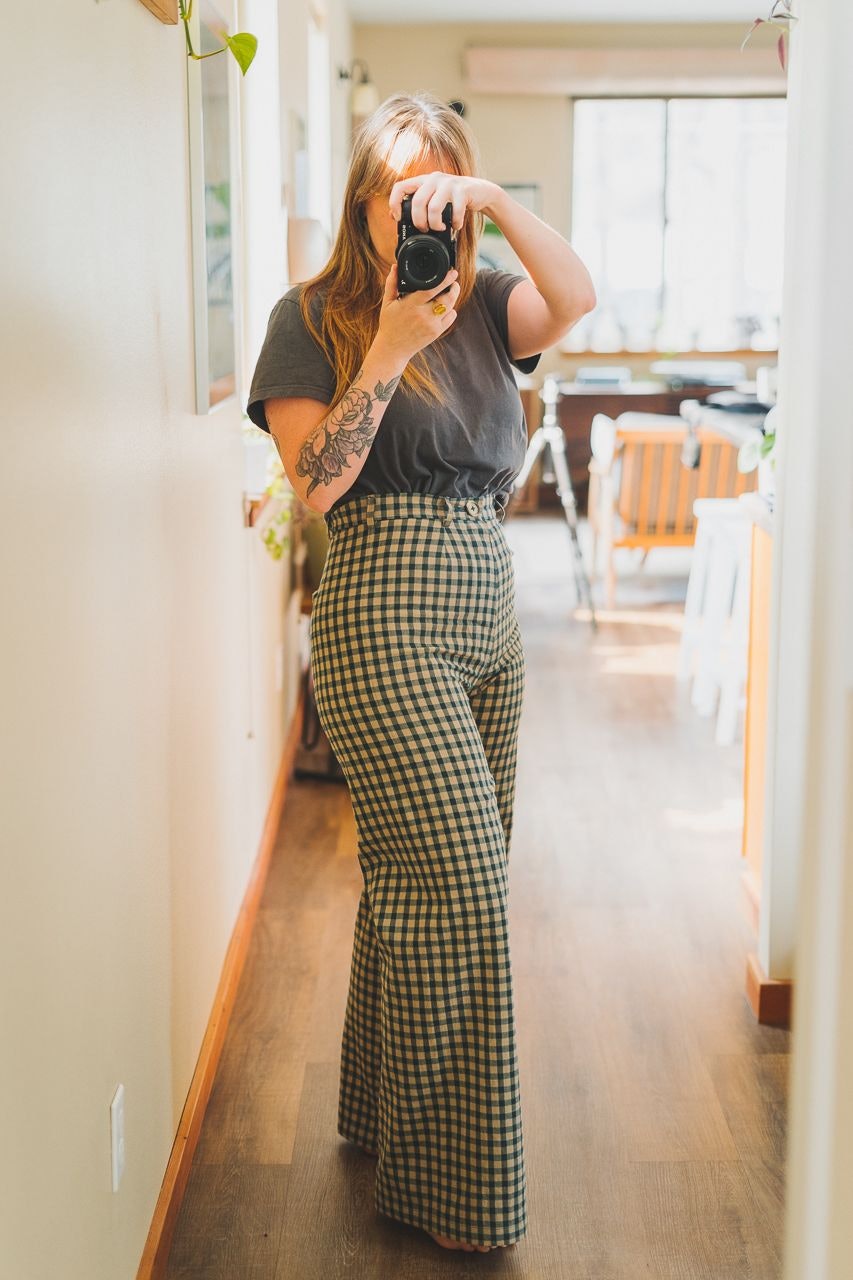
I bought Anna Allen Clothing's Persephone Pants pattern a while ago, downloaded it, had it printed at my local print shop, and forgot about it.
As usual, knowing I'm not the most patient person in the world, I wanted to be ready for when I'd find the right fabric to make this project.
I did not find the perfect fabric, but I found some fabric I thought would be fun to make a pair of pants and did not want to make yet another pair of Pomona pants.
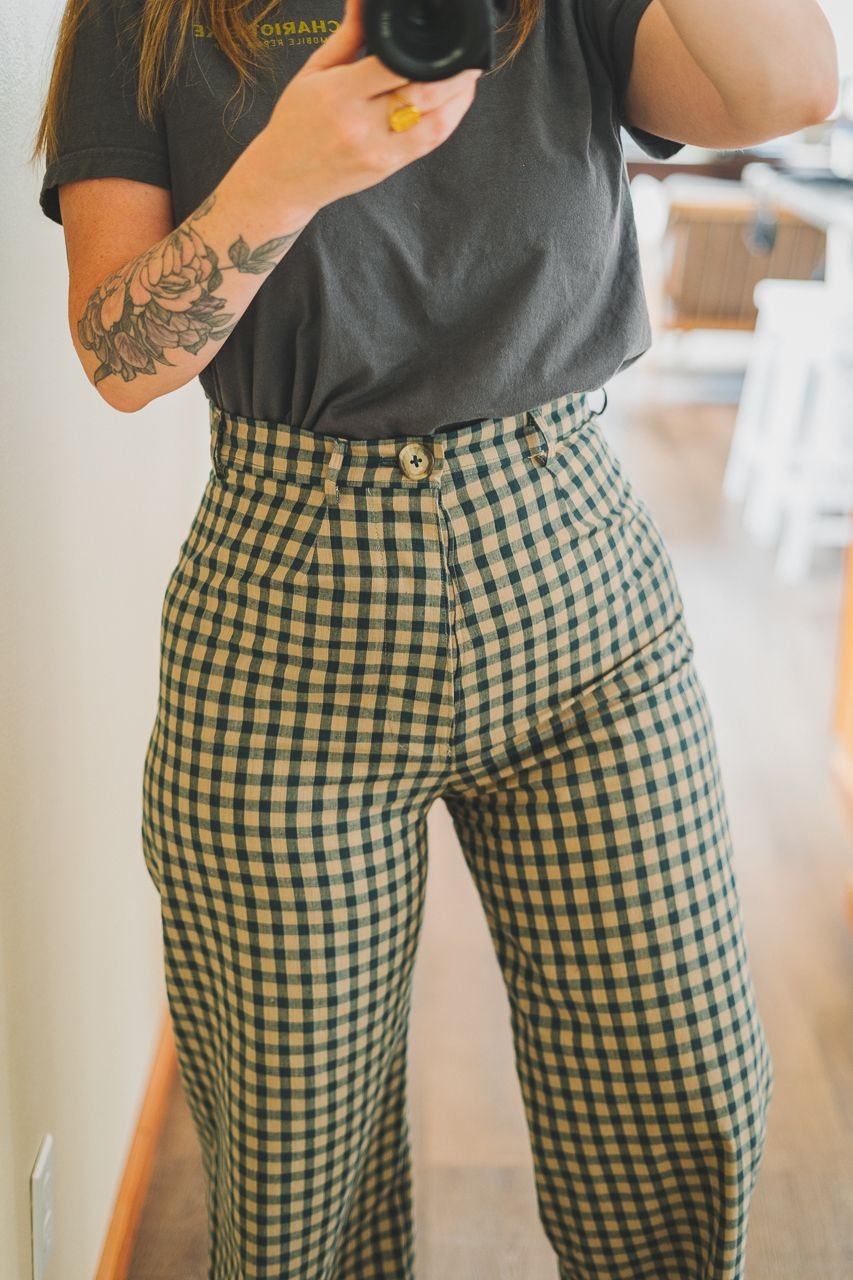
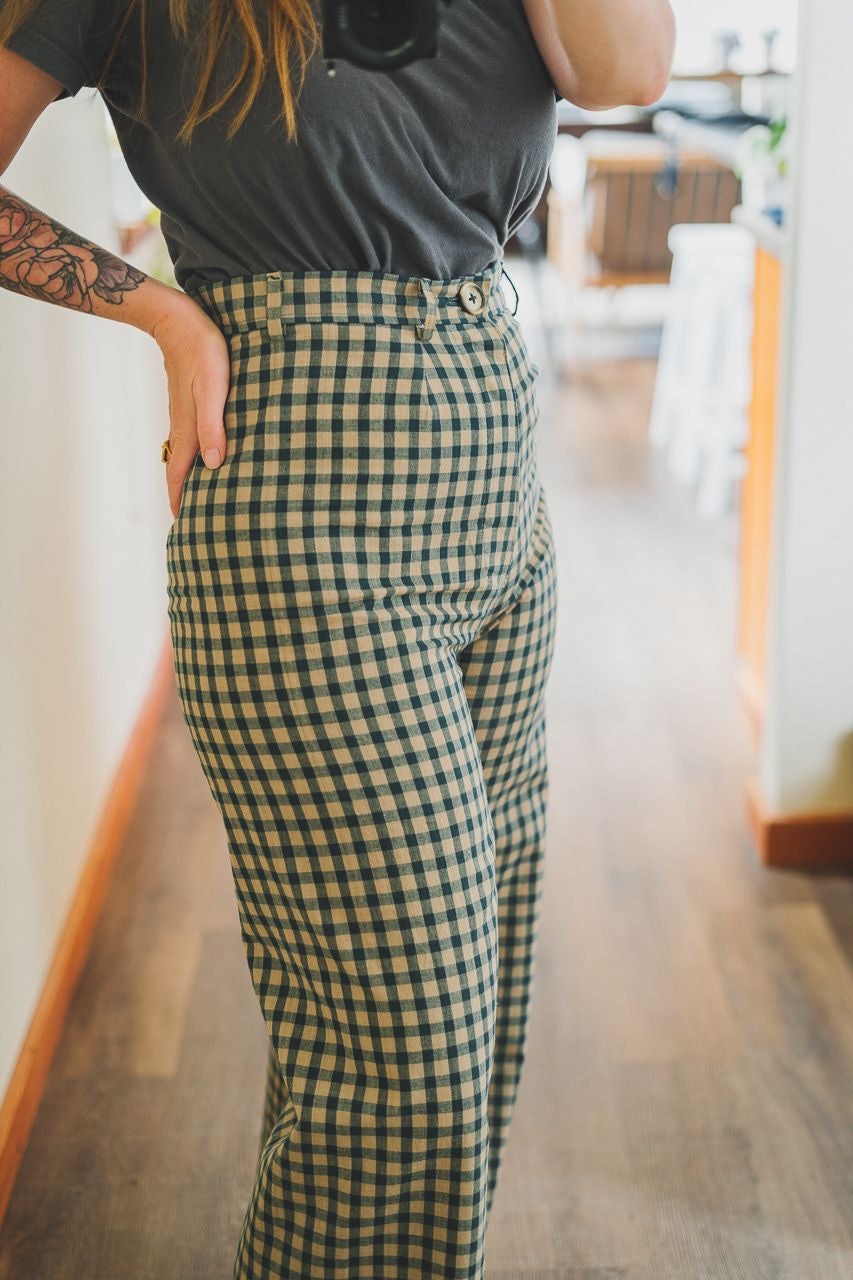
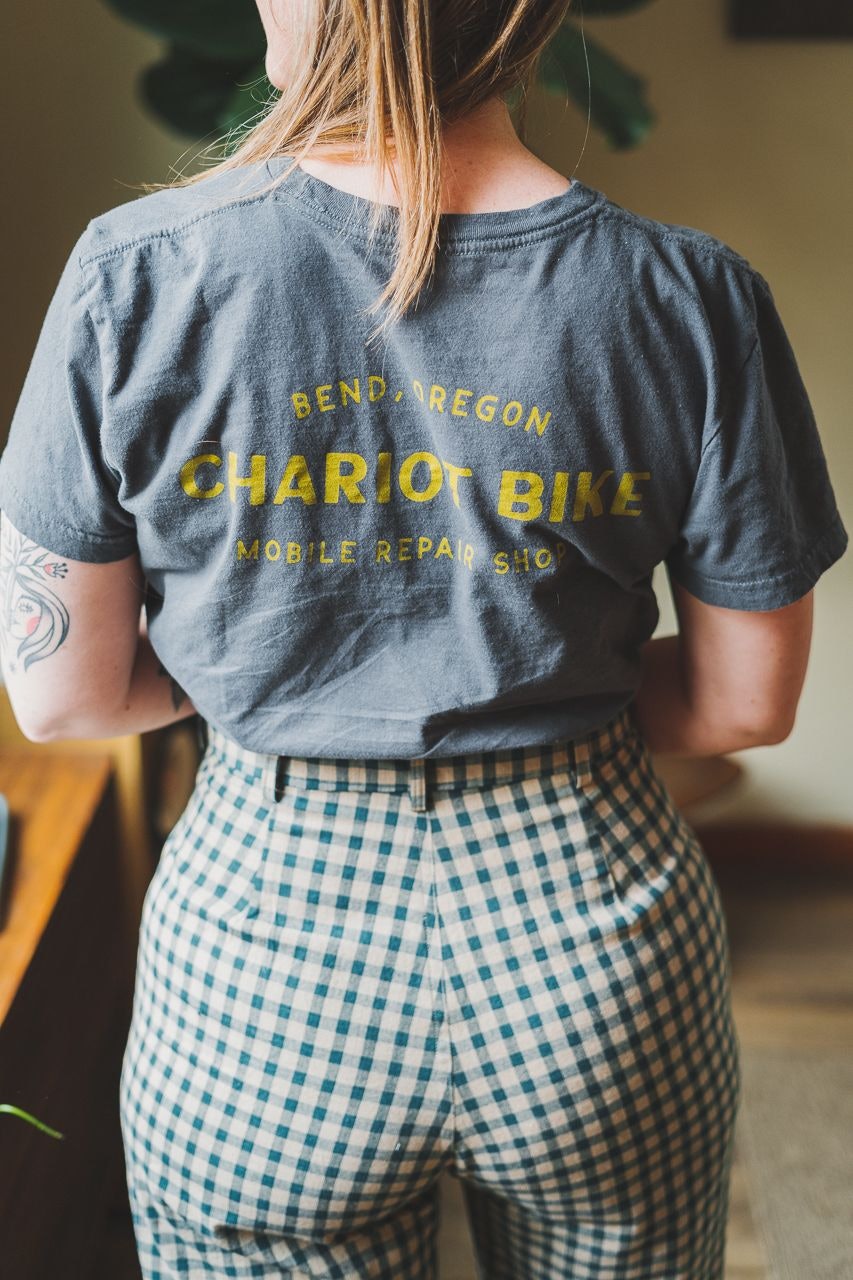
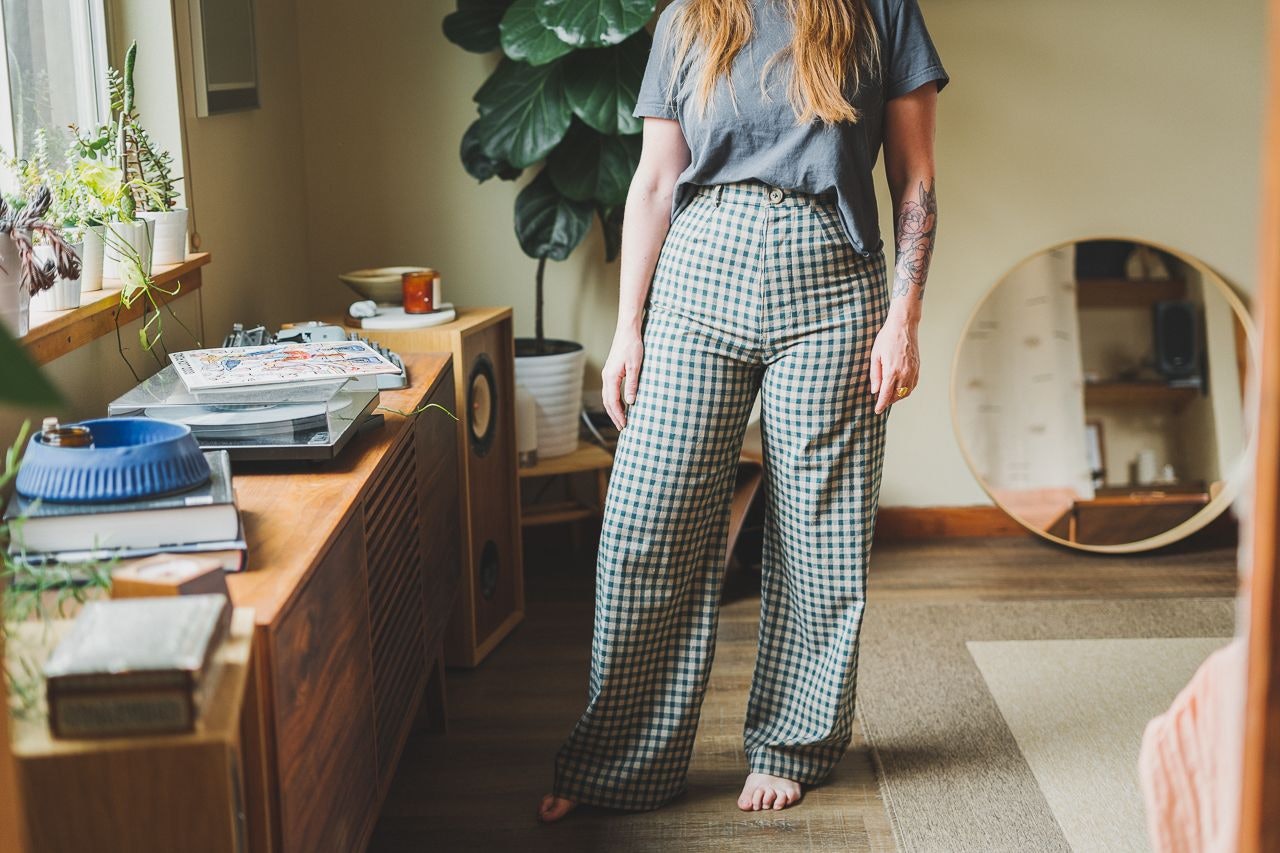
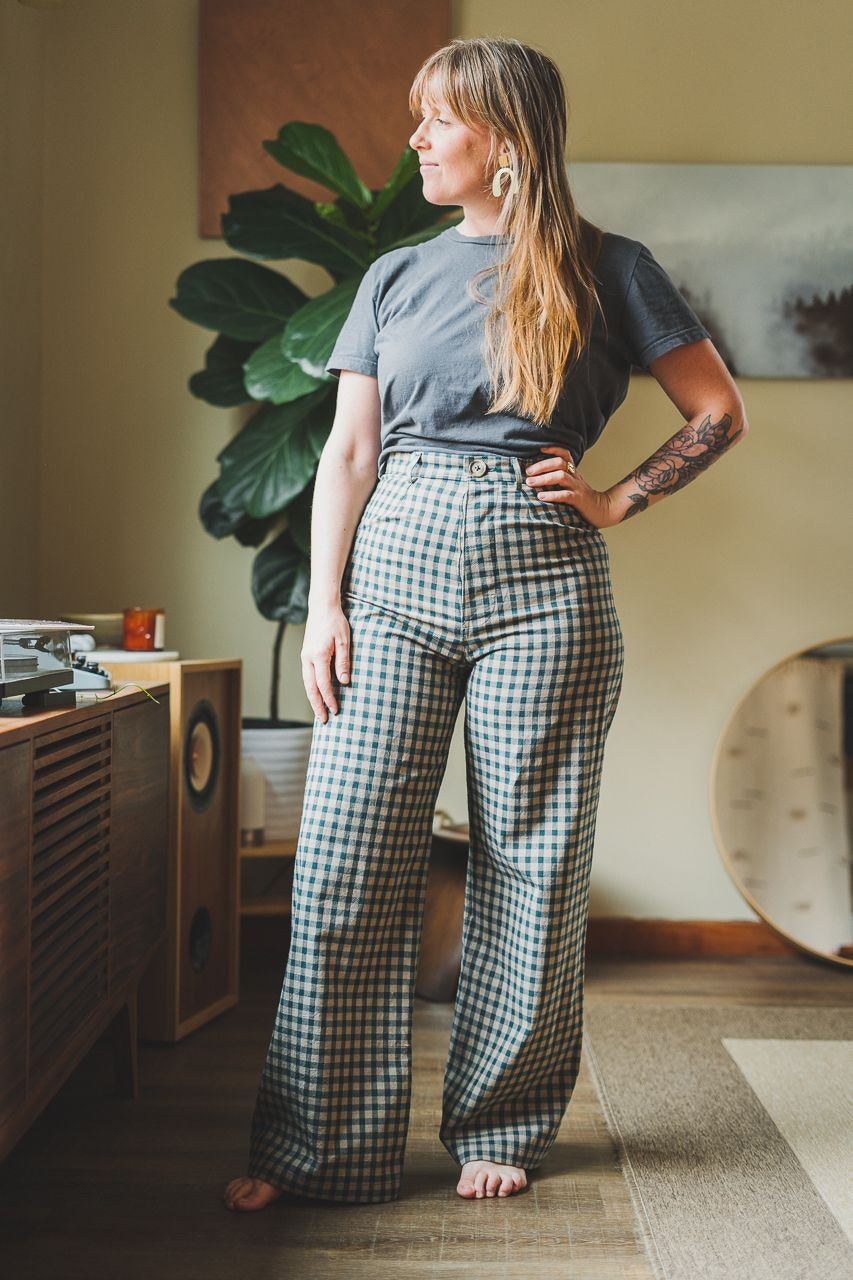
So I used this (too) lightweight cotton-looking gingham fabric I found at the thrift store. Fortunately, there seemed to be enough of it to make a pair of pants!
I will not go into too much detail about the process, other bloggers already did a very good job and this video is pretty much all you'll need for a successful sewing project.
But what I can do, is tell you all the tips and secrets I found and used to make my job easier.
Recommended fabrics
The Persephone Pants are intended to be made with woven non-stretch fabrics, however 3%-5% stretch woven fabrics can also be used.
I used lightweight cotton-looking gingham fabric I thrifted, don't be like me :D
Fabrics I've seen used by other makers include:
- 10 oz Cone Mills S-Gene stretch denim.
- 10 oz Cotton Canvas.
- Leila used this whimsical canvas and I'm obsessed!
Wow, I just found this 10 oz non-stretch railroad striped cotton denim while browsing the Blackbird Fabrics website, and it might be the one I'll use next!
For more color and fabric inspo, follow the #persephonepants!
Useful Tools
Tools I used the most
- Tailor's chalk
- Water erasable fabric marking pen
- Sewing clips
- Long flat head straight pins
- Thread snips
- Magnetic seam gauge
- Hot hemmer ruler
Tools I'm considering adding to my box:
- Pattern weighs (to cut the pattern)
- Sewing gauge (to check my seam allowances)
- Fray check liquid (for buttonholes)
- Tailor's ham (for ironing)
- Tailor's clapper (for pressing)
Check out a list of my sewing essentials.
Useful Machine Sewing Techniques
Useful Tips
-
The pattern already includes the seam allowance, no need to add it when cutting your fabric.
-
Anna Allen recommends the Pellon P44F interfacing.
-
Don't skip transferring all the dots, darts, and notches onto the wrong side of your fabric. This is even more important if you're working with a patterned fabric, as you want to make sure the pattern matches where you'll join pieces (back and front, bottom and waist).
-
Wait until the end to cut the waistband, after you've sewed the darts and maybe made a couple of adjustments (i.e. I added small darts in the front, resulting in a narrower waistband) to make sure the measurements will match.
-
Item 13 "Clip to small dot" in the instructions was very confusing for me, I referred to this part of the video to understand where I was supposed to cut. Item 10 of this blog post might help too.
Modifications
-
Skip the pockets. I honestly don't think they add anything to the look, except bulkiness.
-
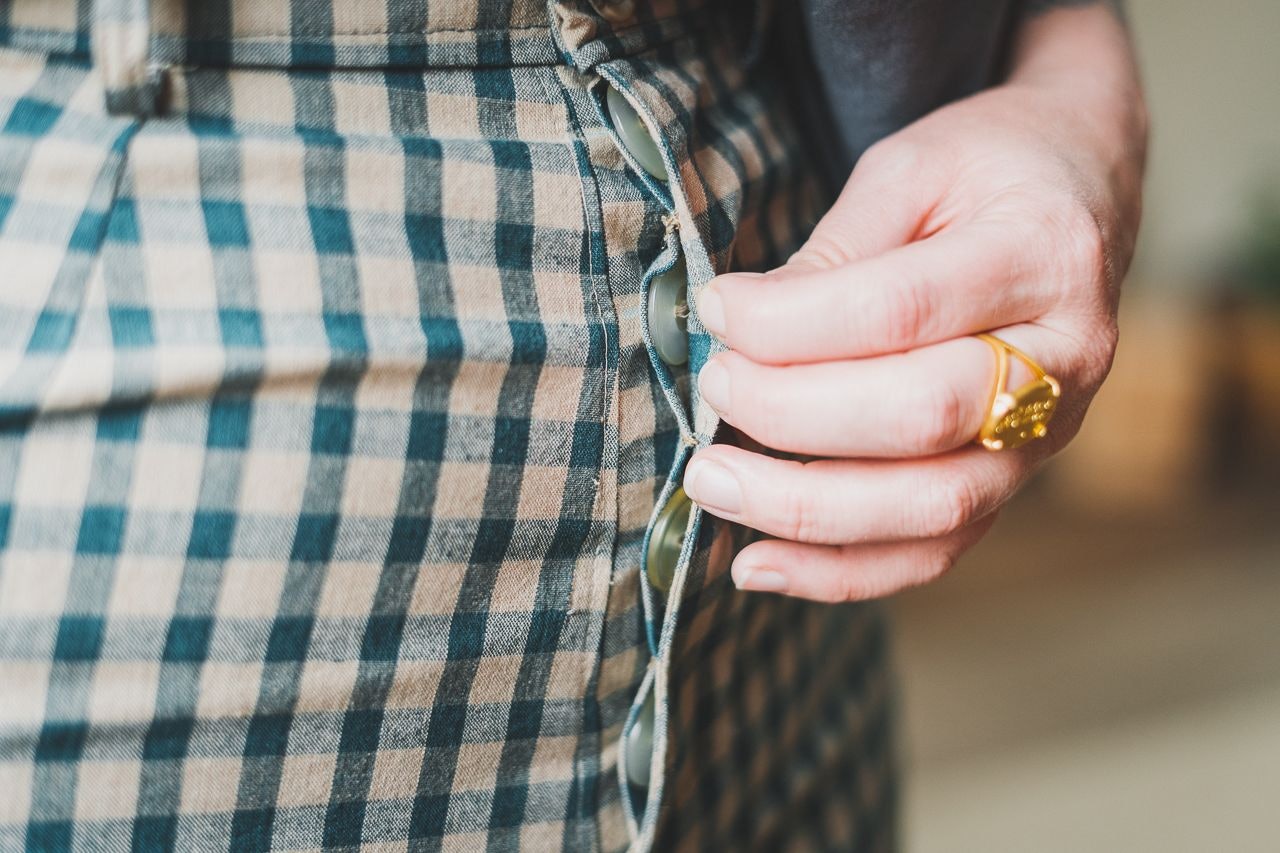
Sew a line of stitching in between each buttonhole to connect the button fly and interfacing together helping it to sit nice and flat and prevent the fabric from bulking. I also hand-sewed a stitch between the button fly and the fly facing bet ween the second and third button holes to prevent even more bulking while maintaining enough space to button the buttons. This might be an issue you'll only encounter with lightweight fabric, I'll report back when / if I make another pair with heavier fabric.
-
Use tack buttons. I'll consider this for a pair of denim Persephone pants.
-
Substitute the zip fly for a button fly. I did not do that, but might consider it for my next pair.
-
To prevent bulky waistband ends - follow Candice's tips (search "waistband ends" in her blog post).
-
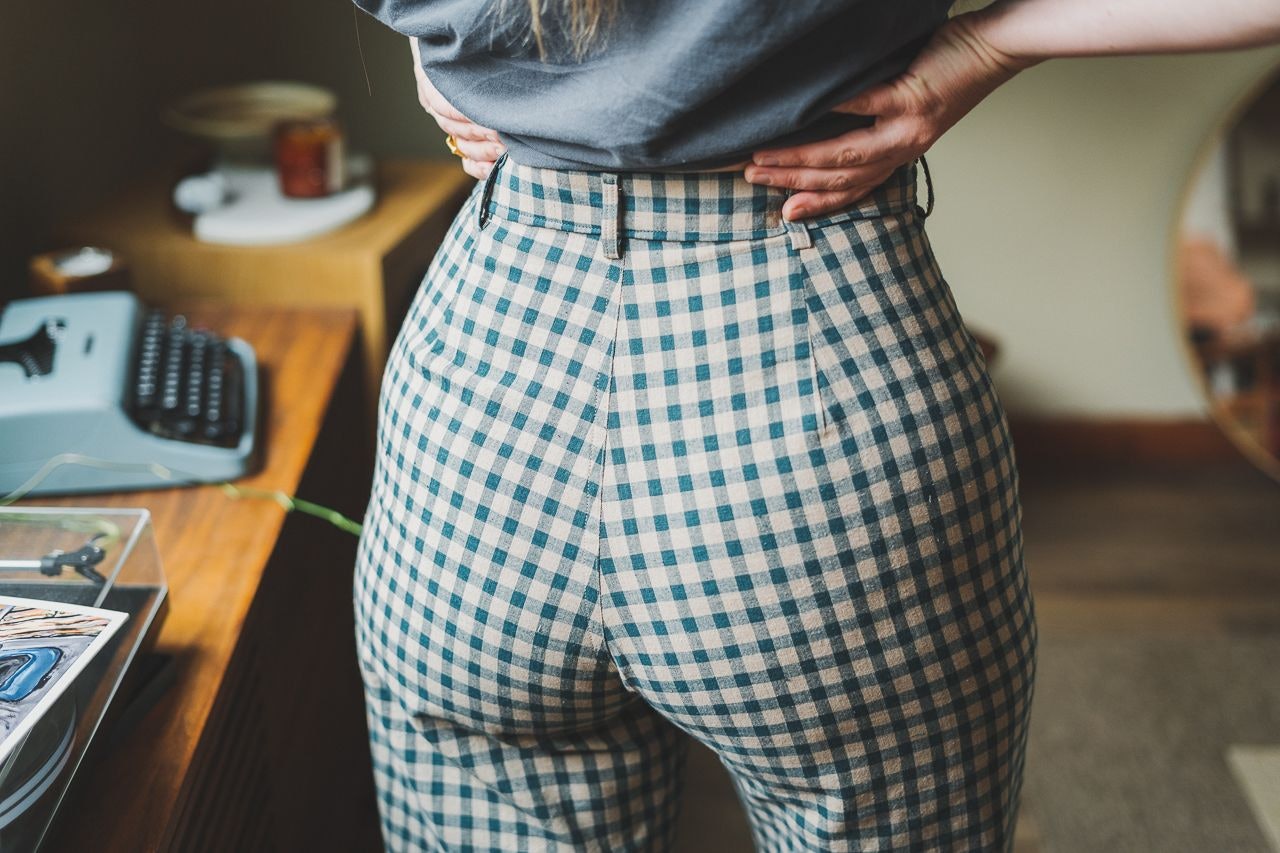
I made my back darts larger and added a small one to the front. I suppose I could have made a muslin first and cut the pattern with a smaller waist (my hip-to-waist ratio is pretty big), but I do not have the patience to do this.
-
I have a small issue with drag lines around the crotch. I think the crotch is too long. I read about this pant fitting guide and I'm considering taking a little time figuring out this situation.
-
I also lengthened the legs as I do not like a cropped look on me.
Closing thoughts
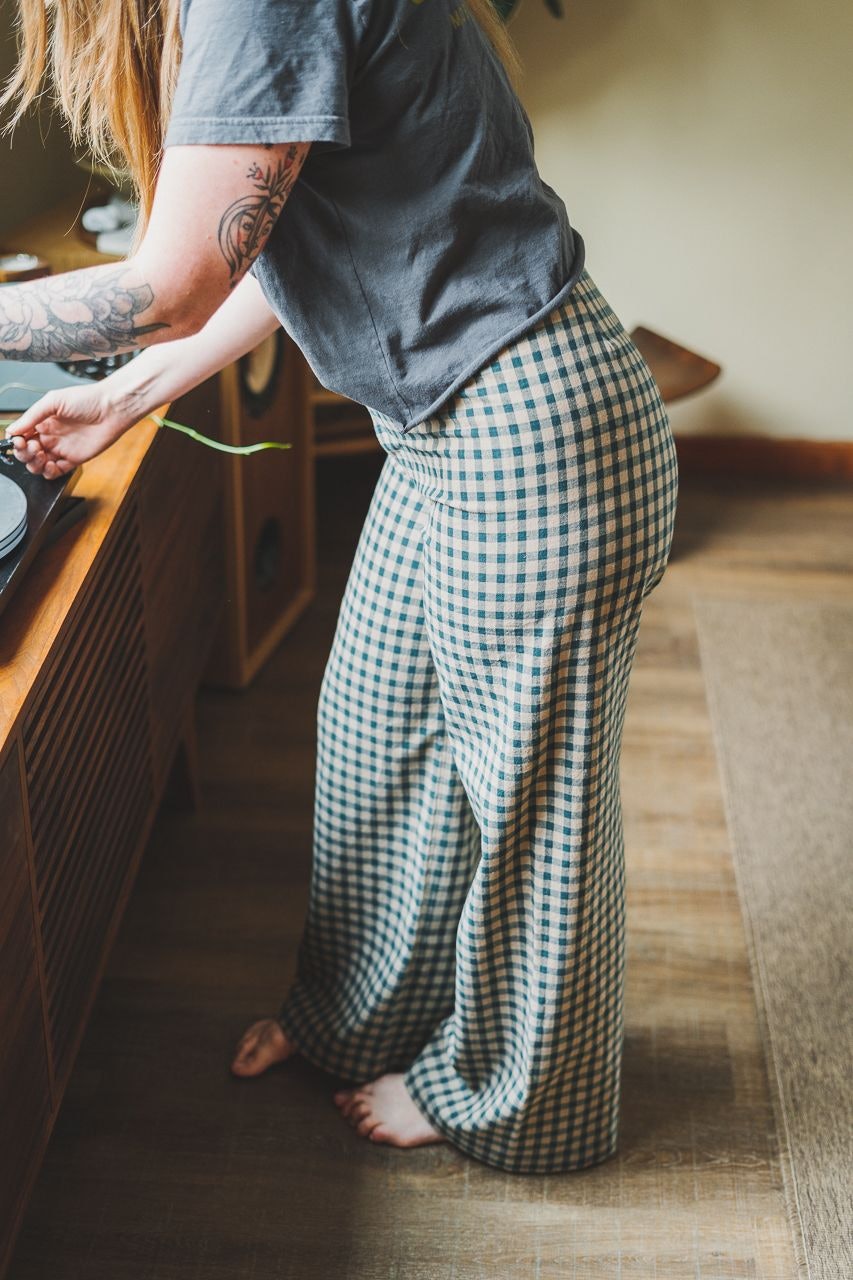
I'm overall quite happy with my first make. I feel great in my new pants and really, really love the really, really high waist!
As I mentioned before, I need to fix my crotch length.
I also ended up using two colors of thread because I ran out of the first one while trying to fix all my mistakes (hence the million loose threads I'm slowly picking at)!
I had gotten both the cream and green colors to match the gingham, but starting with the least noticeable, the cream one. It's not super noticeable, but I wish I had used the same thread color in my whole project.
Finally, my darts are a little pointy, I might get back to them in a couple of days. I need some time away from my sewing machine right now.
This was a nice first toile to expand on for my next make, with heavier fabric for sure!
What color / pattern would you choose?
This post is not sponsored, but it does contain affiliate links, meaning if you make a purchase via one of my links, I may make a commission at no additional cost to you. Thank you for your support!


