YouTube made me do it!
I had never used a punch needle before, but I saw this video by Jenna Phipps and decided to get a punch needle starter kit to practice a little before diving into this major crafting project.
I'm not a designer, or good at drawing, so I looked for inspiration online and stumbled upon this cute children’s stool by PunchioArt.

I couldn't believe how easy punch needling is, especially considering how much I struggle with my latest knitting project (a mohair cardigan)!
This piece only took my a couple of hours!

Supplies
- Punch Needle Starter Kit
- Yarn
- Pencil or marker (to draw your design on the monk's cloth)
- Fabric Glue (optional)
- Curved needle and thread (to sew your patch onto your tote)
Techniques
The secret to punch needling is to stretch the fabric really well onto your hoop (so the fabric catches the yarn), to push the needle as far as it can go through the monk's cloth, and to make sure you don't lift the needle too high (so you get even loops).

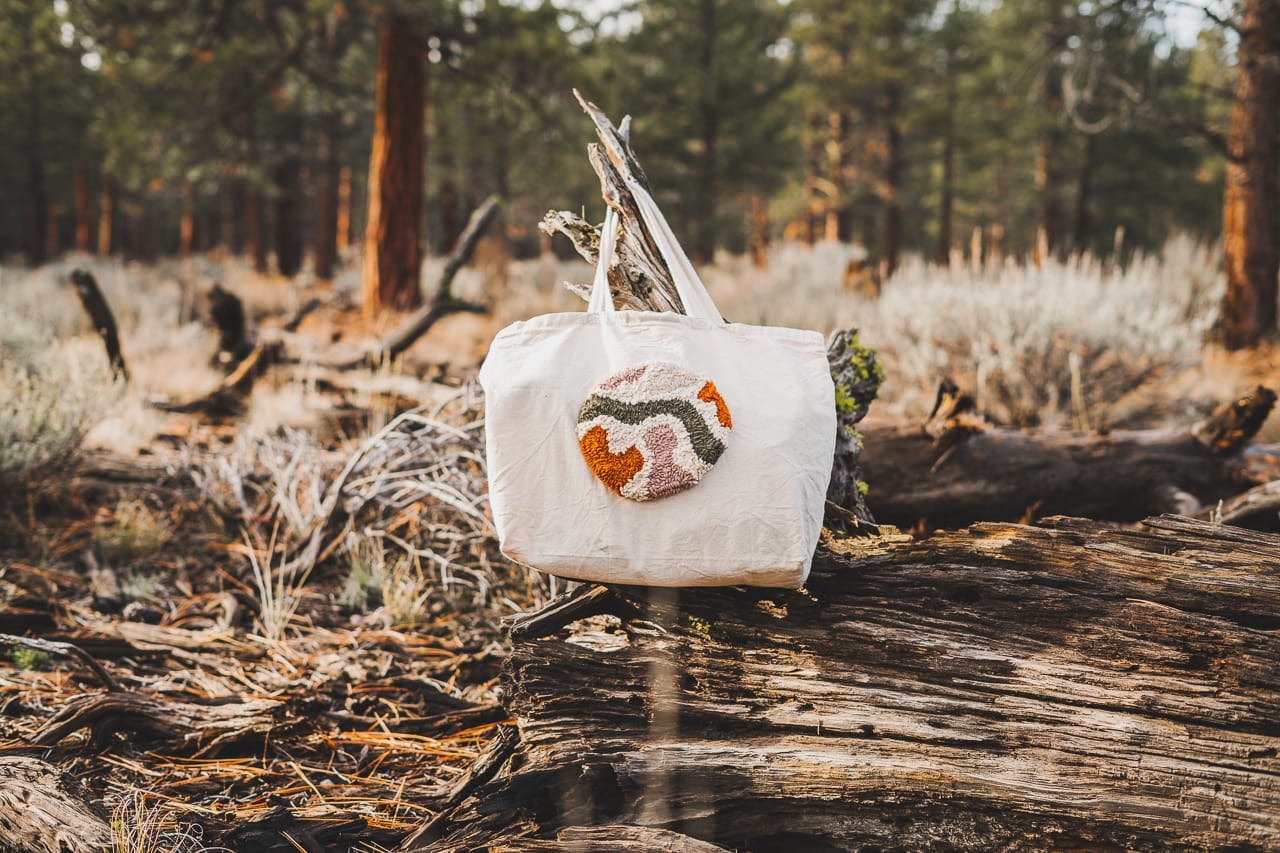
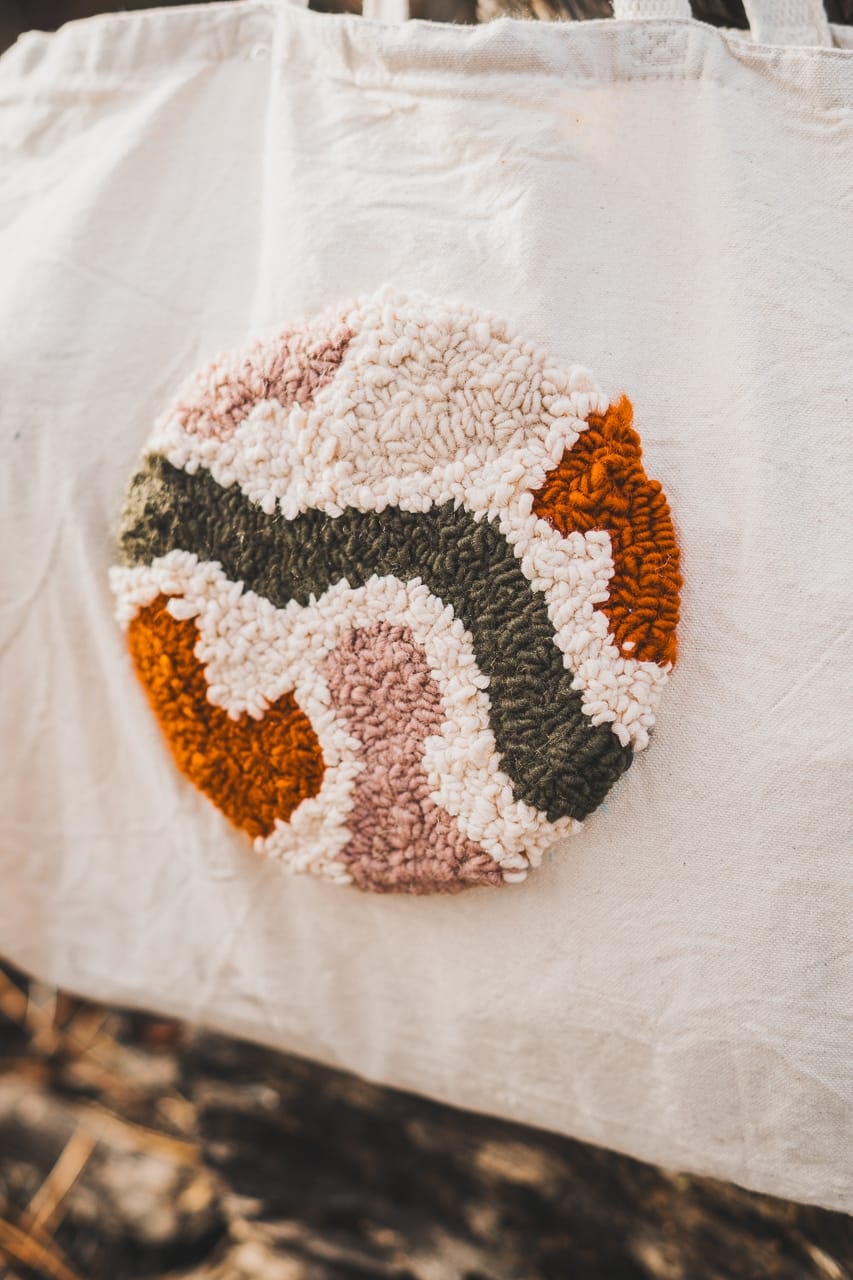
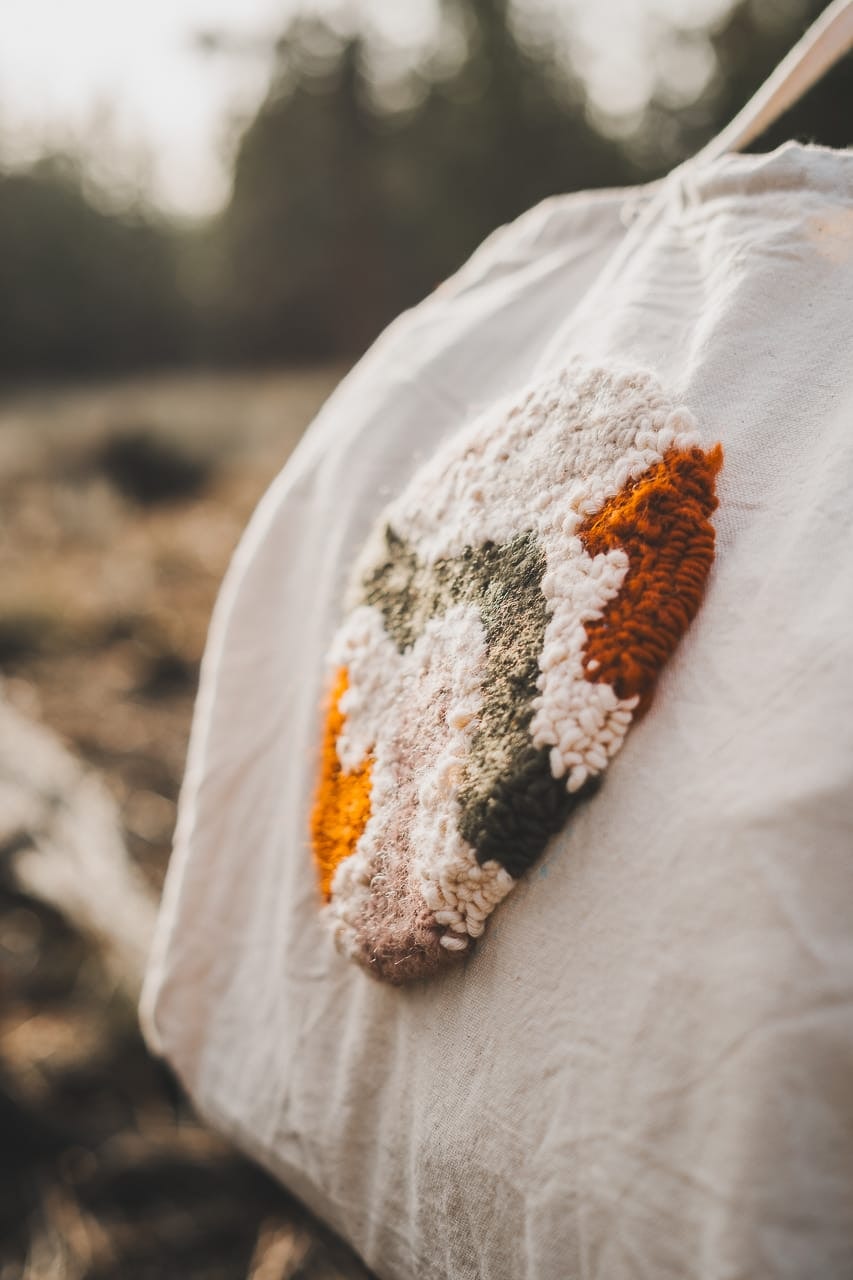
Once I finished it, I wondered what I could do with this round fluffy piece...
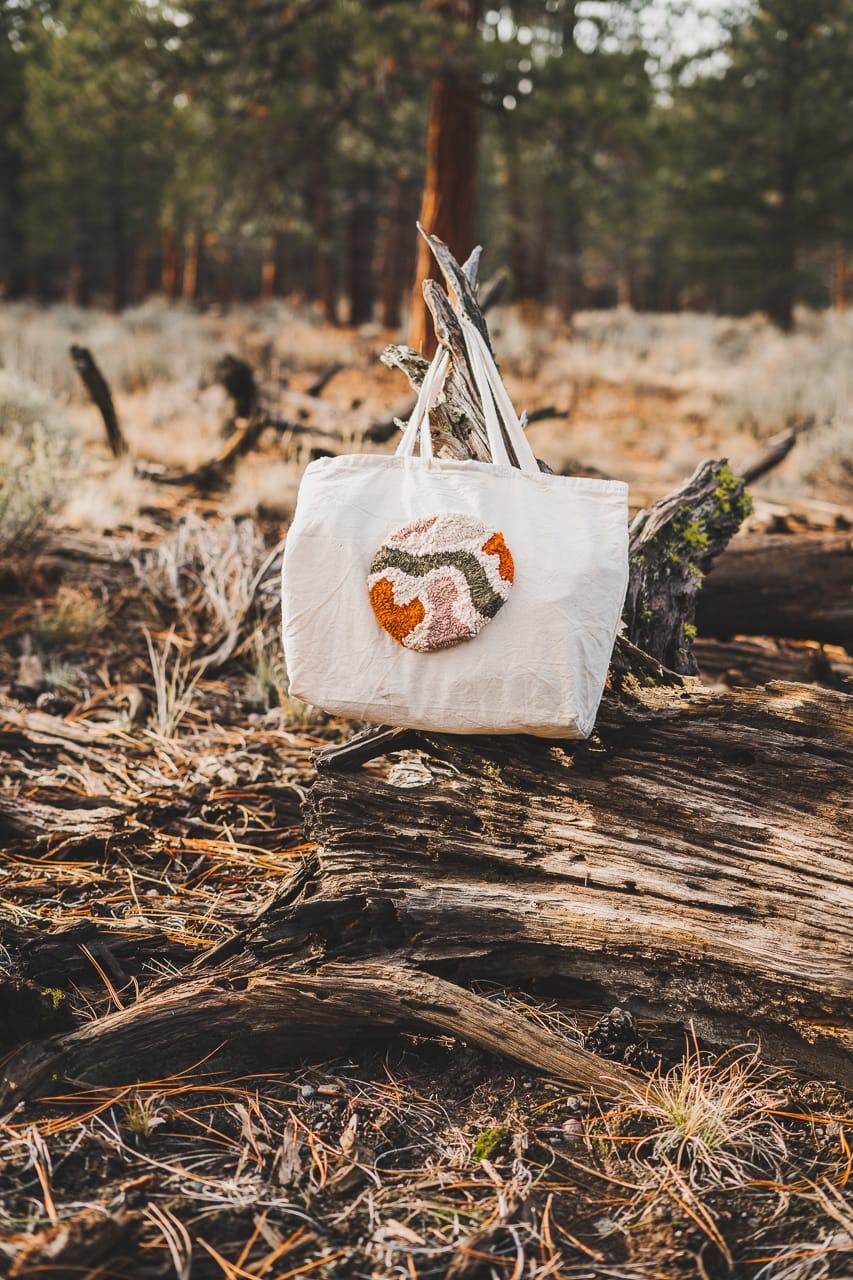
Then I remembered I'd had this tote bag for a few years. It had been gifted to me when I helped out a friend at a destination wedding.
Its design was not relevant to me, but I really like the shape and size of the bag, so I decided to give it a new life and slap my punch needled patch on it!
Now, I’m excited for more punch needle makes.
A pair of espadrilles inspired by The Urban Acres is 100% on my to do list (I may or may not already have the supplies 😜)
So stay tuned for more projects and more detailed step-by-step instructions!
This post is not sponsored, but it does contain affiliate links, meaning if you make a purchase via one of my links, I may make a commission at no additional cost to you. Thank you for your support!


