I was first inspired to sew the Ella dress by Silversaga when my favorite sewing YouTuber made her own version.
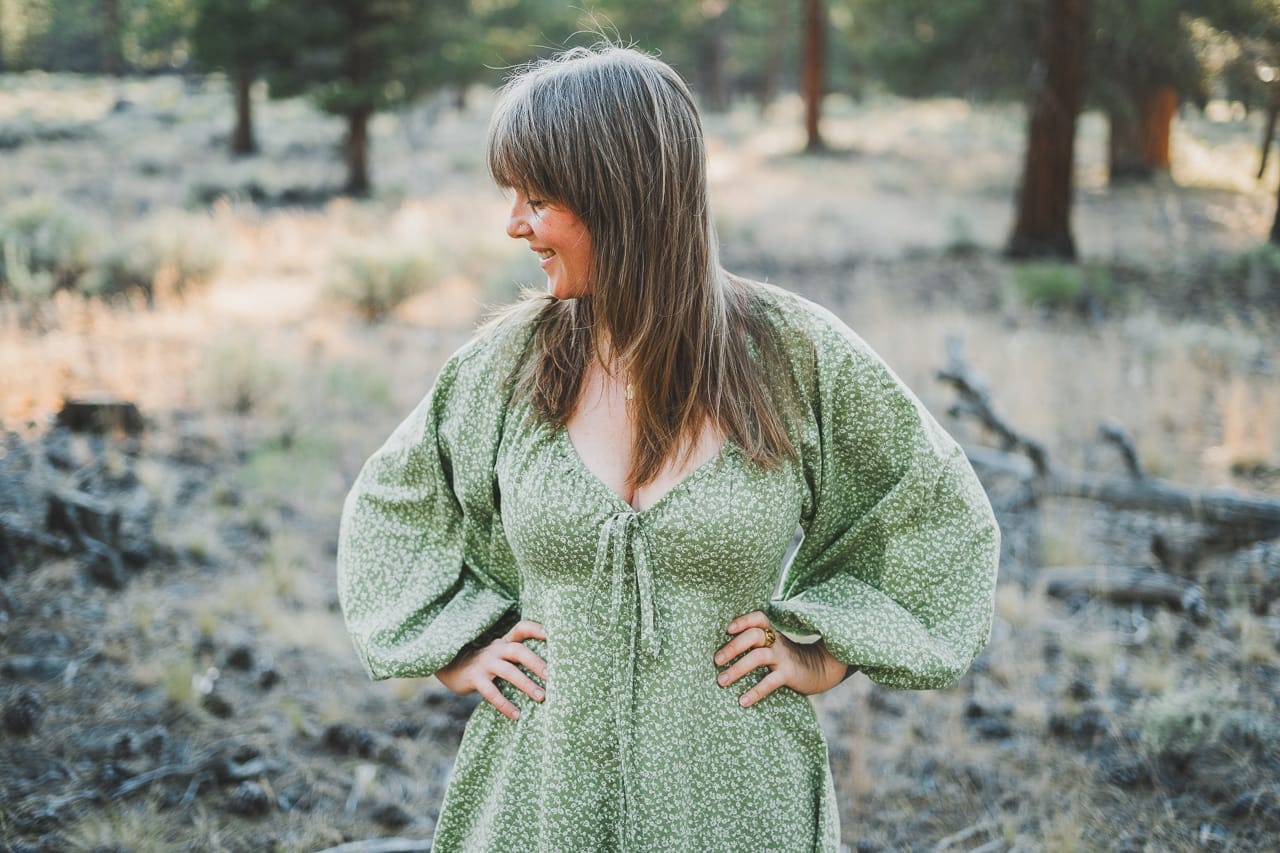
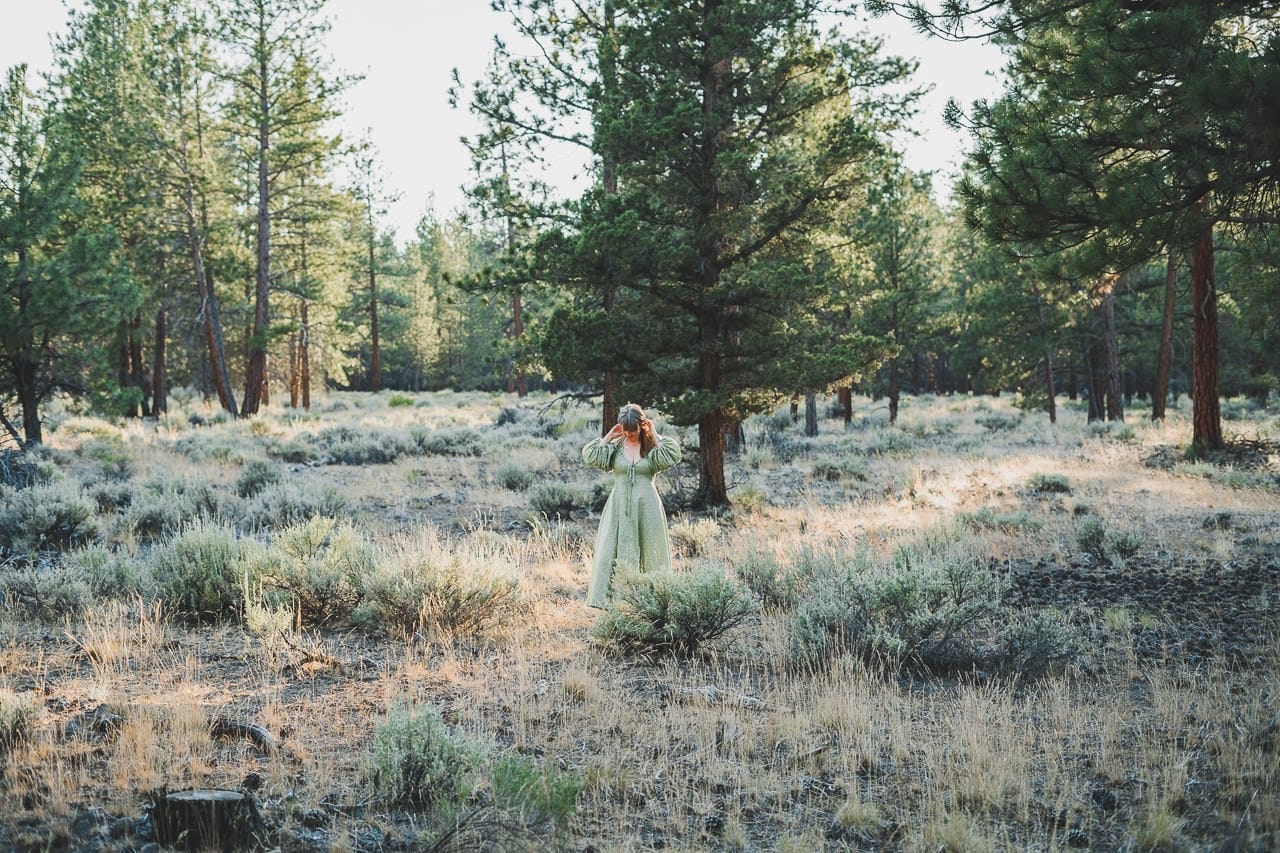
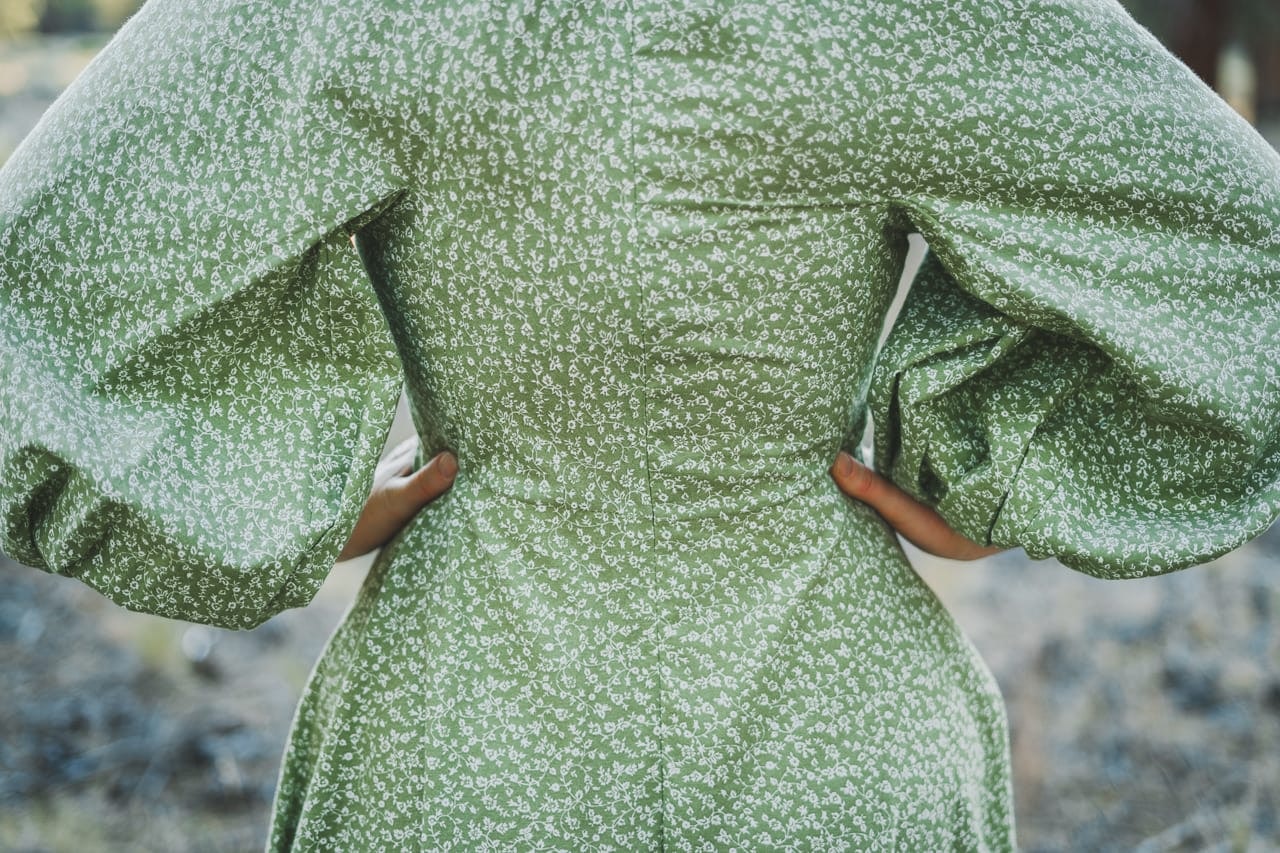
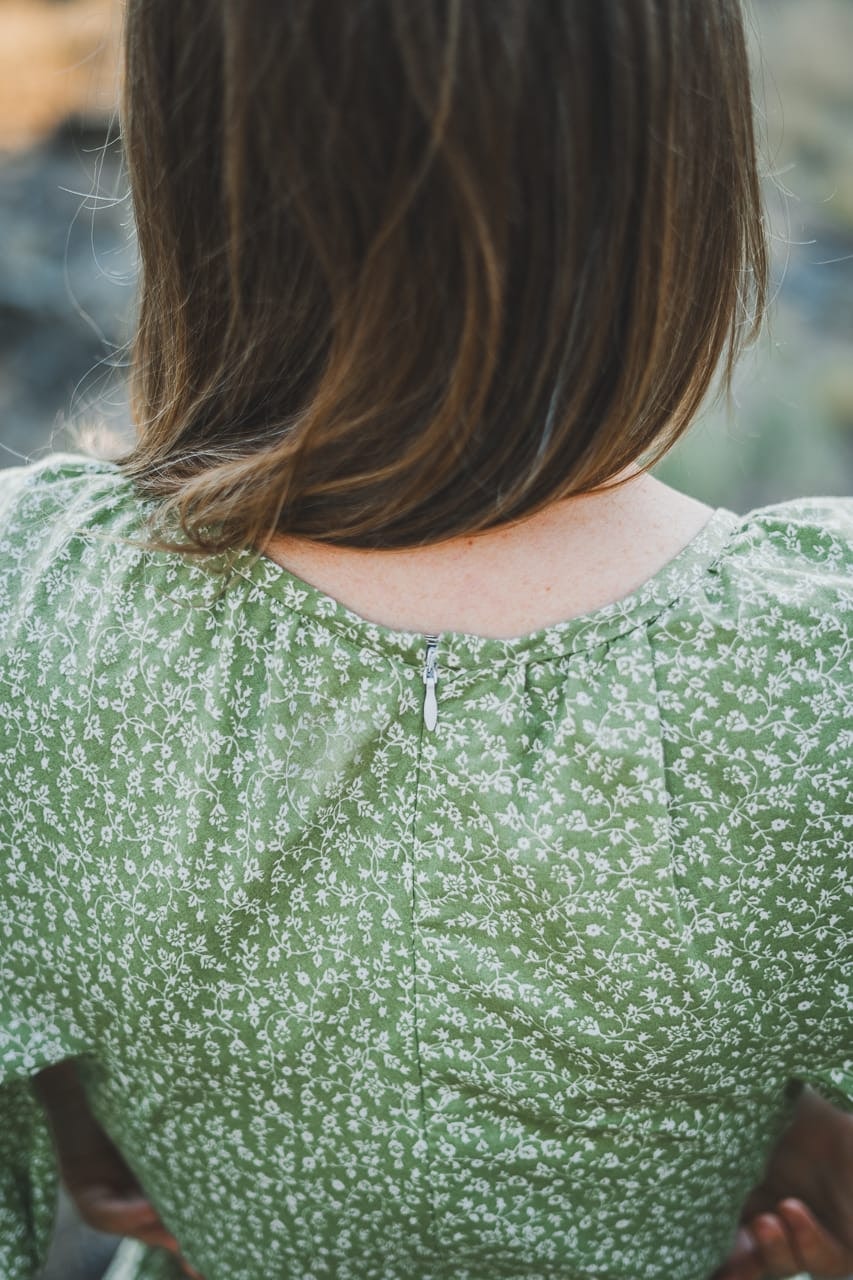
The Ella dress is a flowing and romantic maxi dress featuring a deep v-shaped neckline with a bow tie, full-length bishop sleeves, and a long flared skirt. It closes with an invisible zipper in the back.

Fabric selection
I agonized for months before finding the right fabric. I followed the #elladresspattern on Insta for inspiration, added a few prints to my favorites list on the Blackbird Fabrics website, and then forgot about it.
Then one day, after dropping Octave at the airport, I stopped by Joann's and stumbled upon this fabric.
I decided to stop overthinking and start sewing. Worst case scenario, this would be a toile (don't all sewists use that excuse?)
I'm still new at buying fabric at a proper store and did not pay attention to its width. This one was quilting fabric... Fortunately, I managed to make all the pieces fit into what I think was 4.5 yards of fabric (for a size 42).

Size
I chose to make the dress in a size 42 (the usual size for me - and my wide hips) but should have made a size 40 as the skirt part is quite flowy.
I made alterations later in the process, which was not the best move...

Tools
- Sewing machine
- Serger
- Iron
- Bias tape maker
And, as always, you can refer to my sewing essentials list!
Notions
- Invisible zipper
- Hook and eye closure (I found a whole bunch for 50 cents at the thrift store!)

Cutting
I really wish I had a cutting table, or at least knee pads, I laid out the fabric on the floor in the narrow space between my kitchen island and the wall, it was quite the workout!
A few pieces are cut on the bias and have to be handled very gently so they do not stretch, working at table height would make this easier.
I'm also considering buying a better pair of shears. Has anyone tried these tabletop-cutting ones? I'm intrigued...
Since the pieces are not cut on the fold, it is important, to cut one piece on the right side and one on the wrong side, otherwise, you'll end up with 2 identical pieces, rather than mirrored ones. (this info is unfortunately missing in the pattern instructions).
Don't forget to mark seam allowances and notches so you don't have to go back to the paper pattern later in the process...

Sewing
This video tutorial was really easy to follow.
Tips and Hacks
- Cutting: As I mentioned before, since the pieces are not cut on the fold, it is important, to cut one piece on the right side and one on the wrong side, otherwise, you'll end up with 2 identical pieces, rather than mirrored ones.

- Piecing together: I hand-stitched the bodice to the skirt first to make sure the placement was perfect.

- Zipper: Here's the zipper tutorial I followed. Afraid of zippers? Put an elastic in the back.

- Neckline: How to adjust the neckline, and how to make an adjustable neckline with a drawstring.
- Bias tape: I machine-stitched the bias tape on the front side of the neckline, folded it over, and invisible hand-stitched it on the inside so the thread would not show on the right side. Another trick would have been to stitch in the ditch!

- Hemming: Leave the dress on a hanger for a few days so it finds its final shape before you hem it (this is a tip for pieces that are cut in the bias, that tend to stretch a little)

I'm so happy about how it turned out, this dress definitely tested my patience, but I'm glad I took my time, consulted tutorials online, used #elladresspattern to find tips and tricks, and ultimately decided to rip off the back and make sure the dress would fit me best.
Now I saw that Silversaga came up with a new pattern, the Eleonora dress, and I'm already feeling the pull to sew more dresses. Send help!
This post is not sponsored, but it does contain affiliate links, meaning if you make a purchase via one of my links, I may make a commission at no additional cost to you. Thank you for your support!


