


Two years ago, I bit the bullet and got myself two pairs of Birkenstocks, Arizona sandals for everyday wear, and Boston clogs to wear as indoor shoes.
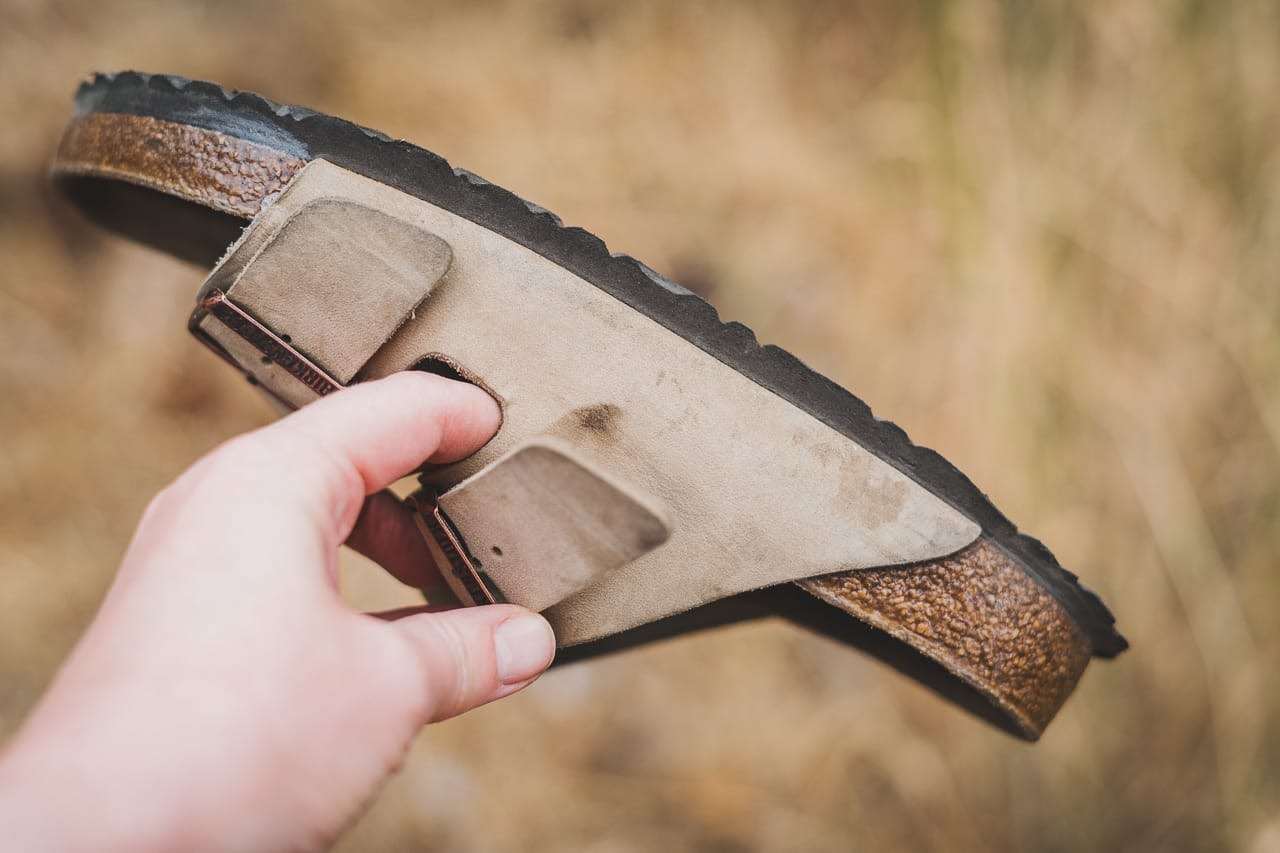
After wearing the sandals almost every day for a year -except in the winter- it was time to resole them, as the rubber had totally worn out in certain spots and the cork was about to be exposed and damaged.

The only experience I'd had with Birkenstock maintenance, was buying some cork conditioner about 6 years ago to preserve the cork of an old pair of Birks. That's about as far as I'd gone in terms of "repairing" my shoes. Never would I have thought I'd attempt to resole my own shoes one day. But I get my experiments in shoemaking gave me a boost of confidence!
Maintenance tips
Birkenstocks aren't cheap, so you might as well take good care of them so they'll last you a lifetime. Here are a few tips that are worth following to take care of your investment:
- Don't immerse your Birkenstocks in water. Water can damage the cork and dissolve the glue/sealant. If your shoes get wet, dry them slowly and away from direct heat, never directly in front of a heater. If the buckles are exposed to salt water, rinse them to avoid corrosion.
- Avoid extreme heat. Avoid leaving them in direct sunlight or in the car on warm days and keep them away from radiators and fireplaces.
- Clean and condition the leather regularly.
- Use cork renew every year.
- Resole them before the cork of the footbed starts wearing out.

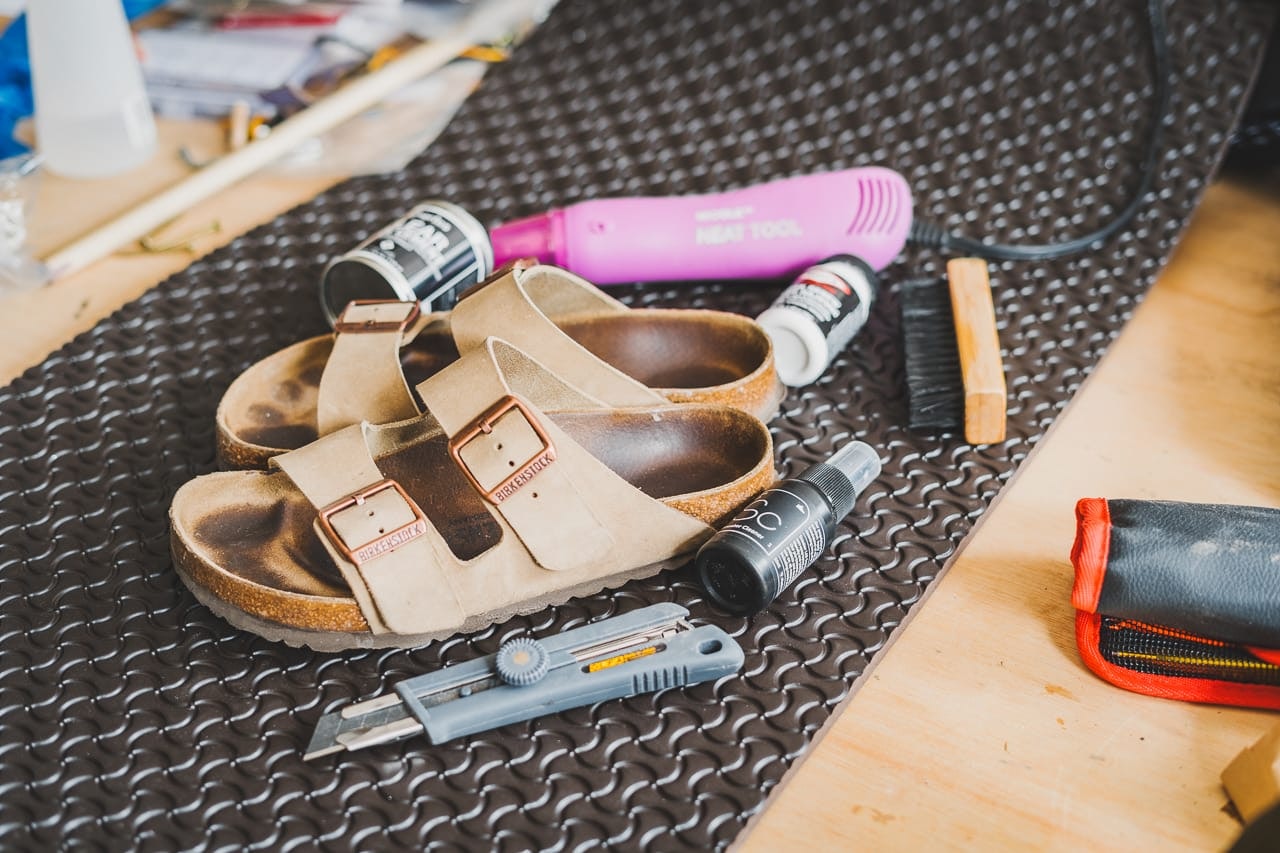
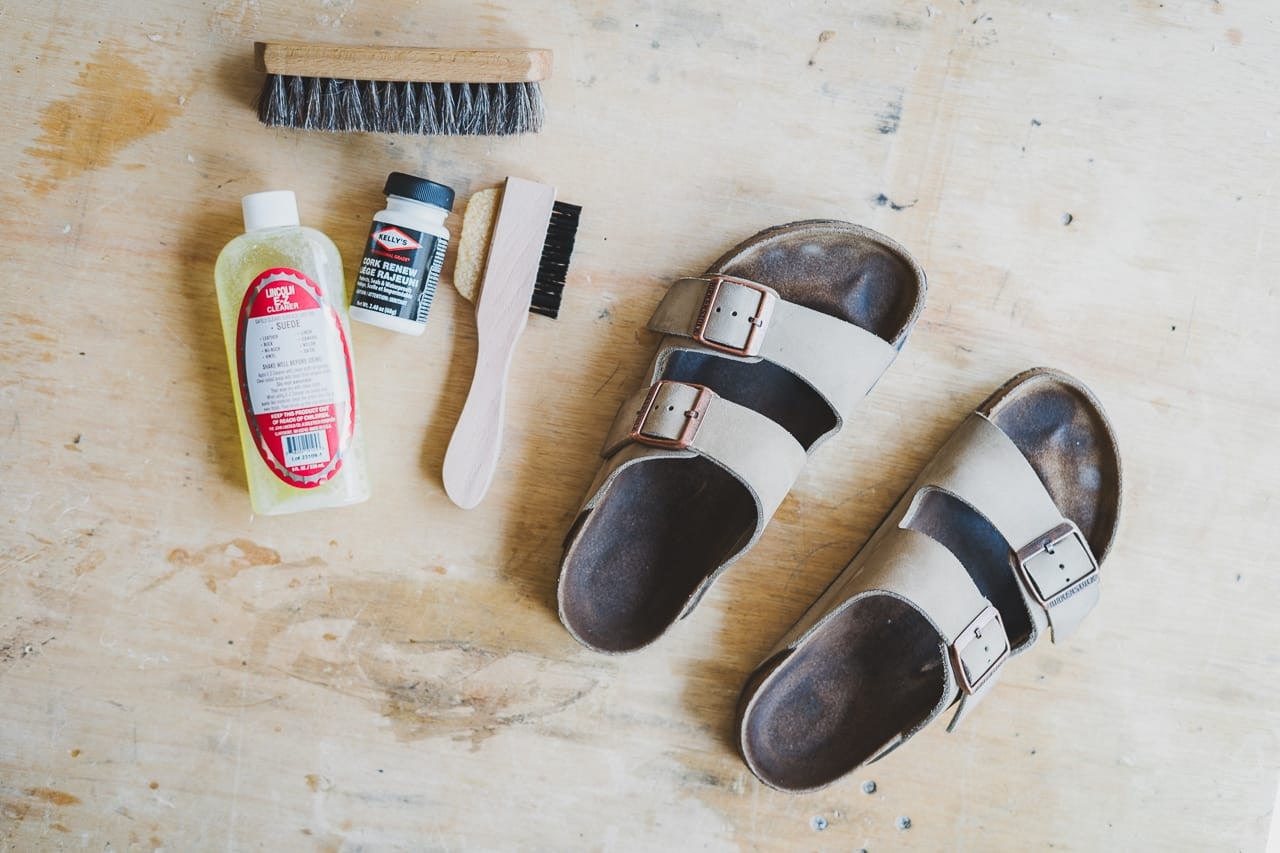
Supplies
Here's what I used to clean, repair, and resole my Arizona slides:

Maintenance

Resoling
Cleaning
Birkenstock Resoling Instructions
- Clean the footbed and straps with suede shampoo (shake the bottle before use) and a suede brush. Wipe with a dry towel
- Brush the suede footbed with a suede brush.

- Remove the old rubber sole using a heat gun and pliers. Or just pliers. Or, ultimately, a belt sander.

- Trace the shape of the shoe on the new rubber soling sheet.

- Cut along the exterior line (to leave a little wiggle room for trimming and sanding later) with a utility knife.
- Check whether the straps need to be reglued on the sides.
- Apply glue to both the new rubber and the base (contact cement only sticks to itself. Allow it to sit for 15-30 minutes before pressing them together. If the glue dries too fast, use the heat gun to make it tacky again.

- Attach the new rubber to the base, making sure both pieces are well aligned.
- Hammer the new rubber to the base.
- Apply cork renew to the cork sides.
- Trim the excess rubber with a sharp utility knife.
- Sand for smooth edges with a belt sander.
- Allow the glue to dry for at least 24 hours before wearing your Birkenstocks again.

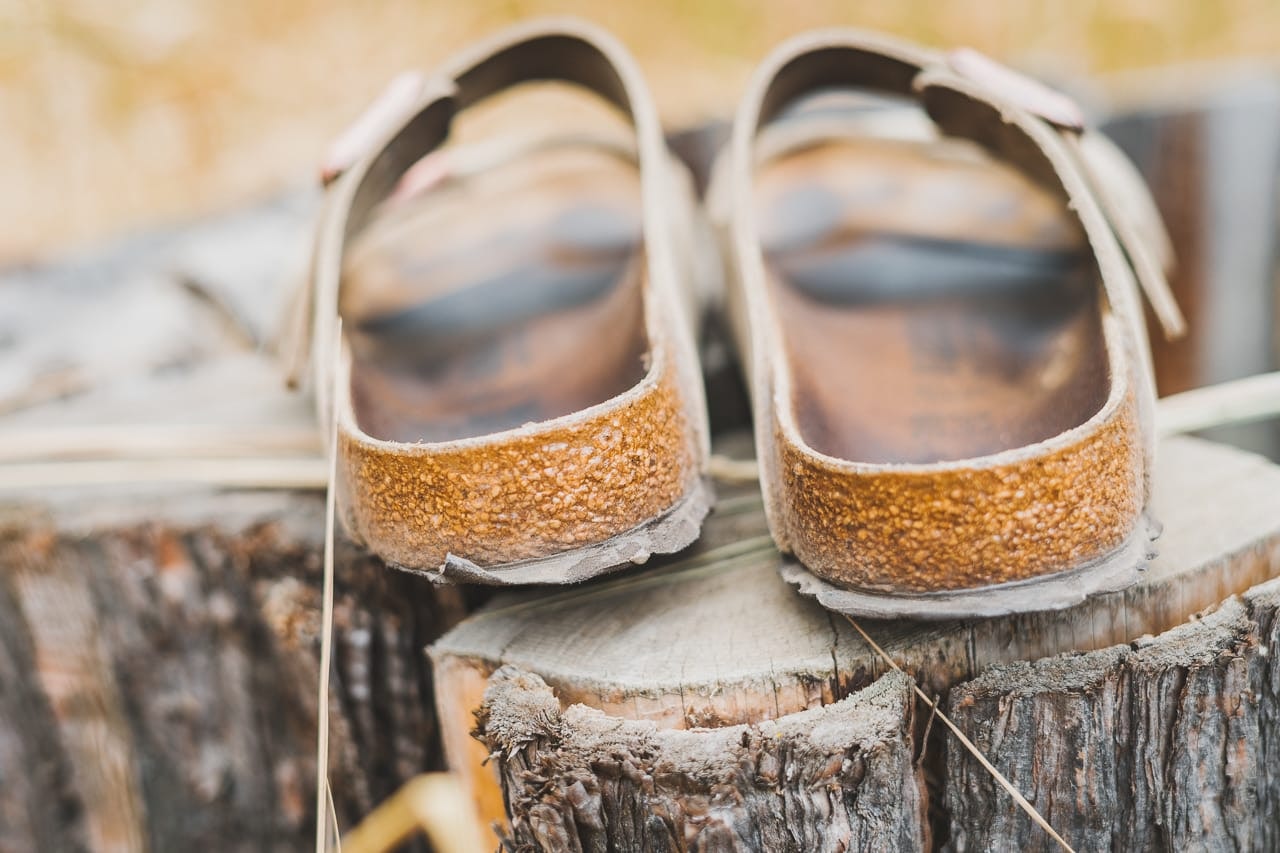
I took these pics one year after repairing my Birks, and after wearing them for the first half of summer.
Final Thoughts
Here's what I'll do differently next time:

- Make sure I hold my knife vertically so the sole isn't cut at an angle. I kind of messed up the back of the sandal on the left.

- Trim and sand the soles as much as possible BEFORE gluing them (I tried to sand them with the belt sander but scraped the leather as it sticks out from the cork and rubber). I ended up sanding by hand and kind of lost patience...

- Use a lot of glue and MANY clamps to make sure that it sticks everywhere.

But overall, I'm very happy with the result and I'm feeling confident that I'll do better next time. I've prolonged the life of my Birks, I did it myself, and that's all that matters to me!

Useful links
- 5 easy steps to repair your Birkenstocks
- Resoling Birkentocks at home
- Instead of buying a new footbed, make one out of wine corks!

Would you try to resole your Birkenstocks at home?
This post is not sponsored, but it does contain affiliate links, meaning if you make a purchase via one of my links, I may make a commission at no additional cost to you. Thank you for your support!