


Last week-end was meant to take place a whole different way.
We had a whole road trip planned to the Northwest Overland Rally. But on the way there, Charlie (Octave's Land Cruiser) got a mechanical problem. So we drove back home to fix it.
I guess I must have had a premonition because I hadn't deleted all the events taking place in Portland on that week-end from my calendar. So I looked at the bright side and made the most of these 2 days in the city.
As some of you might have seen on Snapchat, I woke up early on Saturday morning for an outdoor yoga session followed by a (free) açai bowl for the one year anniversary of Carioca Bowls.
Later, I walked to the Woodlawn Farmers Market, which had reopened while I was in Europe, to get a little mint starter for my garden and some blueberries to snack on during the day.
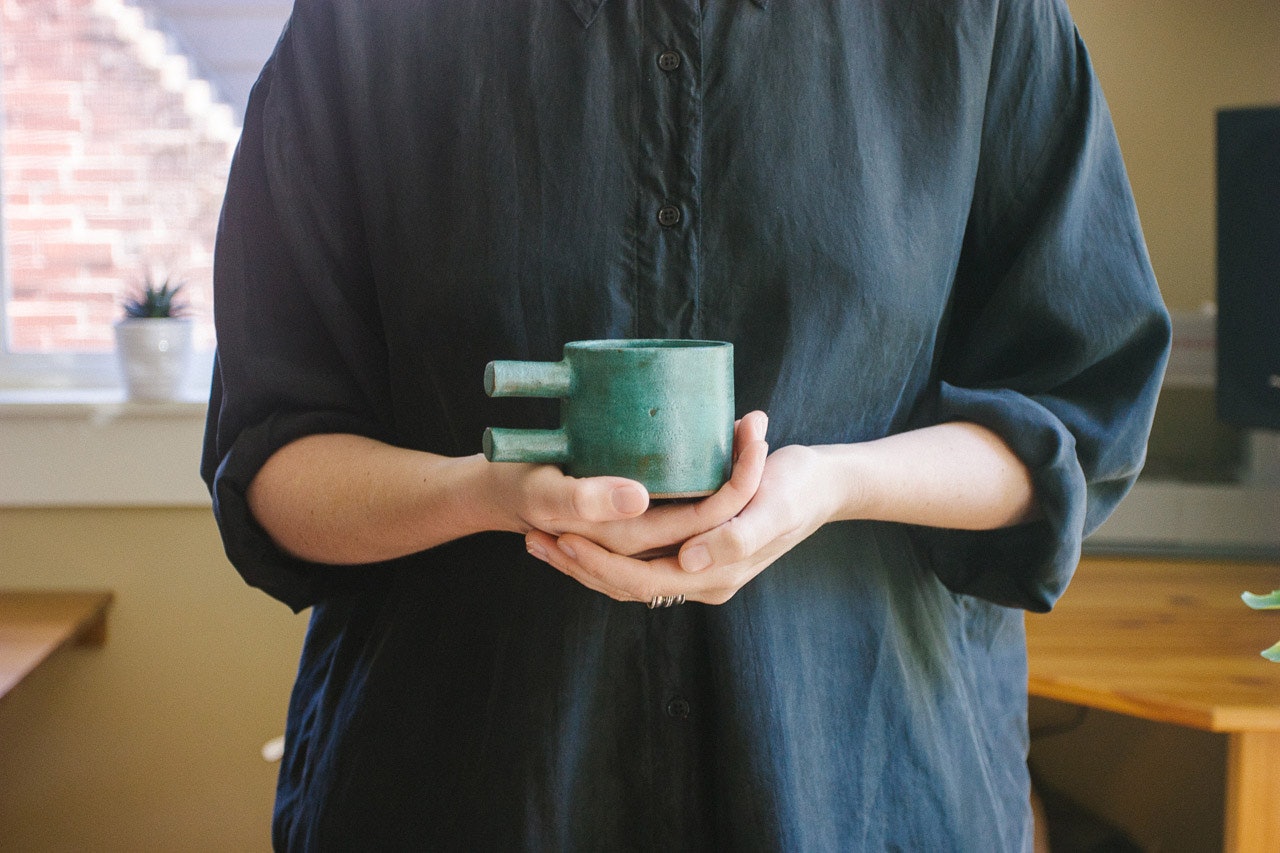
After that, I rushed to one of my favorite shops in Portland, Johan, for its moving sale and splurged on ceramics. I also scored the vintage silk shirt I'm wearing on the picture and an amazing bodycon dress, made in the USA!
Then I checked my phone and realized I had forgotten about the book launch of Becoming Minimalist's Joshua Becker. I was happy to see some friendly faces from the Portland Minimalists Group and get to meet Minimalist Baker Dana Shultz who was here on stage with Joshua.
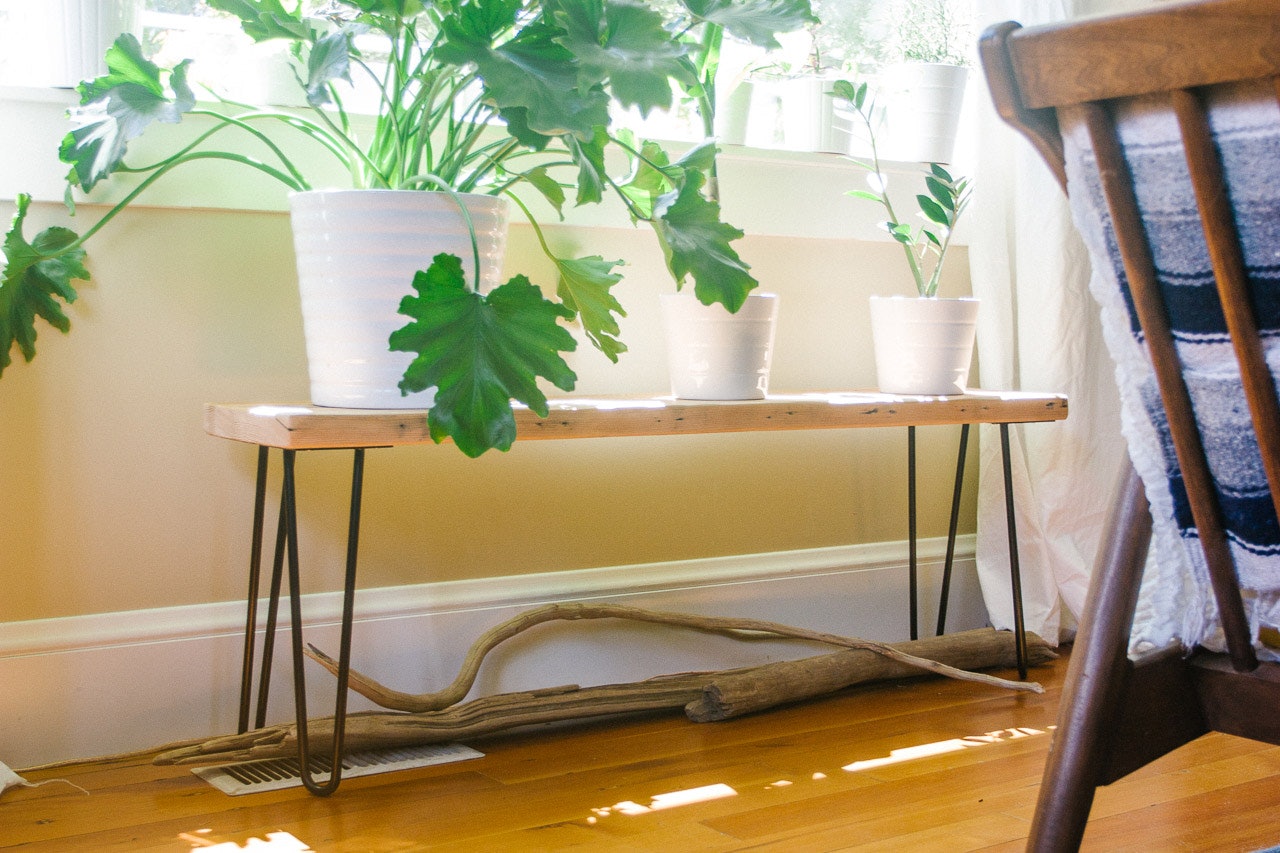
Later in the day, I dragged Octave to Salvage Works to get some wood for a project I had in mind, and the main subject of today's article: a hairpin leg bench.
So here's our little tutorial:
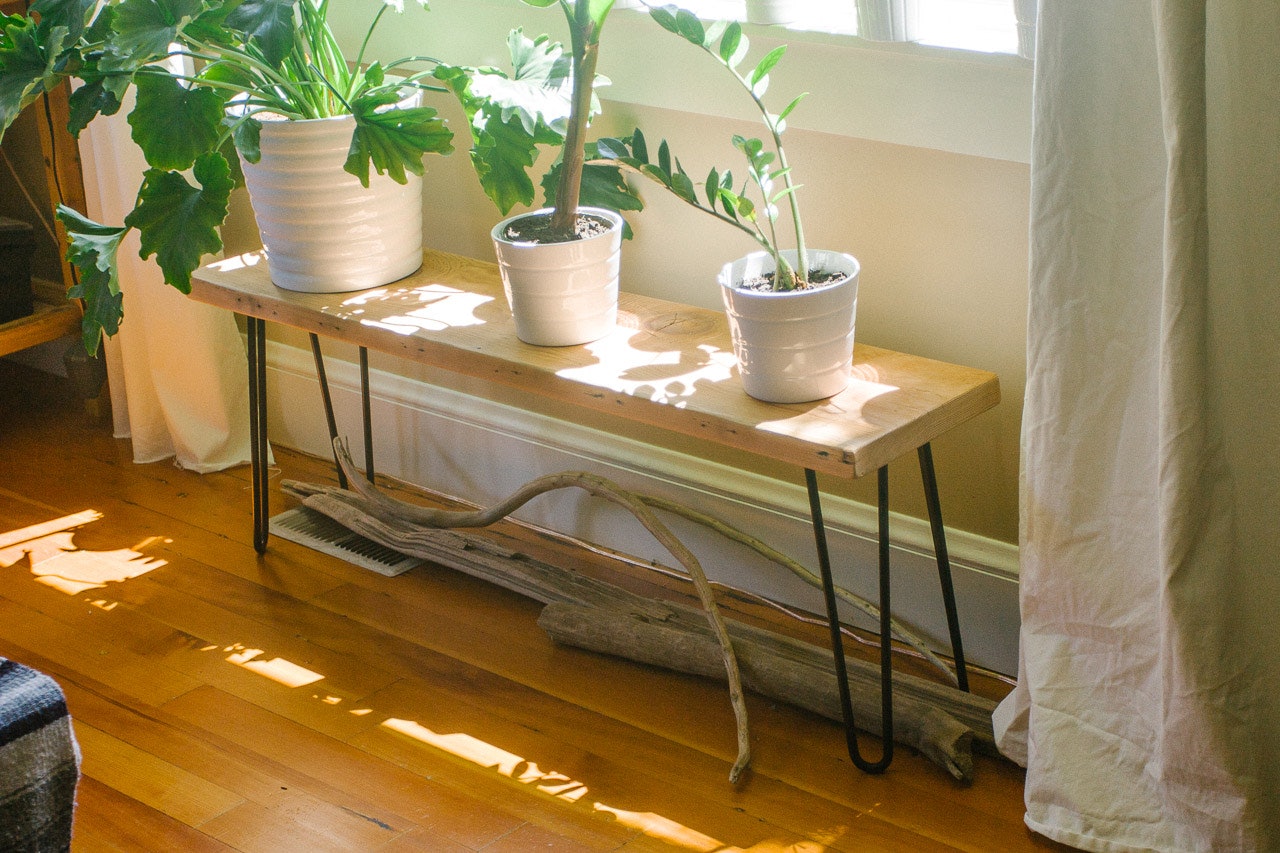
HAIRPIN LEG BENCH DIY
A hairpin leg bench is a pretty easy and inexpensive project that will immediately add style to any room in your home.
Active time: 1 hr
Total time: 2 hrs
Supplies
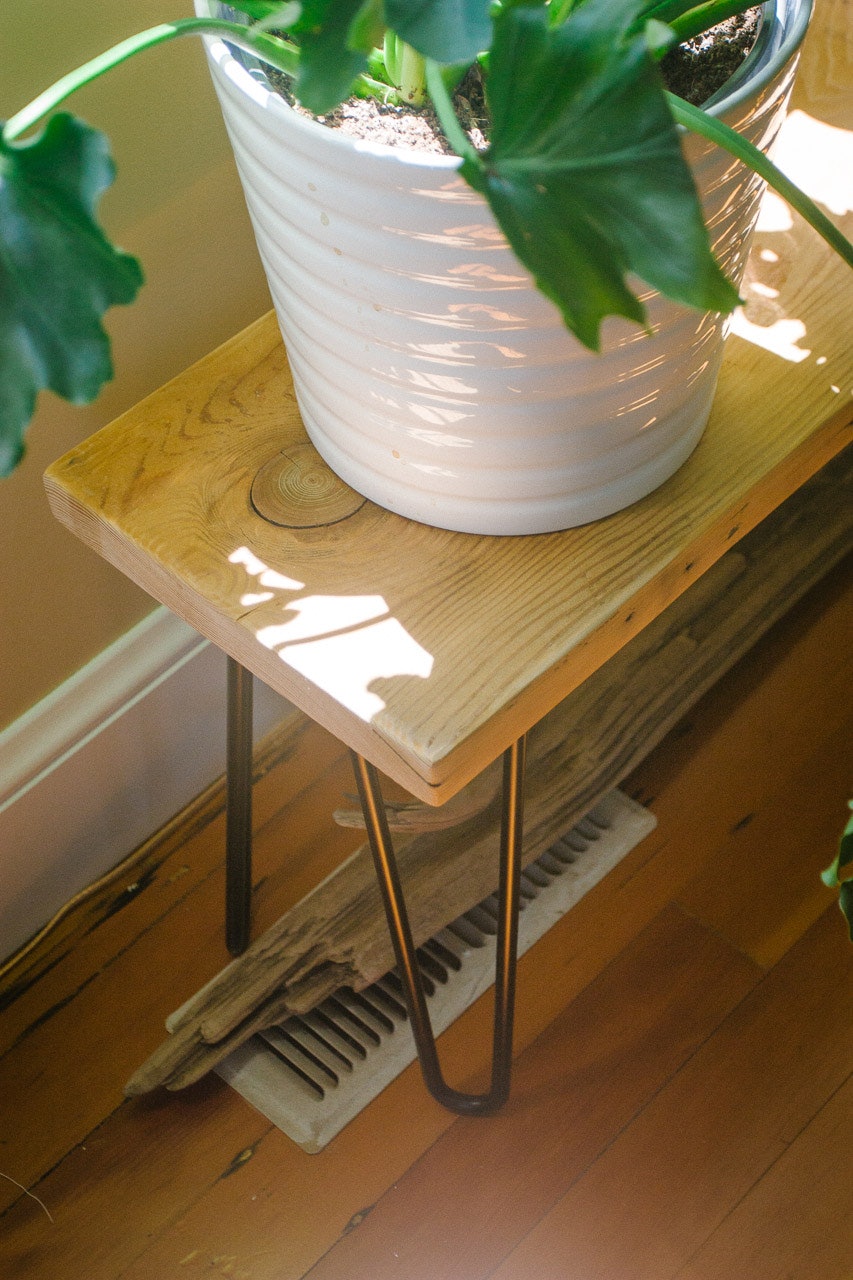
- 50 x 12 inches doug fir board from Salvage Works
- Hairpin legs
- Polycrylic spray
Tools
- Hand file
- Orbital sander + sandpaper
- Drill
- Screws
Instructions
- Carve the edges.
We used the hand file and finished with 60 grit sandpaper. - Sand the wood.
We used the orbital sander starting with 60, then 160 and finally 220 grit. - Seal the wood.
We used a polycrylic spray we already had from a previous outdoor sign project. We sprayed 1 coat and sanded after. - Attach the legs.
We more or less eyeballed the leg placement, but you can definitely measure it properly, and even clamp the legs and flip the bench over to see how it will look.
Notes
You can try different ways to seal the wood. We used what we had on hand, but wood sealer and Danish oil may be better options.
I love the idea of making something new out of something old. Of course, the project is not 100% made our of reused material, but I'm glad we decided to go to a local shop rather than the usual hardware store. This quick DIY, which happen on the very same week-end Rachel made hers definitely gave me more DIY envy.
What about you? What was your week-end like? Lazy? Productive? This one was definitely on the active side but I promise it's not always as busy or inspired. But my Pinterest inspiration boards are here, in case my hands are itching.