Make Your Own Reusable Food Wrap
It's incredibly easy!

I've ditched plastic wrap and have been using reusable food wrap for close to a year now so I think it's time to review this experience and share my first DIY!
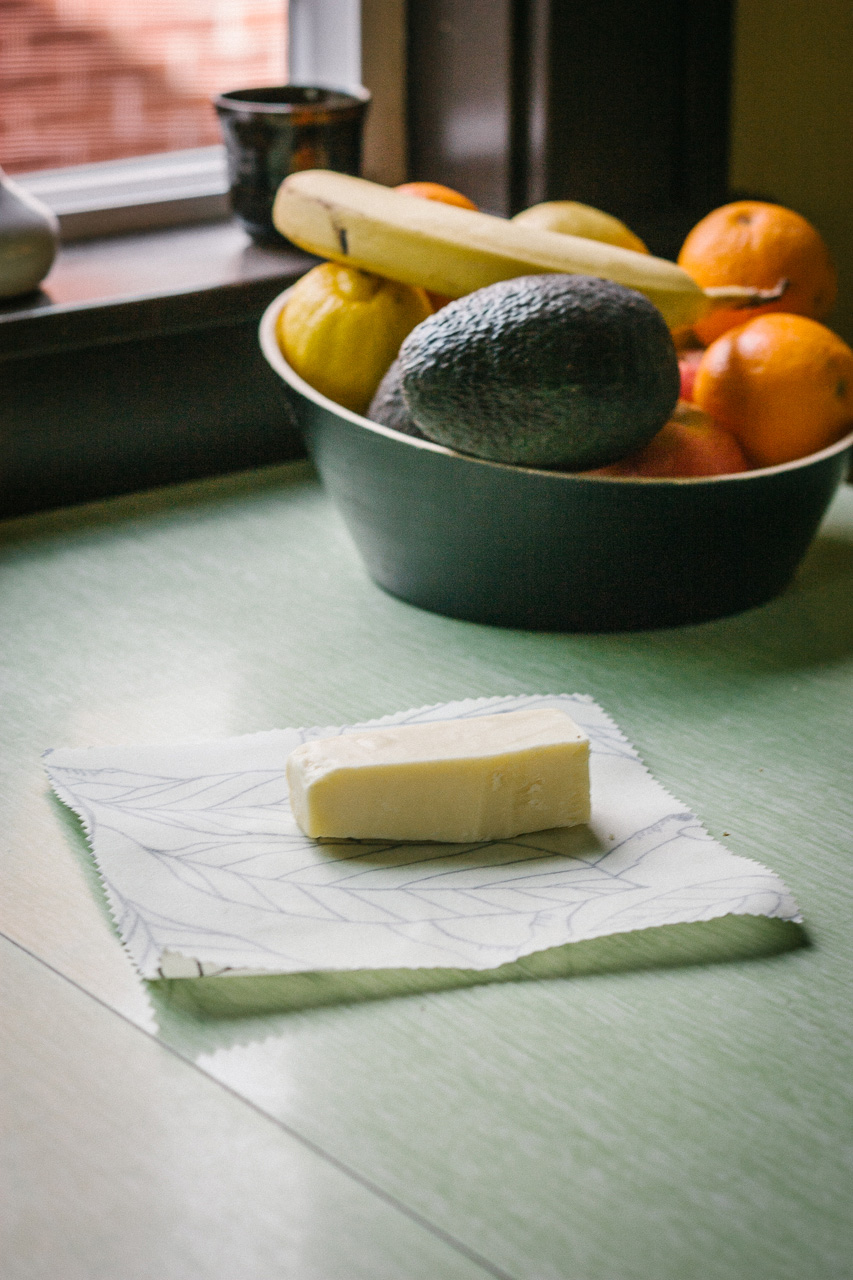
Reusable food wrap not only looks better, and smells better but it is just as convenient as plastic food wrap (as long as what you wrap in it isn't too juicy).
Last year, I bought three pieces of Bee's Wrap, a small, a medium, and a large one.
I mostly use them for cheese, avocado, or lemon halves, to freeze pizza dough, and to cover bowls of leftovers.
After use, I simply rinse them under cold soapy water (warm water will cause the wax to melt).
After a year, my wraps had lost a lot of their wax from washing them so much (their description says that they will last close to a year, that's good timing!), so I figured it was time for me to do something: buy some more, re-wax them or even make my own.
Yesterday, I needed a little break from a busy workday (I work from home) and I suddenly decided to look into reusable food wrap making. I wasn't sure that I had all the material I needed, but I actually did!
I had bought a pack of pre-cut fabric squares at Ikea quite a while ago, to practice sewing. They were the perfect size for smaller food wrap pieces! The fabric is not the most natural and organic, but I figured it would be perfect for a test run.
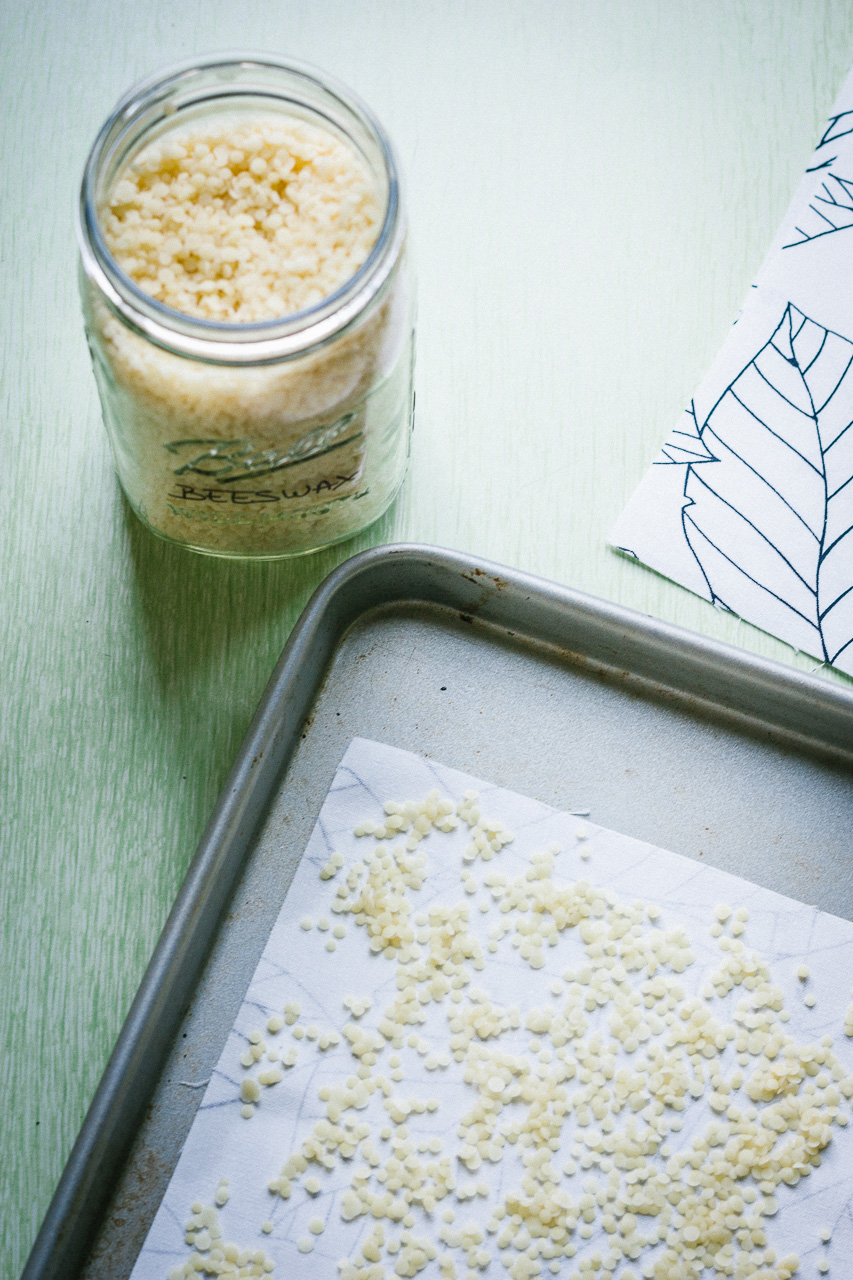
I also had beeswax pellets on hand, as I started experimenting with lip balms (not a success so far).
Then, since I am an accomplished seamstress (cough cough), I own a good pair of pinking shears.
And finally, having replaced my plastic toothbrushes quite a while ago, I usually have a couple of used bamboo toothbrushes that I can use to clean bottles and bathroom grout or spread evenly melting wax on fabric.
I still cannot believe I didn't do this in the first place instead of buying pricey ready-made reusable food wrap. Especially since I had all the material on hand already!
REUSABLE FOOD WRAP
Active time: 10 min
Total time: 15 min
Supplies
- Fabric (preferably natural & organic)
- Scissors
- Beeswax (or soy wax)
- An old toothbrush
- A cookie sheet
- Parchment paper (compostable)
- An oven + a Timer
- Pinking shears to prevent fraying (optional)
- A cheese grater (optional)
- Thread + a Button (optional)
Instructions
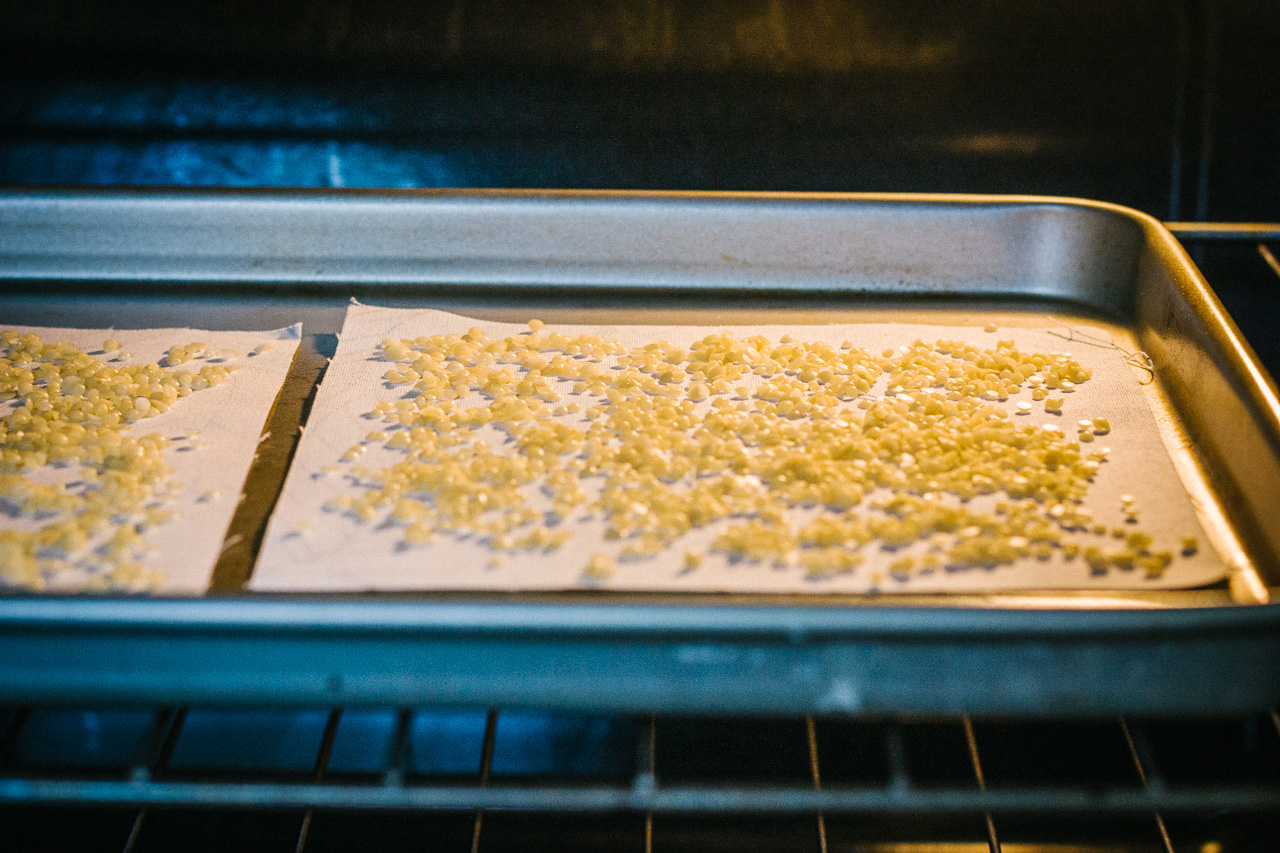
- Preheat your oven to 200°F (90°C).
- Cut your fabric in the desired format.
- (Optional) Use the pinking shears to prevent the fabric from fraying (and don't be forgetful like me and do this after waxing the fabric, your pinking shears won't like that).
- Place on the cookie sheet (add parchment paper underneath if you want).
- Cover in wax (use a grater if the wax does not come in pellets).
- Put in the oven and set the timer for 5 minutes (but always keep an eye on it).
- Once the wax starts melting, use the toothbrush to spread the wax evenly.
- Take the waxed fabric out of the oven and let it dry (don't leave it on the cooking tray for too long or else your fabric will start browning/burning, trust me on that one).
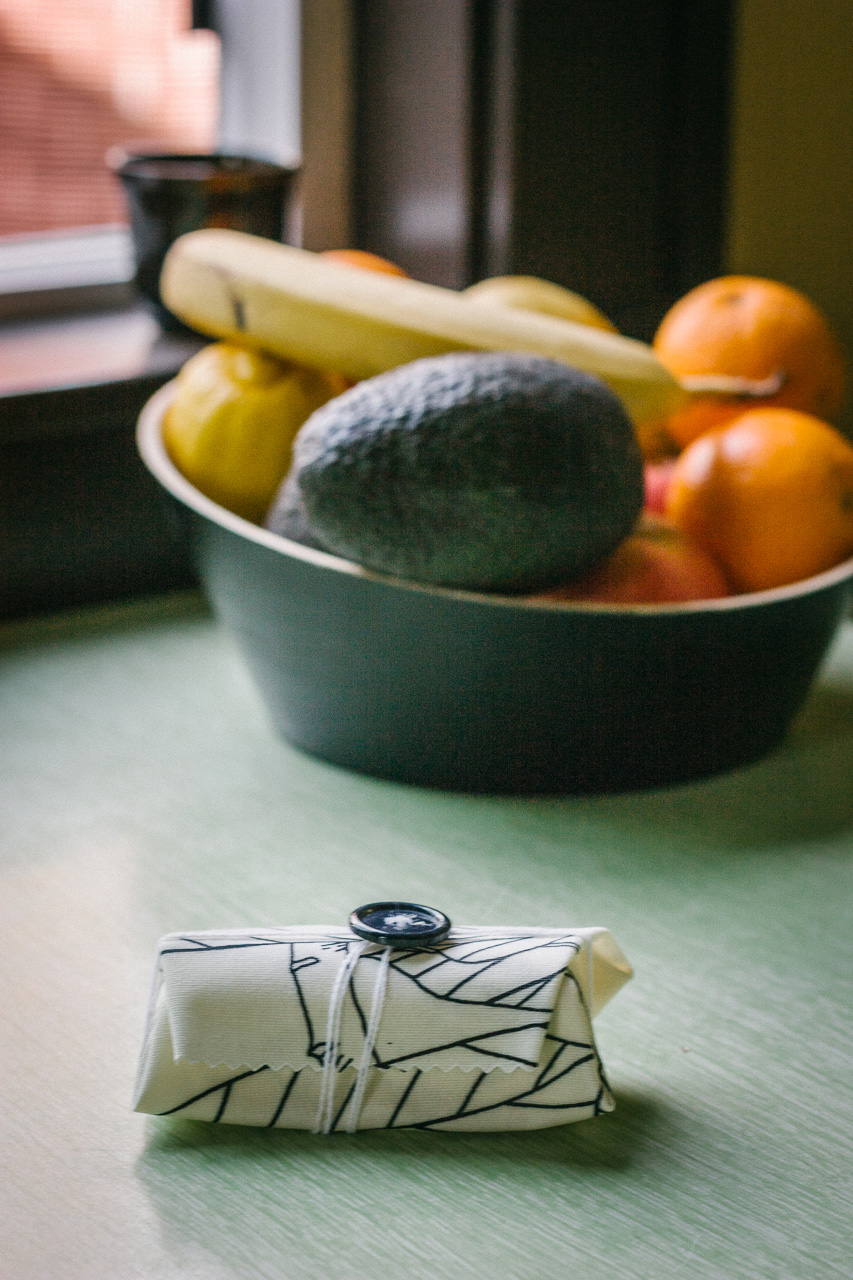
- (Optional) Double a piece of thread and pass it through the button making a knot. Use it to close the wrap if necessary.
Notes
Use this same technique to re-wax older pieces.
Are you ready to switch to reusable food wrap?
This post is not sponsored but contains affiliate links. If you make a purchase through one of my links, I may earn a commission at no extra cost to you. Thank you for your support!