Make Your Own No Knead Bread

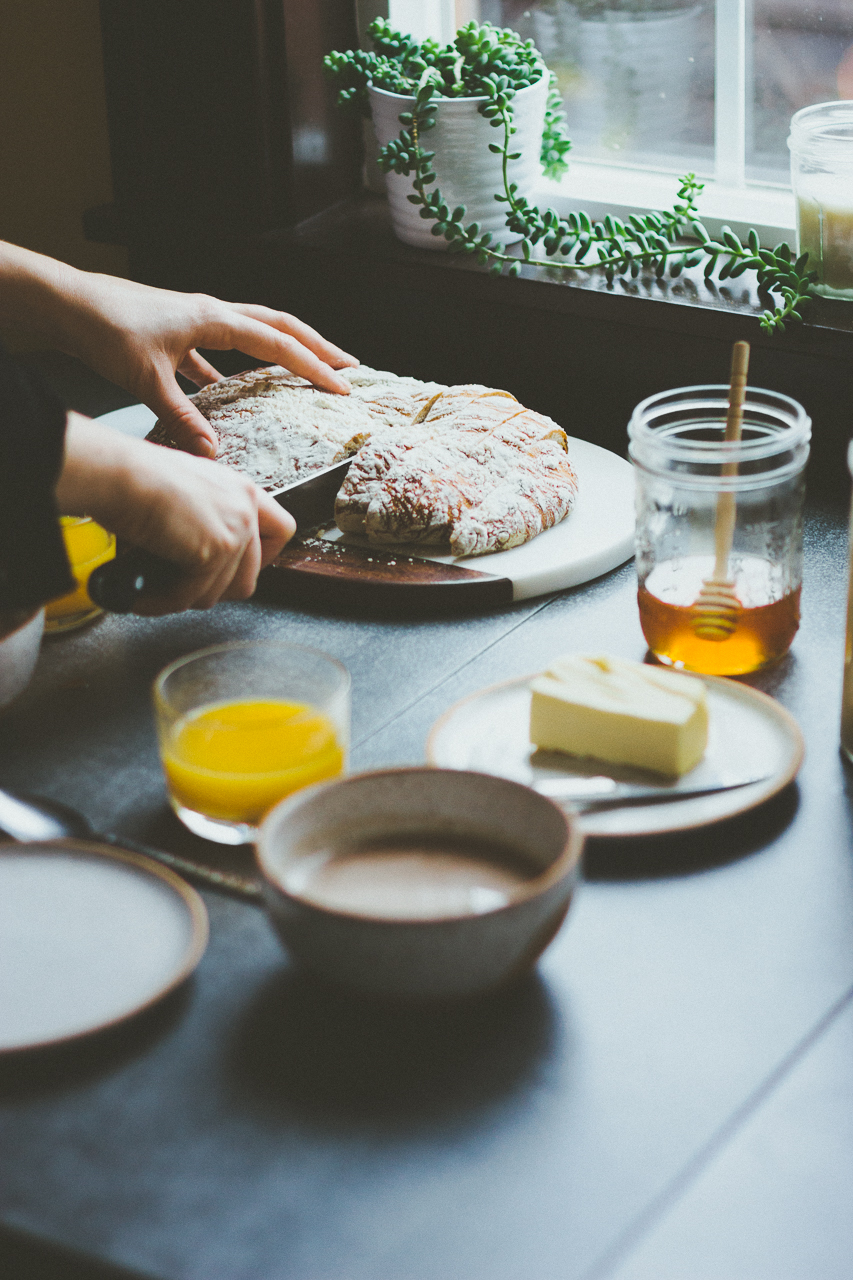
Okay, I'm gonna say it right now just so you know I'm not totally delusional. This bread looks pretty sad! Uff, I said it, now we can move along.
When I first thought about baking my own bread, I pictured myself kneading and kneading and kneading. One thing about me, my upper body is not my strongest asset (you should see me rock climbing, it's pathetic). So when I read this recipe title on one of my favorite blogs, I flipped.
I first tried this recipe a loooong time ago (this details is important, you'll see), then forgot about it because there's a really good bakery in my neighborhood. But since I've gotten into homesteading, making food from scratch and since I had these packs of yeast gathering dust in my cupboard (see where I'm going here), I thought I would give it another go a couple days ago.
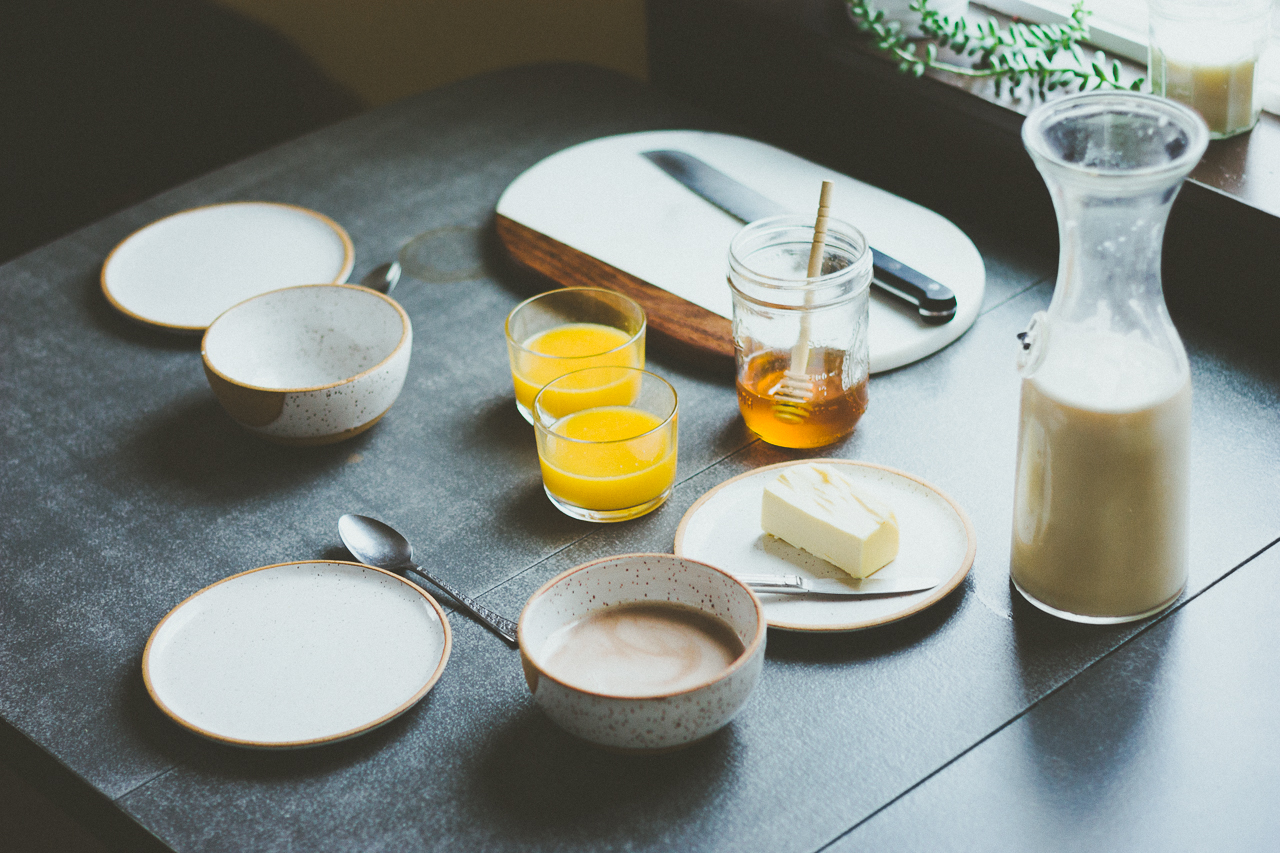
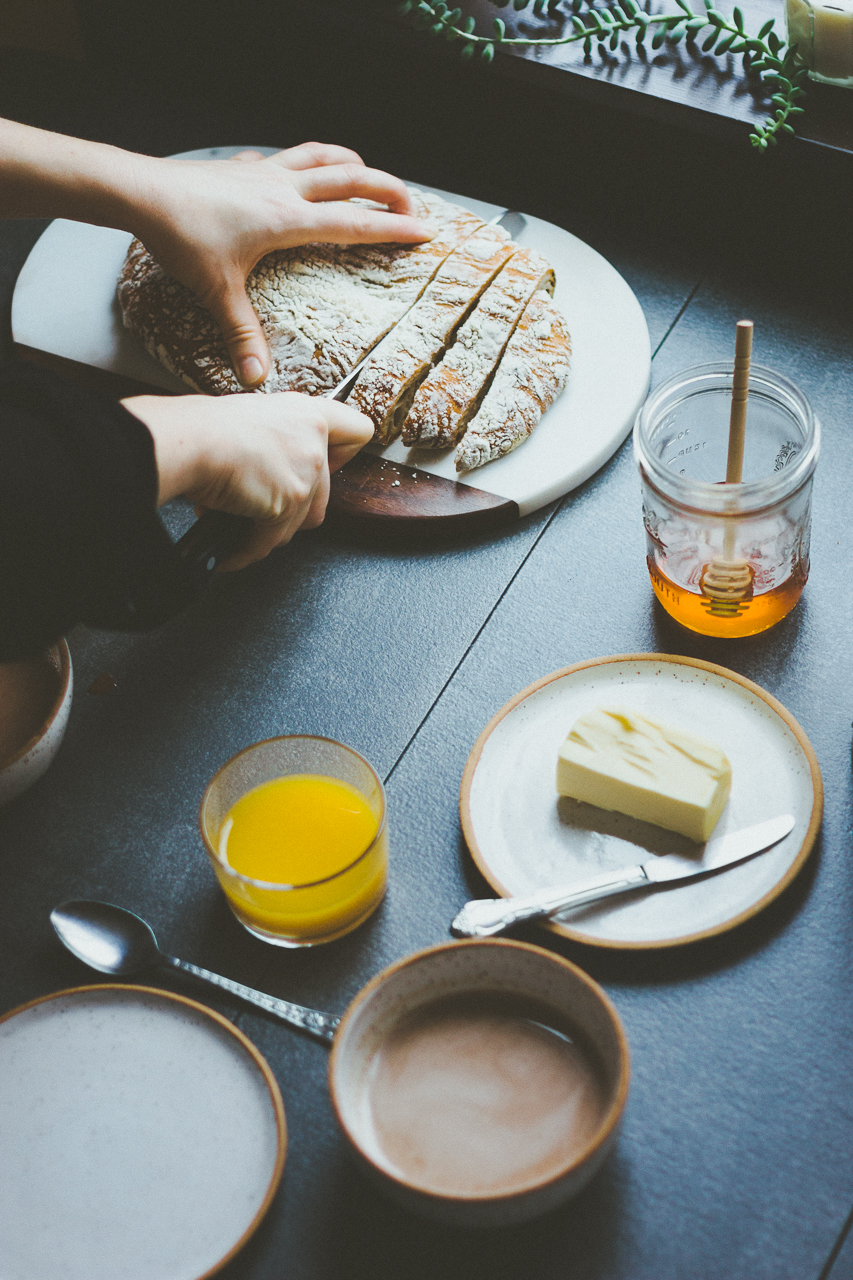
The result isn't the best-looking loaf, but it's still very tasty and perfect for my favorite kind of breakfast: Hot chocolate + OJ + butter & honey tartines. I'll keep going until I run out of yeast and I finally get to making my own sourdough (I've had my eye on this workshop at People's Coop in SE Portland.)
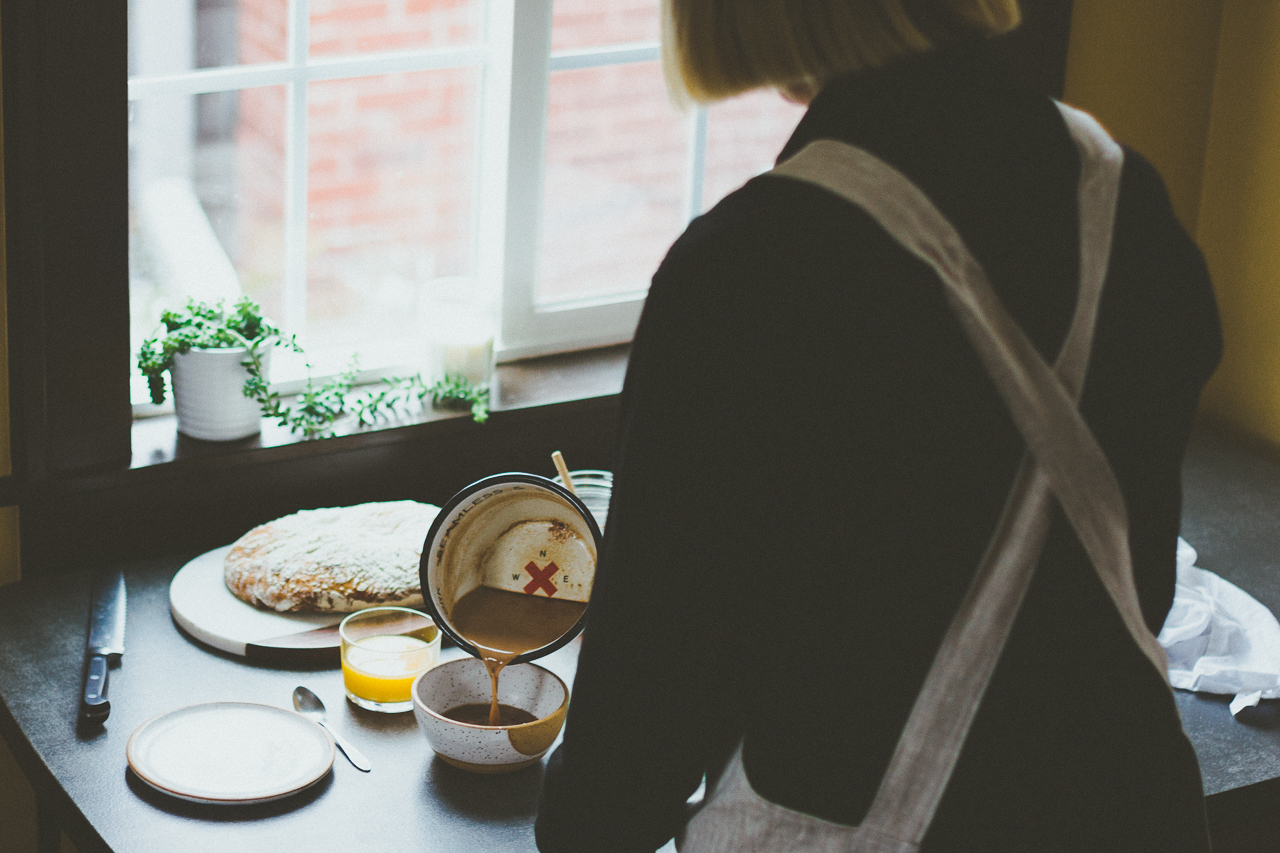
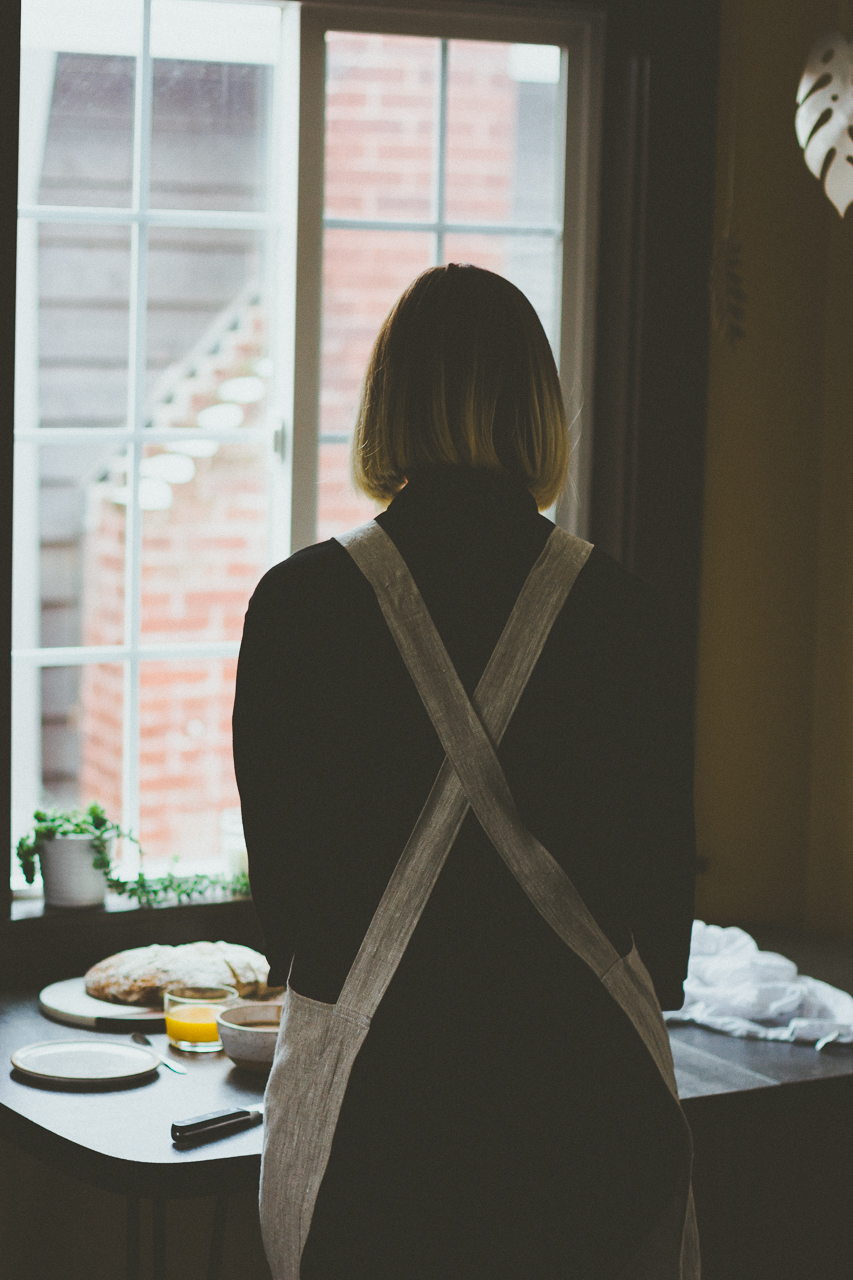
On a side note, as you might have noticed, I've decided to collaborate more with local makers and friends here on the blog. So, a couple weeks ago, I asked my friend Erika, of Portland Apron Company, if I could borrow one of her beautifully and consciously made pinafores (which you've already seen in my shop).
Here's my take on the recipe, with the basic tools I already had at home, plus an alternative one.

NO KNEAD BREAD
This is pretty much the easiest bread recipe on the Internet. Try it, you won't be sorry!
Yield:1 loaf
Active time: 20 min
Total time: 15 hrs
Equipment
- Measuring cups
- Measuring spoons
- A stand-up mixer or a dough whisk
- Food wrap
- Dutch oven (I used an Ikea stainless steel pot + lid the first time I made this recipe and it worked just fine)
Ingredients
- 3 cups of all-purpose flour
- 1/2 tsp instant yeast
- 1 1/4 tsp salt
- 1 1/2 cups water
Instructions
- In a large bowl, mix together the flour, yeast and salt.
- Add the water and mix until it forms your dough. You can either use a regular whisk, a dough whisk, a wooden spoon or put all the ingredients in a Kitchen Aid if you're lazy like me.
- Gently mix until all the dry ingredients are combined and then cover the preparation with reusable food wrap and let the dough rise for 12-18 hours.
- Remove the food wrap and place it on your work surface. Heavily flour it, place your dough in the center and form a big ball, heavily floured.
- Cover it with another piece of reusable food wrap again and let it sit an additional 1-2 hours. When your dough has thirty minutes left of this rising period, pre-heat your oven to 450°F and place your Dutch oven with a heat safe knob inside to heat up
- After 30 minutes, carefully take your very hot pot out of the oven and place your dough inside (do not grease the bottom of your pot, it will smoke). Cover with the lid and bake for 30 minutes.
- After 30 minutes, remove the lid and let bake an additional 15 minutes uncovered.
- Remove the pot from oven and place the loaf of bread onto a cooling rack for a few minutes or just cut right into it and enjoy a slice while the bread is still warm.
Notes
I like to keep my bread in a cupboard, wrapped in a kitchen towel to keep it from drying. If I know I will not be eating all of it in the coming days, I just slice it and keep it in the freezer in a cloth bag.
This post was inspired by a recipe published by James Kicinski-McCoy. I'm thinking about baking bread once a week, perfecting this recipe and trying others along the way. If you have recipes to share, please do! Oh and if you try this one, I'd love to see the result. Please tag @consciousxchloe if you post pictures on Instagram!


