Happy weekend! What are you up to these days? I'm attending a housewarming party!
- This week I'm still reading this community-building story.
- Wow, I can't this surfing video was released 10 years ago. Congrats on the Staff Pick Octave!
- Ulysse (my brother-in-law) released a new album!
- This Bend newsletter is full of fun events!
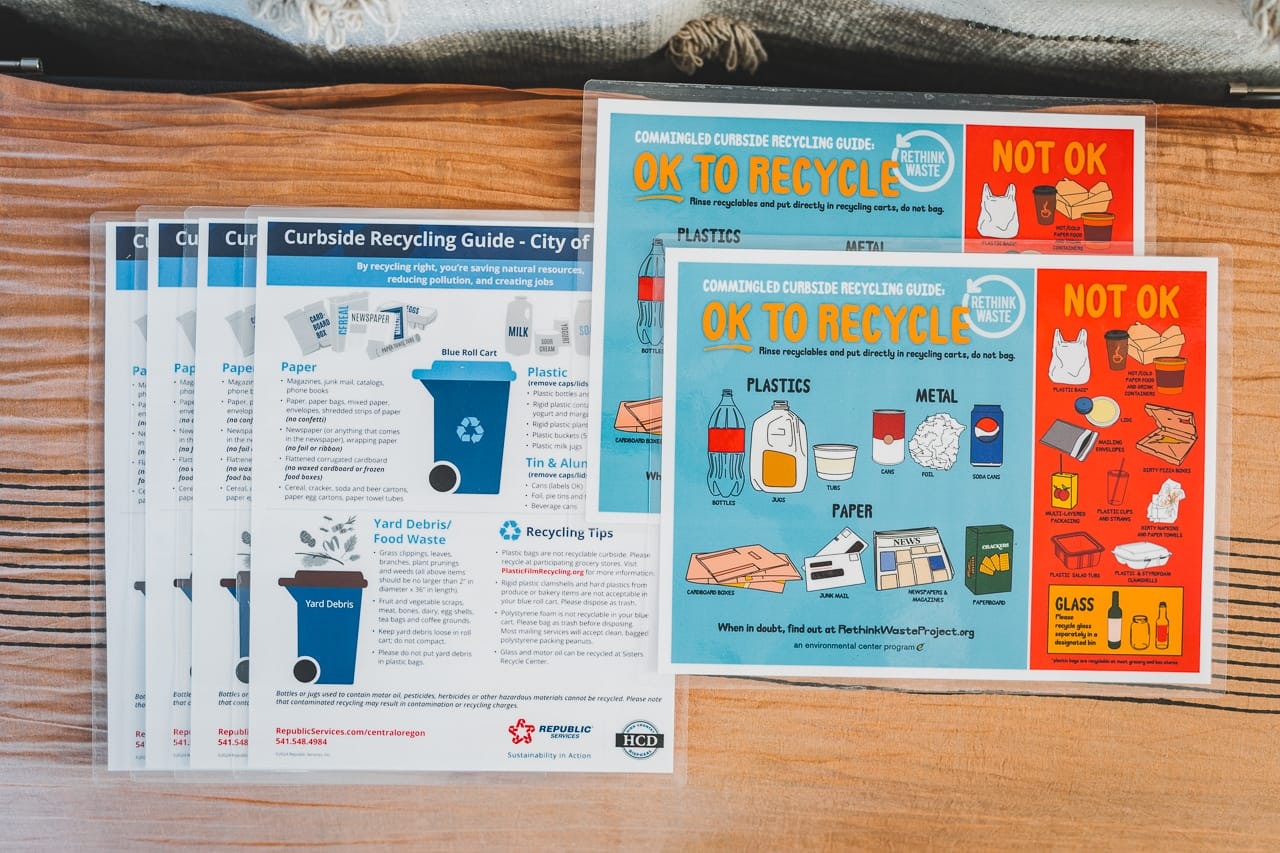
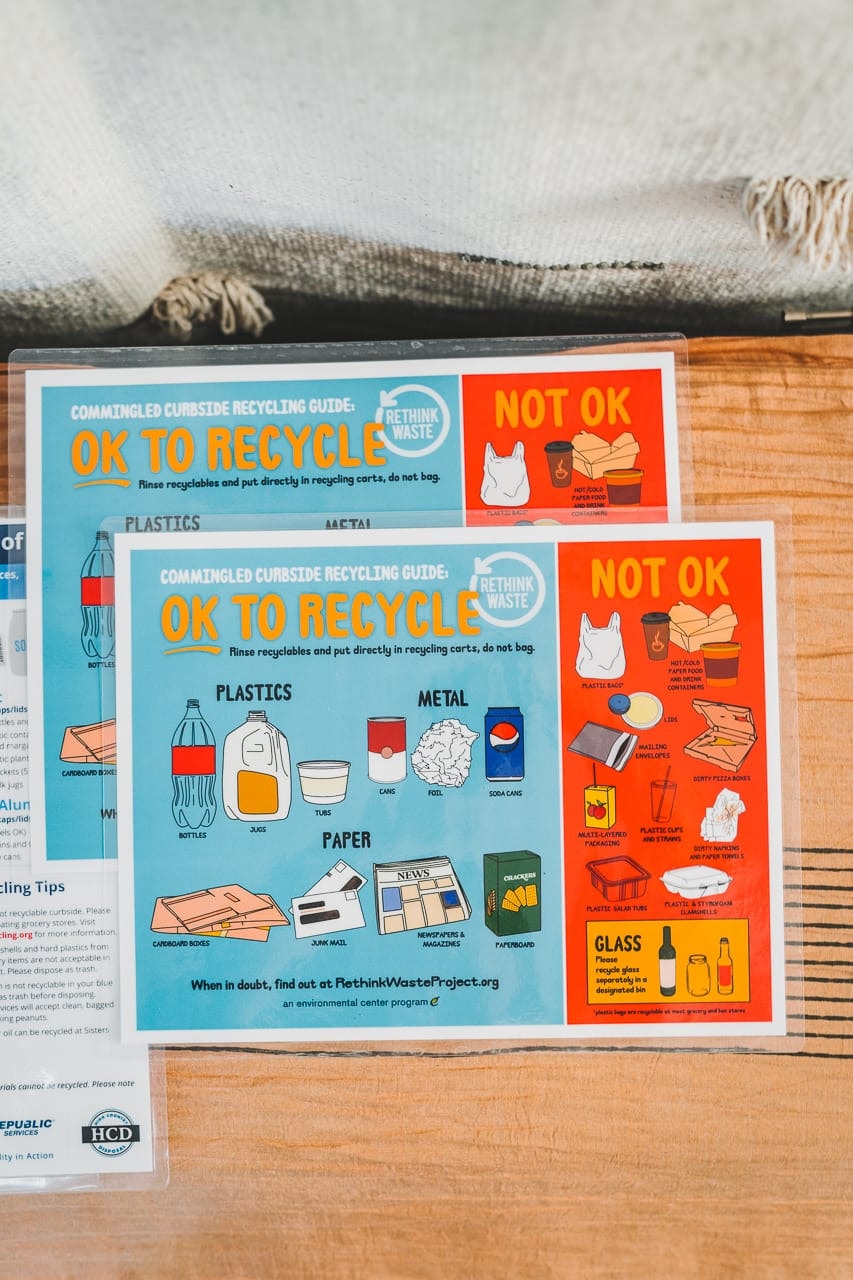
- I attended a mind mapping workshop this week, and this "deplastify your life" one popped back into my head.
- I'm about to experience my first kirtan.
- It's chai season, time to make this recipe.
- Is it also balaclava time?
- A friend and I talked about rewatching this TV show.
- What a cool appliqué project!